{Sponsored}
School starts in just a few days, and as we prepare for the new year, I’m organizing supplies, planning school lunches, putting together outfits, and coordinating school and extra-curricular activities. Over the past few weeks, I’ve shared some of my favorite ways to plan for the new school year. From a Duck Tape-inspired DIY Pencil Case to shopping for on-trend, girls’ fashion on a budget, my hope is that the new school year brings excitement and anticipation rather than stress and angst. One of the ways we try to create excitement is to give our kids some freedom of expression, particularly when it comes to their school supplies and wardrobe.

During my time in Bentonville, I met with some members of the Sharpie team for a little DIY inspiration. Did you know there are more than 100 Ways to Use a Sharpie? From personalized lunches to showing your team spirit, here are my Favorite Ways to Use a Sharpie:
1. Create your own tablet, e-reader, or smartphone case using Stained by Sharpie Fabric Markers.
2. Customize folders, notebooks, and book covers with Sharpie’s 80’s Glam Permanent Markers.
3. Color coordinate calendars and schedules with Sharpie’s Fine or Ultra-Fine Point Permanent Markers.
4. Give new life to a plain or dingy white T-shirt, dress, or other clothing piece with Stained by Sharpie Fabric Markers.
5. DIY Sharpie Sneakers (my favorite idea)

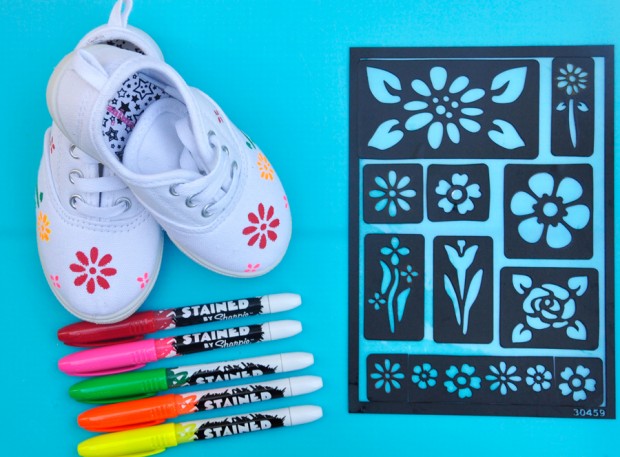
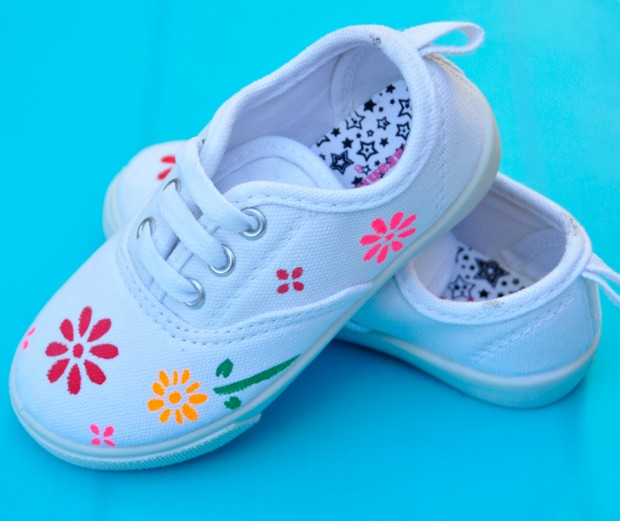
Inspired by all of the ideas listed on Sharpie’s Blog, I decided to pick up a pair of plain white sneakers from Walmart, a pack of Stained by Sharpie Fabric Markers, and Peel & Stick Painting Stencils for my daughter’s DIY Sharpie Sneakers. The entire project cost me approximately $20, took less than an hour, and was easier than I expected.

1. Begin by creating a rough drawing/outline of your project on a piece of paper. Do you want coordinating colors and patterns for both shoes? Or would you rather each shoe be different? Having a plan helps ensure you get your design right the first time, since you can’t “erase” any mistakes.
2. Using peel and stick stencils, begin coloring in your design. Be sure to hold down the stencil so the marker does not extend or “bleed” outside of the border. Remember to take your time.
3. Allow each area to dry before proceeding to the next so that you don’t smear or smudge your design.
4. Once completely dry, these shoes can be washed without color fade.

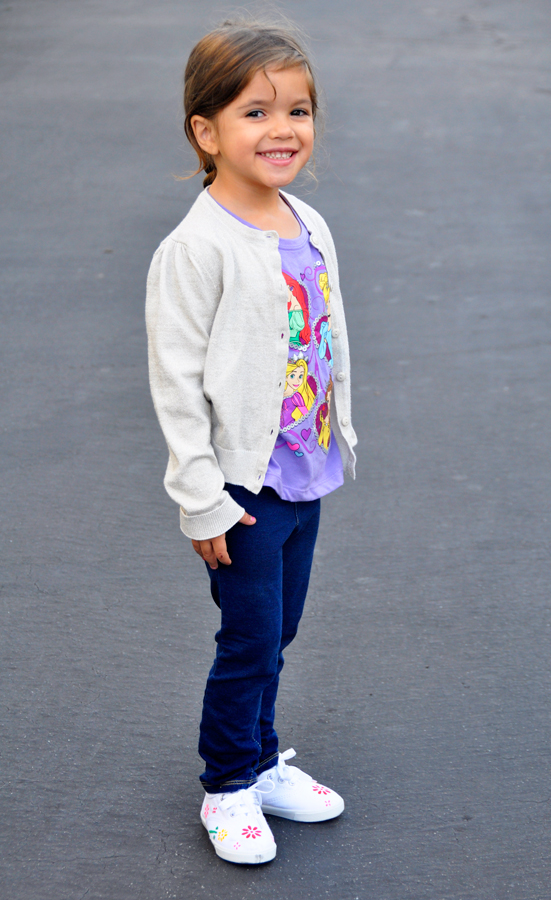
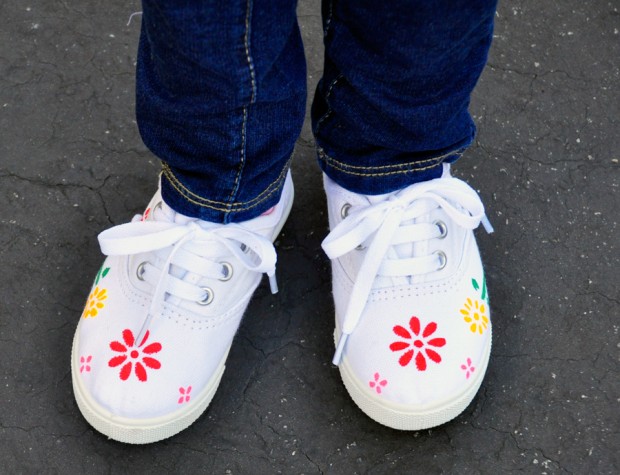
I worked on these shoes one evening and when my daughter woke up, she was absolutely delighted. In fact, she thought I had purchased them at the store rather than making them myself. As kids get older, they can use the Stained by Sharpie Fabric Markers to design their own sneakers.
Personalization is a creative way to allow kids to express themselves. For additional ways to use a Sharpie, visit The Sharpie Blog!
- Discover Luxury at Sonesta Irvine: Your Ideal Staycation - August 8, 2024
- CHOC Walk Returns to the Disneyland Resort – Special Events and Ways to Support - June 28, 2023
- Beastly Ball Returns to the Los Angeles Zoo - May 8, 2023


Leave a Reply