One of the best things I did this year was teach myself how to can. I love making foods from scratch, particularly when I can replicate store-bought varieties without added chemicals or preservatives. Up until this year, my children never really had jelly, jam or preserves because I refused to purchase store brands containing artificial colors, flavors, sweeteners and preservatives. After reading and experimenting, I was able to make a variety of flavorful jams and preserves with just a few simple ingredients.

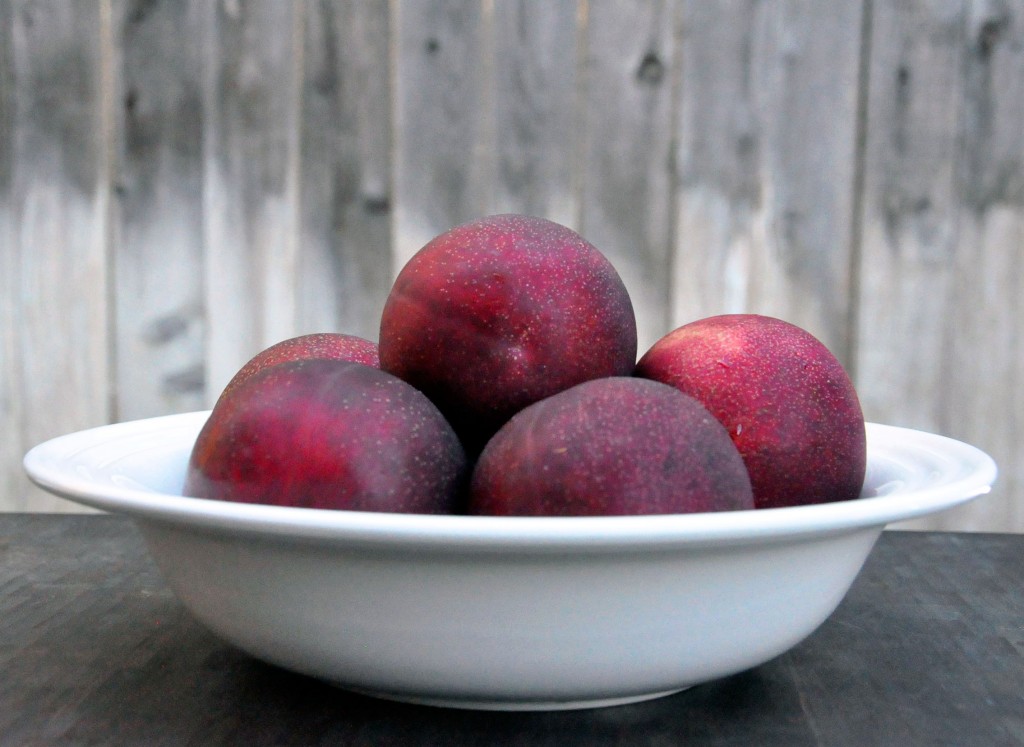
Last week, I came home with 3 large boxes of nectarines and pluots , and after paying it forward to my family, friends, and neighbors, I was still left with about 20 pluots. Since Summeripe’s stone fruit are ripe upon arrival in stores, I knew that I only had a few days to eat or cook with the fruit, so I decided to make a few batches of Pluot Jam. Pluots are not a fruit we typically purchase, but this experience changed my perspective. In my opinion, they have more characteristics of a plum than an apricot and are sweeter and juicier.
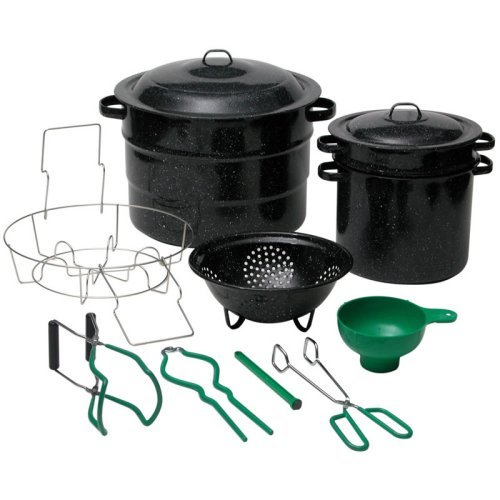
Canning is actually quite simple but requires time, patience, and a few tools that will make the process practically seamless. Walmart carries an affordable 8 piece canner set that includes everything you need (minus the jars) to get started. Since you’ll be handling very hot items (glass jars, lids, etc.), it’s helpful to have metal tongs which are included in this set. Pick up a case of canning jars and you’ll be ready to begin the process.
1. Wash all of your supplies with soap and water.
2. Heat jars and lids as recommended (180 degrees). The canner set I have includes a jar rack which makes it easy to heat and then remove the jars. I like to get this process started while I’m preparing the filling (in this instance jam).
3. Once your filling is ready, pour it into the hot jars. Be sure to leave some space to allow for expansion and the creation of a sealed vacuum during cooling. For jams and jellies, the recommended headpsace is 1/4 inch.
4. Place the jars back into the canner and process (aka boil) for approximately 10 minutes. Tip: You’ll know the jars are sealed if the center of the lid does not move when depressed. If any of your jars did not seal, you’ll need to store the jam in the refrigerator and use it as soon as possible.

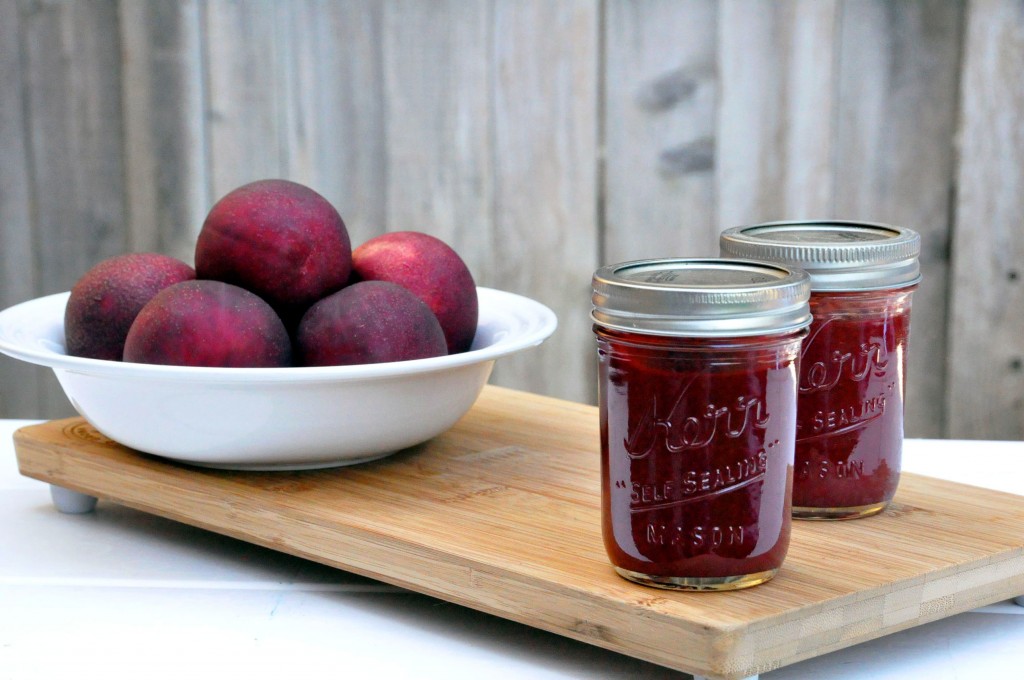
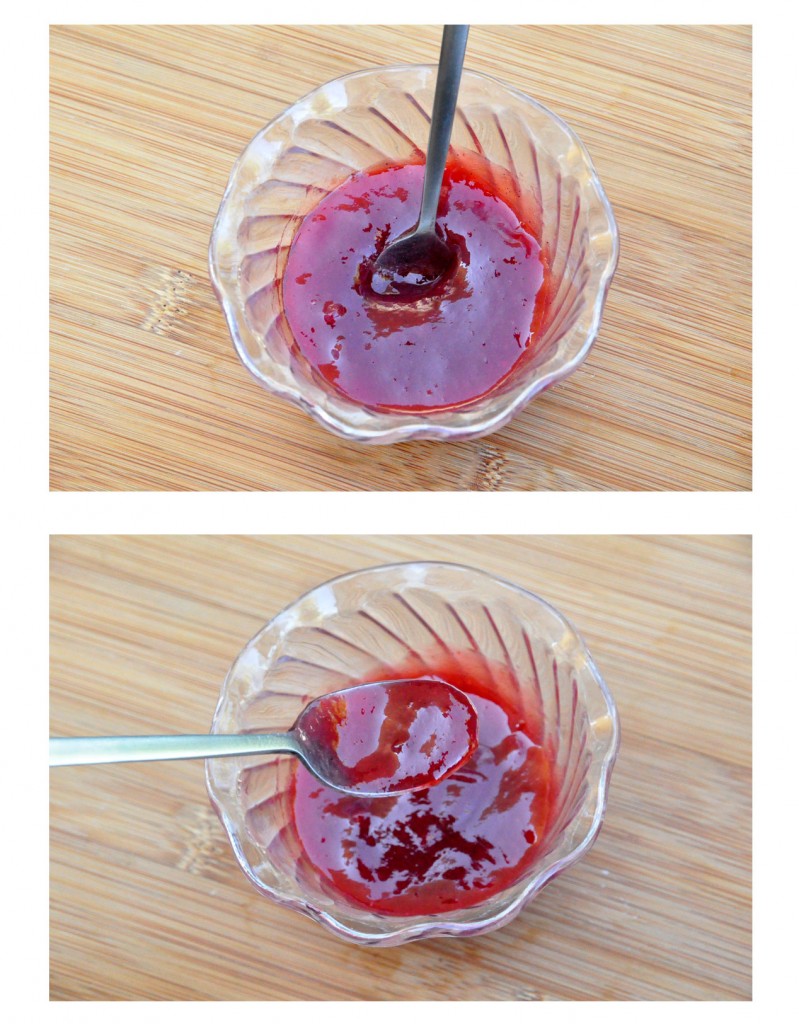
The recipe I used was very simple and obtained from The View From Great Island. I love that it doesn’t require pectin or other artificial ingredients and the addition of a single vanilla bean during cooking gave the jam a distinct flavor. I halved the recipe, using seven pluots (about 1 cup of sugar, lemon juice and a vanilla bean) and ended up with just over 3 jars of Pluot Jam. As recommended, I cooked the pluots with the skin on, but I wanted a smoother jam so I ended up using a stick blender once they had cooked for about 45 minutes. The jam thickened perfectly without the need for pectin and the flavor was sweet with just the right amount of tanginess.

While we don’t typically have an abundance of fruit, canning is a great way to use up a large amount in a short period of time. I don’t like to waste fruit and for seasonal produce like pluots, canning allows for enjoyment long after the short summer season has ended. Once you’ve purchased the basics, you’ll simply need to purchase extra lids since those are the only items that cannot be re-used for sealing/processing.
*All of the supplies above, including the ingredients for the Vanilla Bean Pluot Jam, were purchased at Walmart.
- Discover Luxury at Sonesta Irvine: Your Ideal Staycation - August 8, 2024
- CHOC Walk Returns to the Disneyland Resort – Special Events and Ways to Support - June 28, 2023
- Beastly Ball Returns to the Los Angeles Zoo - May 8, 2023


Leave a Reply