{Sponsored}
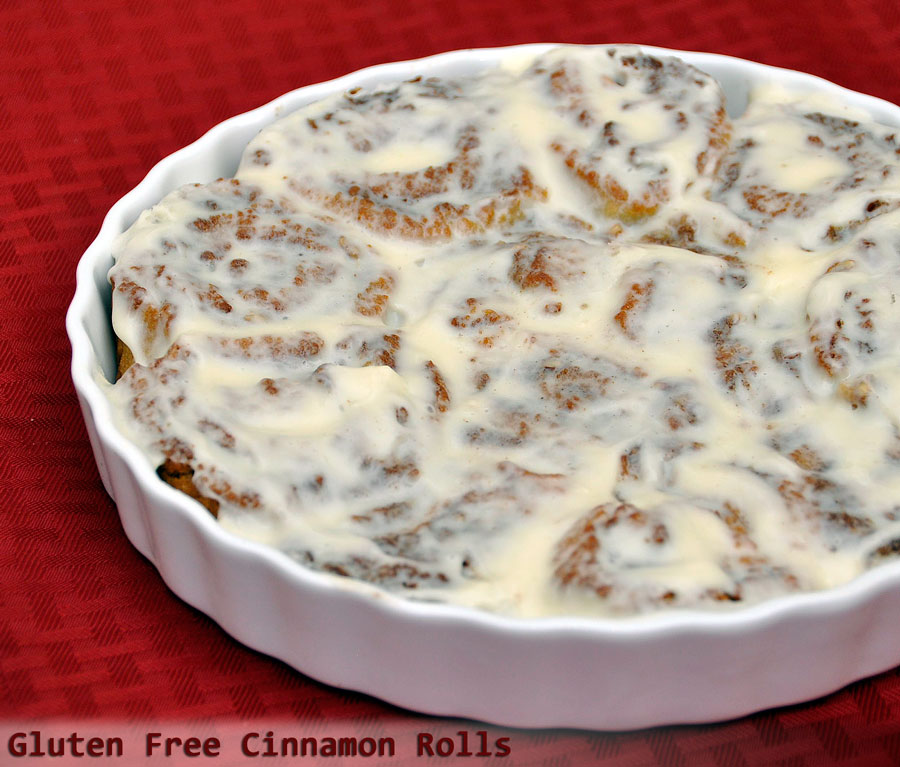
Do you ever wonder how traditions begin? One year (which one I can’t remember), my husband decided that we’d have cinnamon rolls on Christmas morning. I have a bit of a sweet tooth (ahem), particularly when baked goods include cinnamon and cream cheese icing, so I thought it was a wonderful idea. Traditionally, these fluffy pillows of cinnamon and brown sugar goodness are made from a yeast-leavened dough which gives them their lighter, softer texture. Getting conventional dough made with flour to rise can be a challenge in and of itself. You can imagine how much more difficult this is when using gluten free flours. But I love a challenge and baking is therapeutic for me, so I decided to take on this venture of making Gluten Free Cinnamon Rolls!
Several years ago, my mother-in-law was diagnosed with a Gluten Intolerance and from spending time with her during our visits, I see how challenging it is, since gluten is in practically everything! Fortunately, there are a number of brands offering gluten-free ingredients and foods. In fact, our local Walmart has an entire section dedicated to gluten-free foods, which is where I shopped for my ingredients.
Baking is a science which requires precision, unlike cooking where the margin for error is greater. This particular recipe took 3 attempts since I wanted to make sure the flavor and the texture were to my satisfaction. The overall process (which I’ll walk you through) took me approximately 3 hours which includes preparing the dough, the filling, and the icing. While in theory you could prep the dough the night before, I have not tried it and I can’t guarantee the dough will be as light and fluffy once it has sat in the fridge. Remember that you only have one opportunity to let the yeast work its magic.
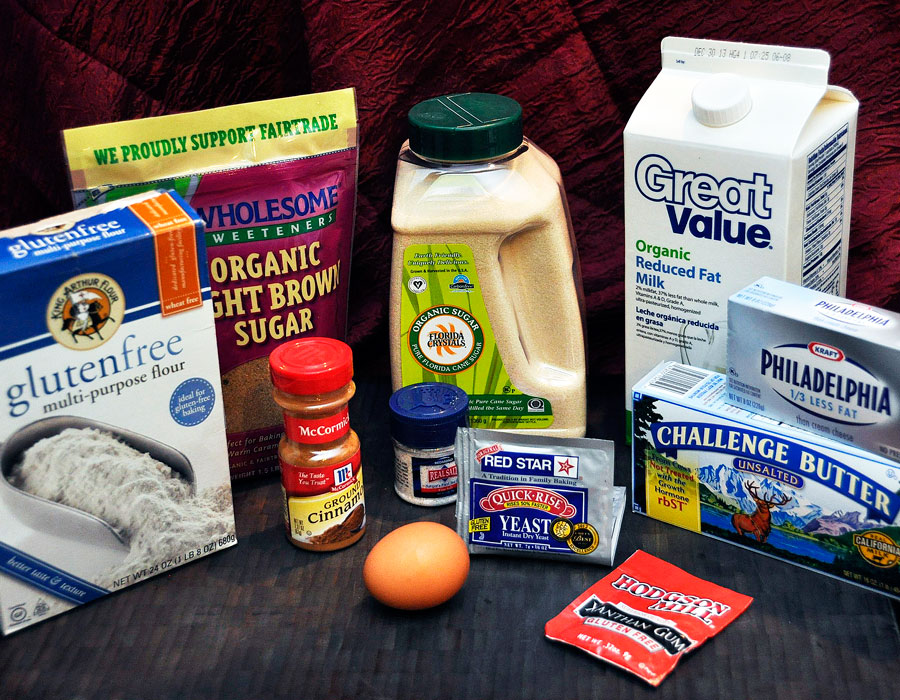
Here is what you’ll need (all of the ingredients were purchased at my local Walmart).
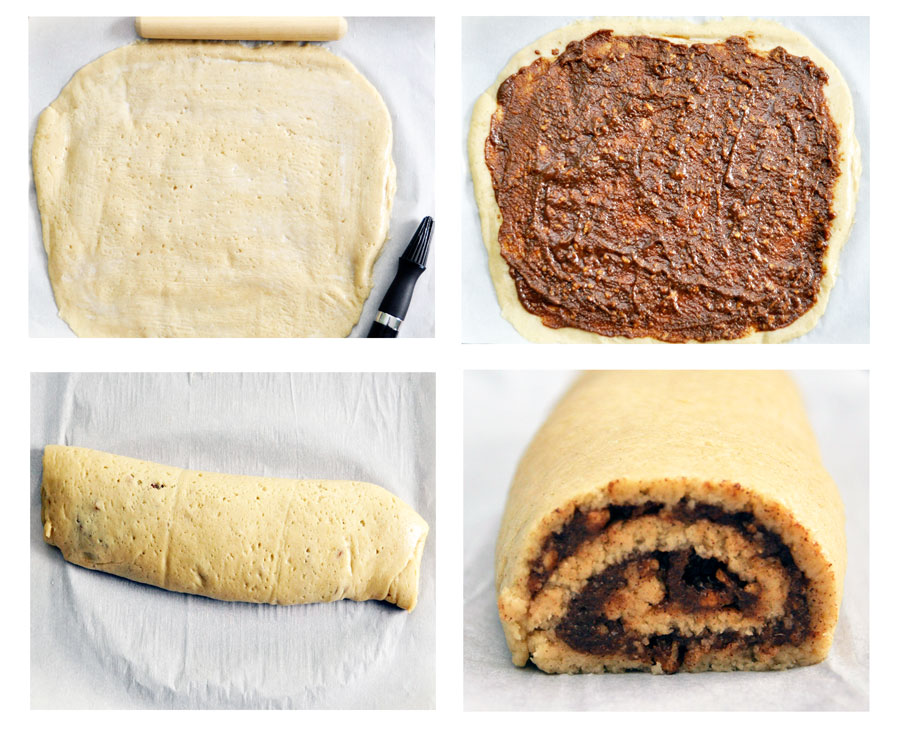
Preparing the dough:
1. Make sure the yeast you’re using is fresh (and gluten-free) by checking the expiration date. I picked up a package of Red Star Active Yeast at my local Walmart. While many recipes simply instruct you to add all of the ingredients for the dough together, I recommend “proofing” the yeast first to determine if your yeast is active. Simply dissolve the yeast in warmed milk and wait for it to bubble and foam. Remember that if your milk is too warm or too cold, the yeast won’t work its rising magic. If your yeast didn’t “proof” you might visit Red Star’s website to troubleshoot.
2. Once you’ve combined all of your ingredients, allow the dough to rise in a warm place. I like to turn on my oven to the lowest setting for a few minutes and then turn it off and let my dough rise inside with the door ajar. Just remember not to “bake” the dough. If your dough appears to be too sticky you can add a small amount of flour before setting it to rise, but avoid adding too much and thus drying out the dough.
3. While my dough was rising, I started working on the filling and the icing. My filling incorporates my favorite nut…pecans! Simply crush them with kitchen mallet. I like a few pecan chunks so I don’t crush them completely. Mix the brown sugar, pecans, cinnamon, and softened butter together until it forms a soft paste and set aside.
4. The icing is probably my favorite part of these cinnamon rolls! And, since it’s pretty difficult to mess this up, you can adjust your ingredients to your palate. I like to use a lot of cream cheese with a small amount of butter, a hint of vanilla and some powdered sugar. You can also add a splash of freshly squeezed orange juice if you’d like. Whip everything together using your stand mixer and set aside or place in the fridge until you’re ready to use it. My recipe goes light on the sugar so if you find that you like your icing a bit sweeter, feel free to add more powdered sugar. I felt like these rolls were sweet enough with the brown sugar/cinnamon/pecan filling and the icing was a nice compliment to the recipe without being overwhelmingly sweet.
5. After you’ve prepared the filling and the icing, it should be time to start assembling your cinnamon rolls. This is yet another process with little margin for error so be forewarned. Cut 2 pieces of parchment paper out slightly larger than the 13 inch square you are going to roll out.
6. Spray the parchment paper with a touch of cooking spray. I prefer cooking spray over flour so that I don’t dry out my dough.
7. Roll or flatten your dough out into a 13 x 13 inch square. I don’t typically measure but simply roll it out according to thickness, which should be about 1/4 inch thick. If you roll it out too thin, your cinnamon rolls will burst with cinnamon sugary goodness (which isn’t necessarily a bad thing) : )
8. Brush a small amount of milk onto the dough to prevent the filling from separating during baking.
9. Spread an even layer of filling onto the dough, leaving a 1 inch border all the way around.
10. Beginning at the top of the parchment paper, roll the dough down towards you into a log.
11. Use a serrated knife to cut the dough into 10 equal slices. Note: I highly recommend using a circular pan/dish to bake your cinnamon rolls in. The depth of this pan will determine how thick to slice the dough. You want the rolls to sit next to each other for support so they will rise evenly.
12. Optional: Allow the rolls to continue rising for another 30-60 minutes if desired.
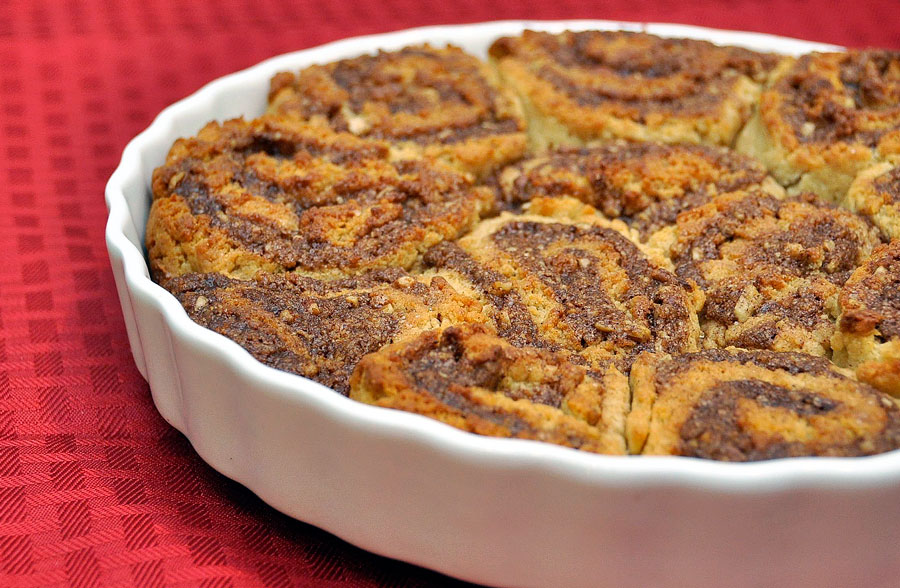
13. Bake at 400 for 18-20 minutes, or until a knife inserted in between the rolls comes out clean. Do not over bake.
14. Remove from oven and ice immediately. Best when served warm!
- 1 tablespoon of active dry yeast
- 2/3 cup low-fat milk
- 1/4 cup organic cane sugar
- 2 tablespoons of unsalted butter
- 1/4 cup sunflower oil
- 1 teaspoon vanilla
- 1 egg
- 1 1/2 cups gluten free flour
- 1 teaspoon xanthan gum
- 2 teaspoons baking powder
- 1/4 teaspoon baking soda
- 1/2 teaspoon salt
- Filling:
- 1/2 cup organic brown sugar
- 1/2 cup chopped pecans
- 3 teaspoons of cinnamon
- 6 tablespoons of unsalted butter softened
- Icing:
- 8 ounces of light cream cheese
- 1 cup of powered sugar
- 2 tablespoons of unsalted butter softened
- 1/2 teaspoon of vanilla
-
Dissolve the yeast in warmed milk and allow to bubble/foam
-
Add sugar, butter, sunflower oil, and vanilla and mix to combine
-
Add egg and mix thoroughly
-
Mix gluten free flour with xanthan gum, baking powder, baking soda, and salt in a separate bowl
-
Add flour mixture to wet ingredients and mix until combined
-
Once dough has risen, roll out between 2 pieces of greased parchment paper (square should be approximately 13x13" and 1/4 inch thick)
-
Brush a small amount of milk onto dough
-
Spread filling on top of dough, leaving a 1 inch margin all the way around
-
Starting from the top of the parchment paper, roll the dough towards you into a log
-
Using a serrated knife, cut the log into 10 equal pieces
-
Place rolls in a round, greased baking pan/dish
-
Allow to rise for 30-60 minutes, if desired
-
Bake at 400 degrees F for 18-20 minutes or until a knife inserted in between the rolls comes out clean. Do not over-bake
-
Remove from oven and ice immediately
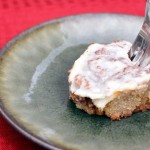
After 3 attempts, I can honestly say that I was so happy with the results. And neither my kids nor my husband could taste that they were gluten-free. Success! Now, if only I could make these last until Christmas morning!
What traditions do you celebrate during the holidays? If you have a favorite recipe, craft, or activity, I’d love to share it below.
- Discover Luxury at Sonesta Irvine: Your Ideal Staycation - August 8, 2024
- CHOC Walk Returns to the Disneyland Resort – Special Events and Ways to Support - June 28, 2023
- Beastly Ball Returns to the Los Angeles Zoo - May 8, 2023


Leave a Reply