During the school year, my son’s teacher spends time teaching the kids about plants and gardening by regularly taking them to their on-campus garden, and about animals through stories, crafts, songs and a dedicated field trip. My children absolutely love spending time outdoors, and now that we’re heading into summer, I thought it might be fun to merge our love for creativity with our love for nature.
Crafting with kids is a wonderful way to spend time together making memories, and inspires creativity and learning. For nearly a year, I’ve wanted to spend some time creating a home for the birds that sing to us in the morning and frequent our backyard throughout the day. While shopping at Walmart, I happened upon some adorable Paint-Your-Own Wooden Birdhouses for a dollar, so I picked up a few to paint and prepare. But in order to attract the birds, we needed something edible! After perusing Pinterest, I happened upon a recipe for a DIY birdfeeder so I picked up a few more necessary items and we began our bird-inspired DIY.
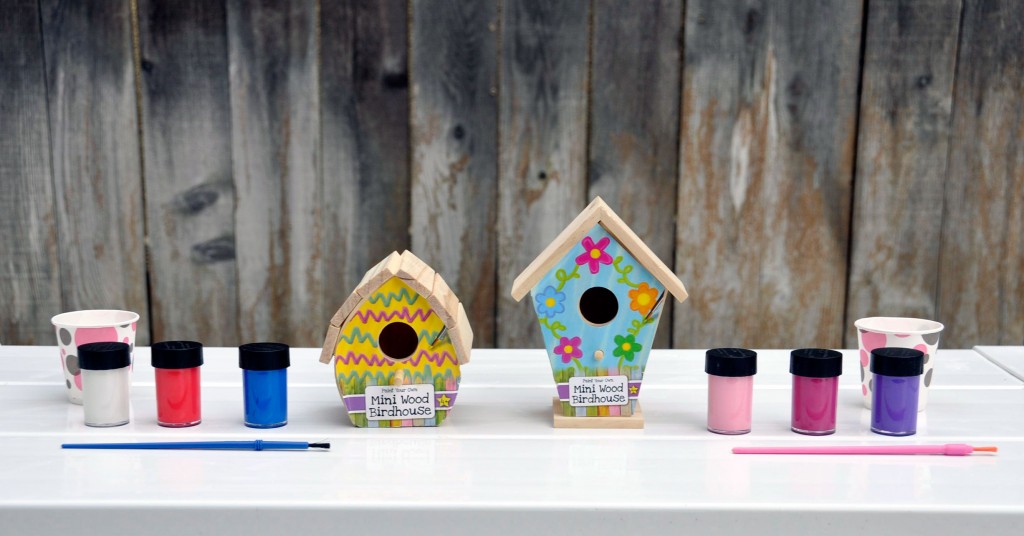
For the birdhouses, you’ll need the following items:
Plaid Wood Birdhouse (Walmart offers 3 different designs)
Acrylic Paint in the colors of your choice
Paint Brushes
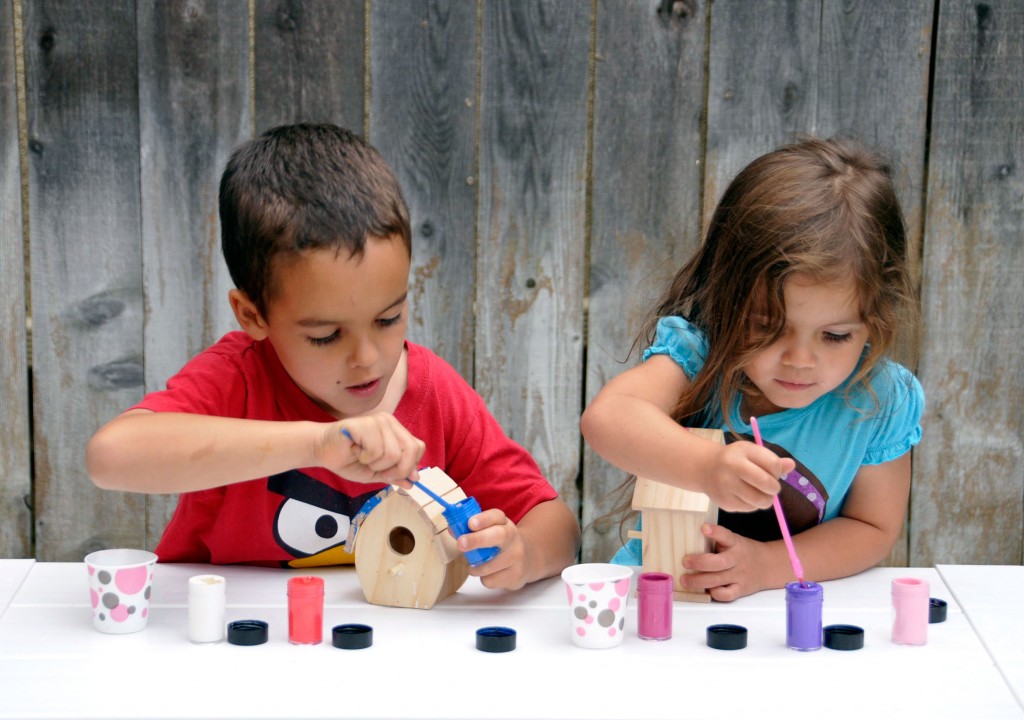
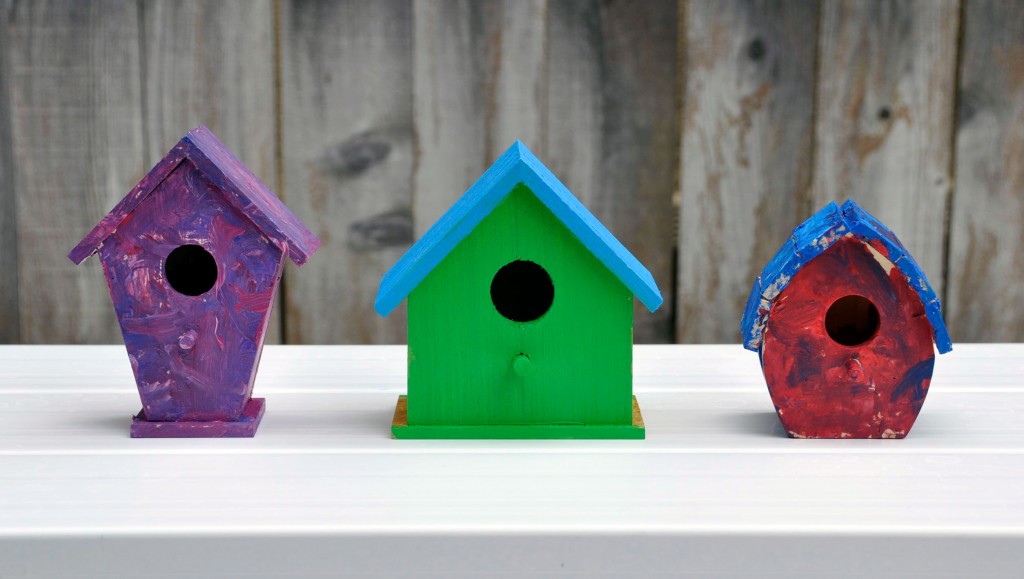
My children are still young enough that painting is probably all they could manage to sit down for. We love these mini birdhouses because they are already put together (unlike most kits). Since the wood is unfinished, I recommend giving these birdhouses a second (or even a third) coat of paint. Allow them to dry overnight.
While the birdhouses were drying, I started making the recipe for the birdfeeders. There are a TON of variations online, but since I didn’t want to wait an extended period of time for them to dry out, I opted for a recipe that included some baking.
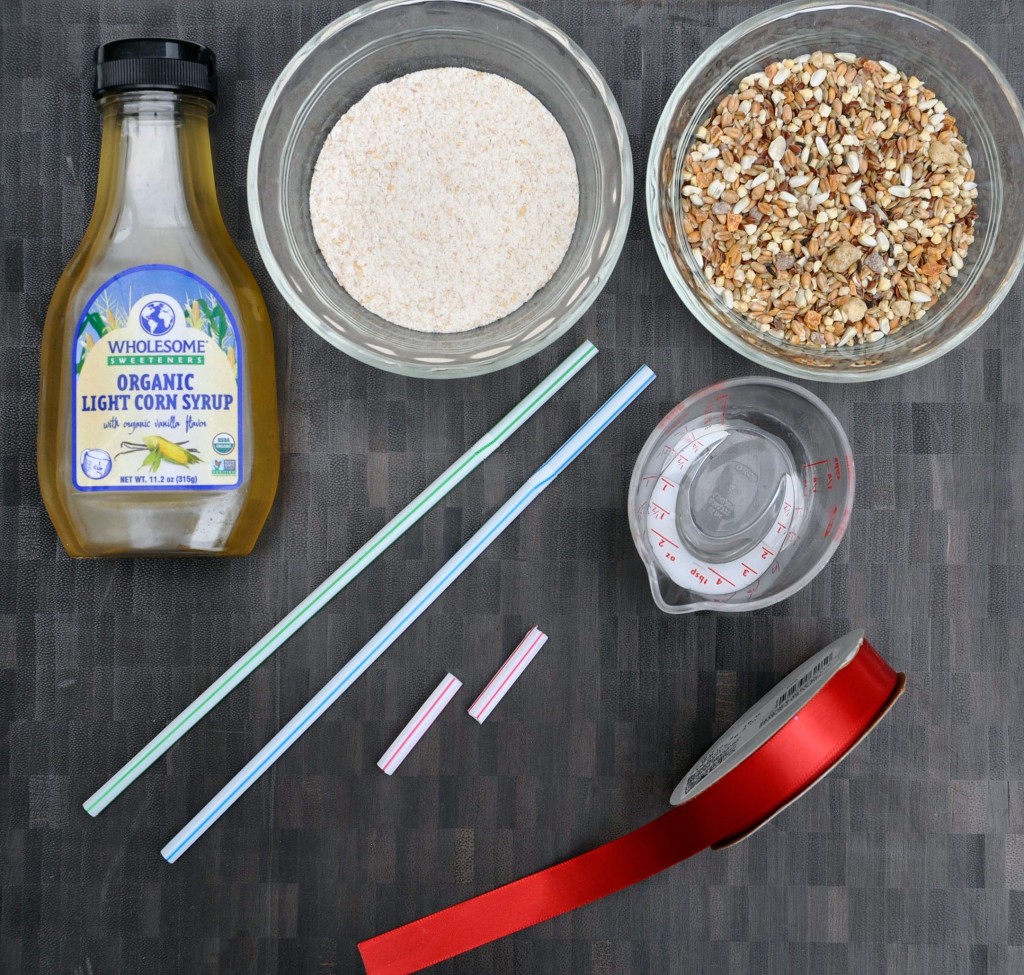
Here is what you’ll need for this DIY birdfeeder:
Birdseed
Flour
Water
Corn Syrup
Cooking Spray or oil (to coat pans)
Shaped pans
Straws
Ribbon
Combine 3/4 cup of birdseed with 1 tablespoon of flour, 1 tablespoon of water, and 1 tablespoon of corn syrup.
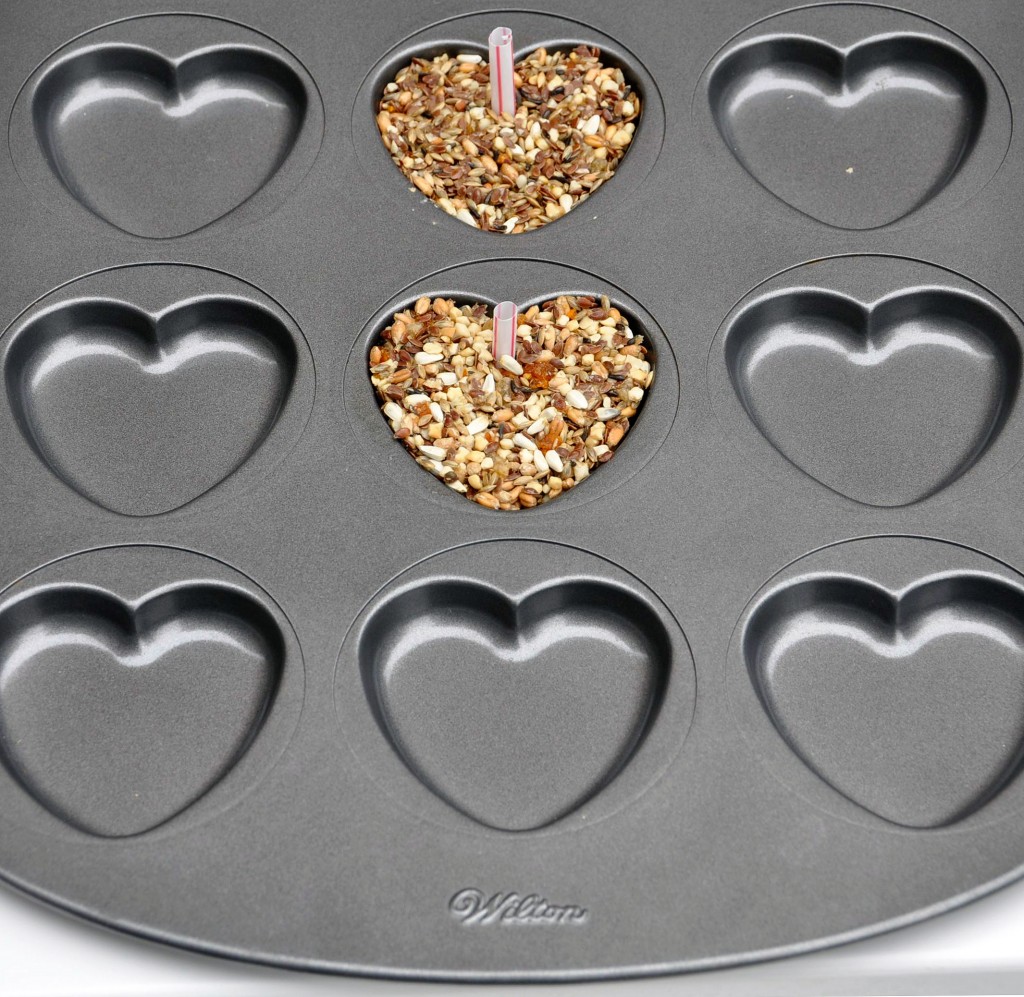
Coat your pans with cooking spray or oil (so that removal is easy) and fill with the birdseed mixture.
Cut one small piece of a straw for each birdfeeder (This will help create a hole for the ribbon).
Bake at 170 degrees F for approximately 1 hour or until hardened.
String the ribbon through the hole and voila!
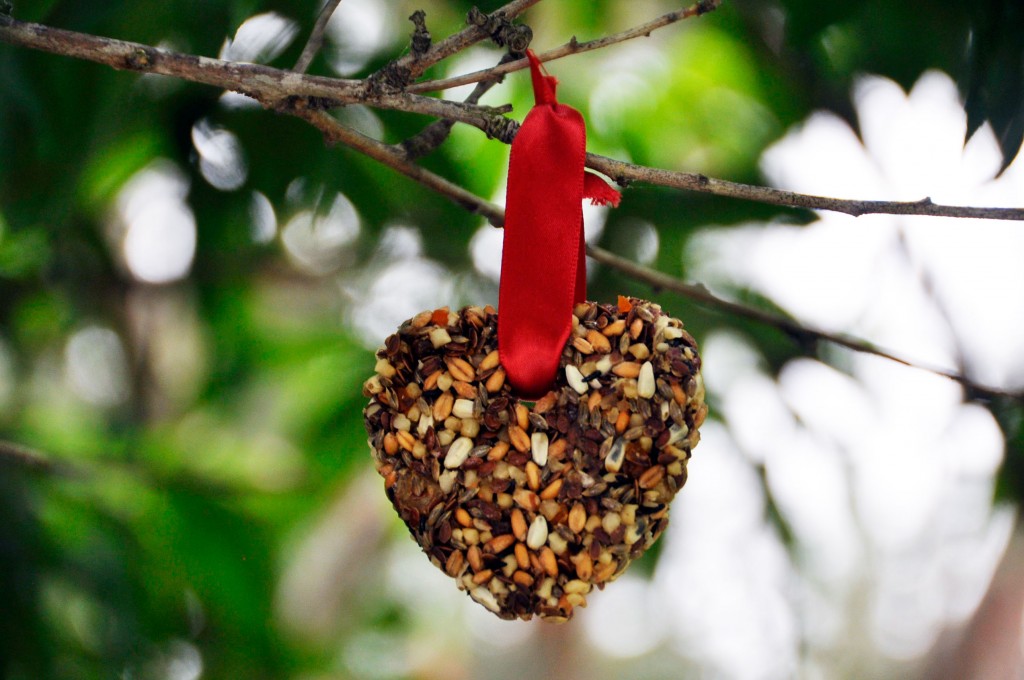
FYI: This recipe yielded 4 average-sized birdfeeders.
One quick note, while doing some research for this project, I happened upon several recipes that used peanut butter. While it’s unlikely that a bird will choke, the peanut butter is likely stickier than birds are accustomed to and might make it more difficult for them to eat so we opted for a more bird-friendly feeder (no pun intended).
Once we set out our birdhouses and birdfeeders, I used this opportunity to talk to my children about birds and we turned this into an impromptu learning activity.
While summer is all about fun and relaxation, I also aspire to incorporate some creative, meaningful experiences such as this one to inspire a love of both nature and learning.
Images: Rockin’ Mama.
DIY Birdfeeder inspired by this tutorial found on eHow.
- Discover Luxury at Sonesta Irvine: Your Ideal Staycation - August 8, 2024
- CHOC Walk Returns to the Disneyland Resort – Special Events and Ways to Support - June 28, 2023
- Beastly Ball Returns to the Los Angeles Zoo - May 8, 2023


Leave a Reply