{Sponsored}
It’s winter here in Southern California, but you wouldn’t know it based on the unseasonably warm days we’ve had sprinkled throughout January. We haven’t experienced winter like the rest of the country, but on those mornings where I see temperatures in the 30’s and 40’s, I’m tempted to snuggle on the couch with my kids and watch classic movies. If it is the weekend and we don’t have sports or activities, I’ll delve into our craft box with my kids so we’re not completely absorbed in screen time.

My son has been learning about winter at school, and recently he asked why it doesn’t snow here in Orange County. I had to break the news to him that apart from a visit to the San Bernardino Mountains, our desert-like conditions and warm sunny days mean that it never gets cold enough to snow (and we rarely get rain!). Since I couldn’t make it snow, I thought making paper snowflakes was a fun , crafty way to celebrate our SoCal winter!
I absolutely loved making snowflakes as a child because they were simple and inspired creativity. And just like real snowflakes, each one was unique and unlike any other, which is why it seems completely contradictory to use a printable snowflake template. The process is simple enough. Fold a piece of paper a couple of times, then use a pair of scissors to cut curved and/or angled lines. Open up your snowflake carefully, and display on your windows.
So why use a printable template?
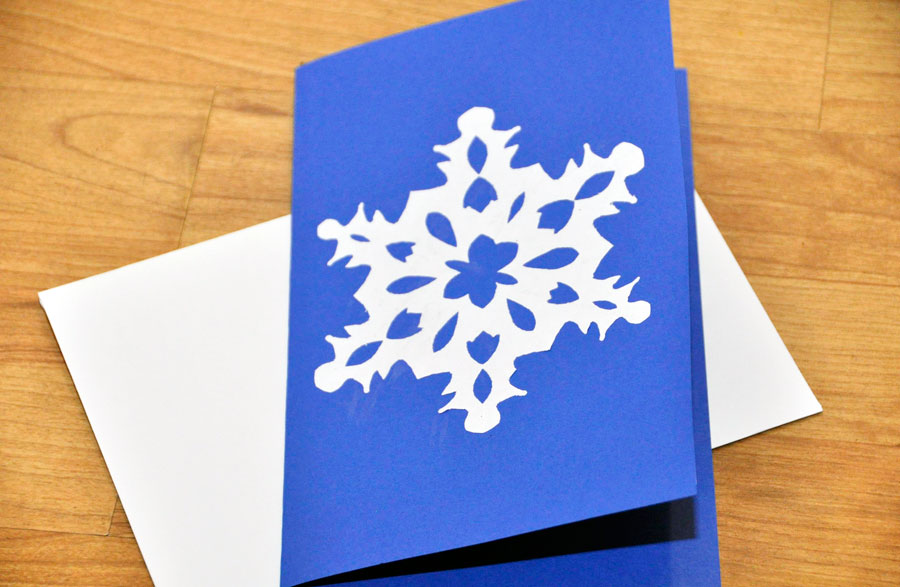
After we cut out several snowflakes, my husband and I dreamed up the idea to make snowflake invitations to celebrate winter. Whether you’re having a birthday party, a girls’ night out, or a playdate, these easy DIY snowflake invitations are a fun, winter-inspired activity. They are super easy to make, affordable, and look fantastic. By using this template, you can ensure that each snowflake is the same size, while still sprinkling your own creativity so that each snowflake is unique.

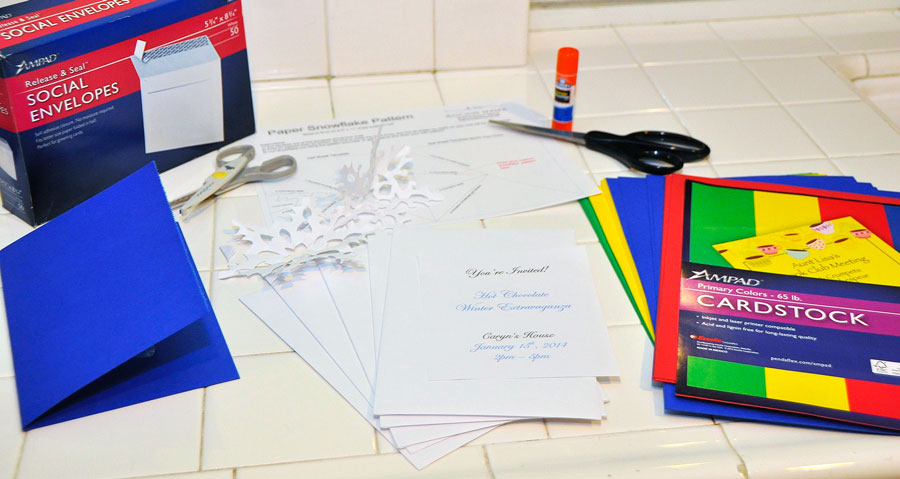
Here is what you’ll need for these DIY Snowflake Invitations:
- White Paper (you can also get fancy and use card stock)
- Scissors
- Glue (I prefer a glue stick since it isn’t as messy as traditional white glue and dries clear)
- Free Printable Paper Snowflake Pattern
- Cardstock
- Social Envelopes

Instructions
1. Using your printable paper snowflake pattern, cut the square out along the blue lines
2. Fold on the dashed lines (be sure to line up the edges and press the folds down firmly so that your cuts are symmetrical)
3. Cut your snowflake pattern out using the pattern provided or draw your own
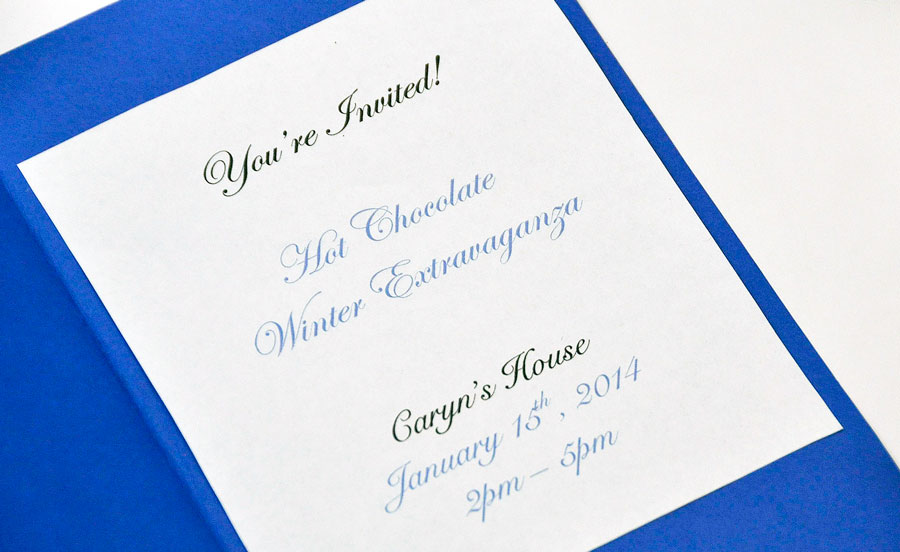
4. Print out a half sheet of paper with the details of your event (you could also write out the details on a white sheet of paper with a calligraphy pen)
5. Fold one piece of cards tock in half (I used blue…a perfectly wintery color)
6. Glue the half sheet of paper with the details of your event on the inside of the invitation
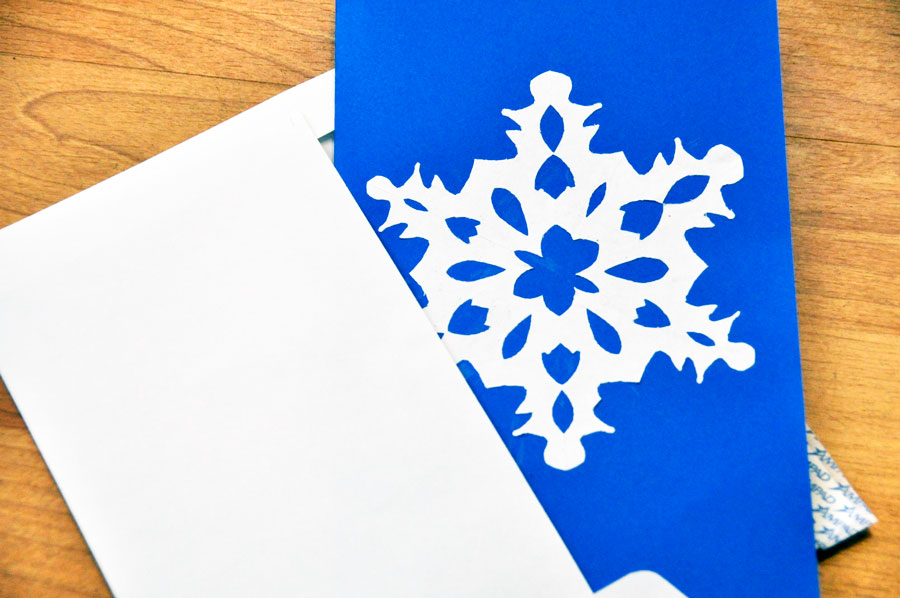
7. Glue your snowflake to the outside of your invitation
Optional: Decorate your invitation with silver or gold paint pens, stickers, etc.

My kids and I had fun making these snowflakes and I’m planning to use the invitations for our next church activity. All of the supplies used to make these DIY snowflake invitations were purchased at Walmart.
What is your favorite winter activity/craft? I’d love to share your ideas in the comments below.
- Discover Luxury at Sonesta Irvine: Your Ideal Staycation - August 8, 2024
- CHOC Walk Returns to the Disneyland Resort – Special Events and Ways to Support - June 28, 2023
- Beastly Ball Returns to the Los Angeles Zoo - May 8, 2023


Leave a Reply