{Sponsored}
Sometimes, I get an idea in my head and I just can’t let it go. Like the day I decided I simply couldn’t use a box of pudding mix for my Peeps Homemade Pudding Nests and had to make the pudding from scratch…with cocoa…and dark chocolate! But it didn’t stop there…if I could make stove-top dark chocolate pudding, then could I also make vanilla, right? With vanilla beans! Inspired by The Luna Cafe’s decadent pudding recipes, I picked up a few essentials from my local Walmart along with a box of Peeps and got to work on my nests.

Easter is about one week away, and our traditions typically include an early morning church service followed by a family brunch and an egg hunt. There is always an abundance of chocolate, jelly beans, and Peeps, so I decided to incorporate all three of those classic sweets into one delicious treat. I knew that I wanted to make my own pudding, since it’s incredibly difficult to find a store-bought variety that is free from cornstarch and other artificial flavors/ingredients. I used ChocoMaker’s Dark Belgian Chocolate Dessert Cups for my nests, Starburst Jellybeans for the eggs, and Peeps for the chicks. I wasn’t sure how they would turn out but my kids were absolutely delighted!
The very first thing you’ll want to do is prepare your pudding. Make sure you take note of the time the pudding will need to set in the refrigerator. You might make the pudding the night before so that you aren’t scrambling to get these Peeps Homemade Pudding Nests put together on Easter morning.
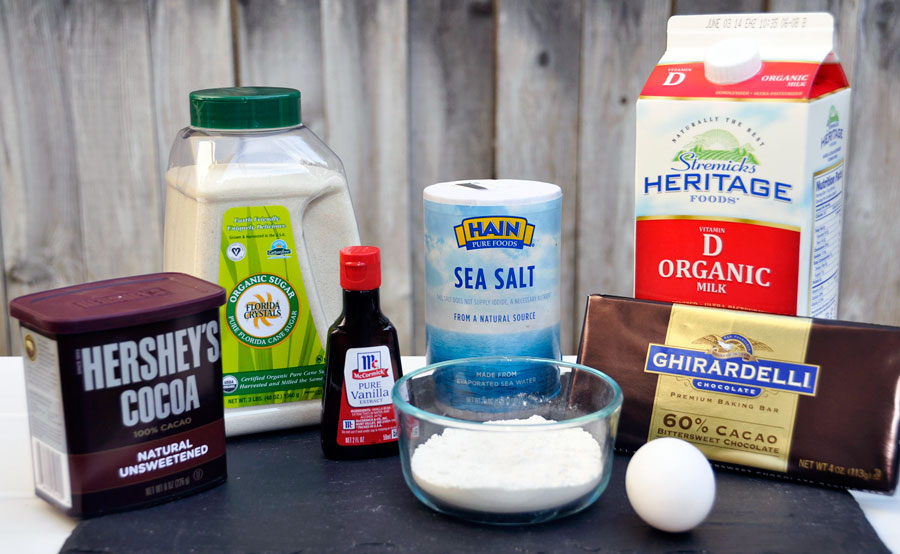
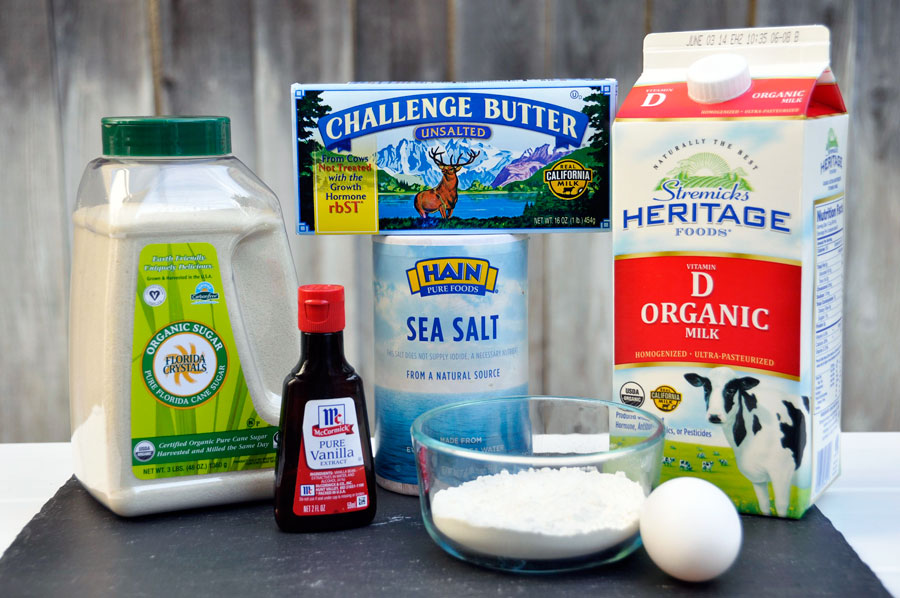
- 1 cup whole milk room temperature
- 2 tablespoons flour
- 1 large egg yolk room temperature
- 1/4 cup sugar
- 1 tablespoon unsalted butter room temperature
- 1/2 teaspoon vanilla extract
- 1/2 vanilla bean split lengthwise
- 1/8 teaspoon fine sea salt
-
In a large measuring cup with a pour spout, add 1 cup of milk. Set milk and a silicon spatula next to the stovetop.
-
In a medium bowl whisk egg yolk with 1/4 cup of milk until well combined. Set next to the stovetop.
-
In a small bowl whisk flour and sugar with 1/4 cup of the milk until smooth. Set next to the stovetop.
-
Add the flour mixture to the pan and bring the pudding to a very slow simmer.
-
Simmer, whisking for 2 minutes to thicken and then decrease heat to medium-low so the pudding is no longer simmering.
-
Ladle 1/4 cup of the hot pudding into the egg yolk mixture and whisk rapidly. Repeat.
-
Add the egg yolk mixture back to the saucepan.
-
Raise the heat slightly and continue stirring the pudding until it thickens to the point that it thickly coats the back of the spatula, approximately 2-4 minutes. Do not boil.
-
Remove the pudding from the heat and stir in the butter, vanilla, vanilla bean and salt until the butter is melted.
-
Strain pudding through a single mesh strainer if desired.
-
Pour pudding into a heat-proof bowl and press a piece of plastic wrap directly on the surface of the pudding.
-
Let cool and then refrigerate at least 2 hours.

Once your pudding is made and it has chilled and set in the refrigerator, gather your Dark Belgian Chocolate Dessert Cups, Starburst Jellybeans, and Peeps to begin assembling these Peeps Homemade Pudding Nests.
1. Spoon a tablespoon of pudding into the dessert cups
2. Arrange 3-4 jellybeans on top of the pudding
3. Set a single Peep on top of your nest

Putting these Peeps Homemade Pudding Nests together was quick and easy once the pudding was made. I didn’t tell my kids what I was making, rather I let them “guess” and they were absolutely delighted with their little “nests.”
If you’re looking for additional Easter Recipes and Crafts or inspiration to create your own, visit Walmart.com/Easter.
- Discover Luxury at Sonesta Irvine: Your Ideal Staycation - August 8, 2024
- CHOC Walk Returns to the Disneyland Resort – Special Events and Ways to Support - June 28, 2023
- Beastly Ball Returns to the Los Angeles Zoo - May 8, 2023


Leave a Reply