Recently, my husband half jokingly told me he wanted to send me back to home economics. It’s no secret that I lack in domestic skills, but in the past several years, I’ve worked to be better at cooking from scratch, crafting with the kids, and keeping our home organized. So when I told my husband that I was going to tackle a crochet project, he was admittedly a little doubtful. In fact, his direct words to me were, “I think you should call my grandmother.” Walmart recently introduced this gorgeous Red Heart Boutique Sashay Yarn, which features a touch of metallic on the edge. My challenge? To create one project with the entire ball of yarn!
How to Crochet a Ruffle Scarf

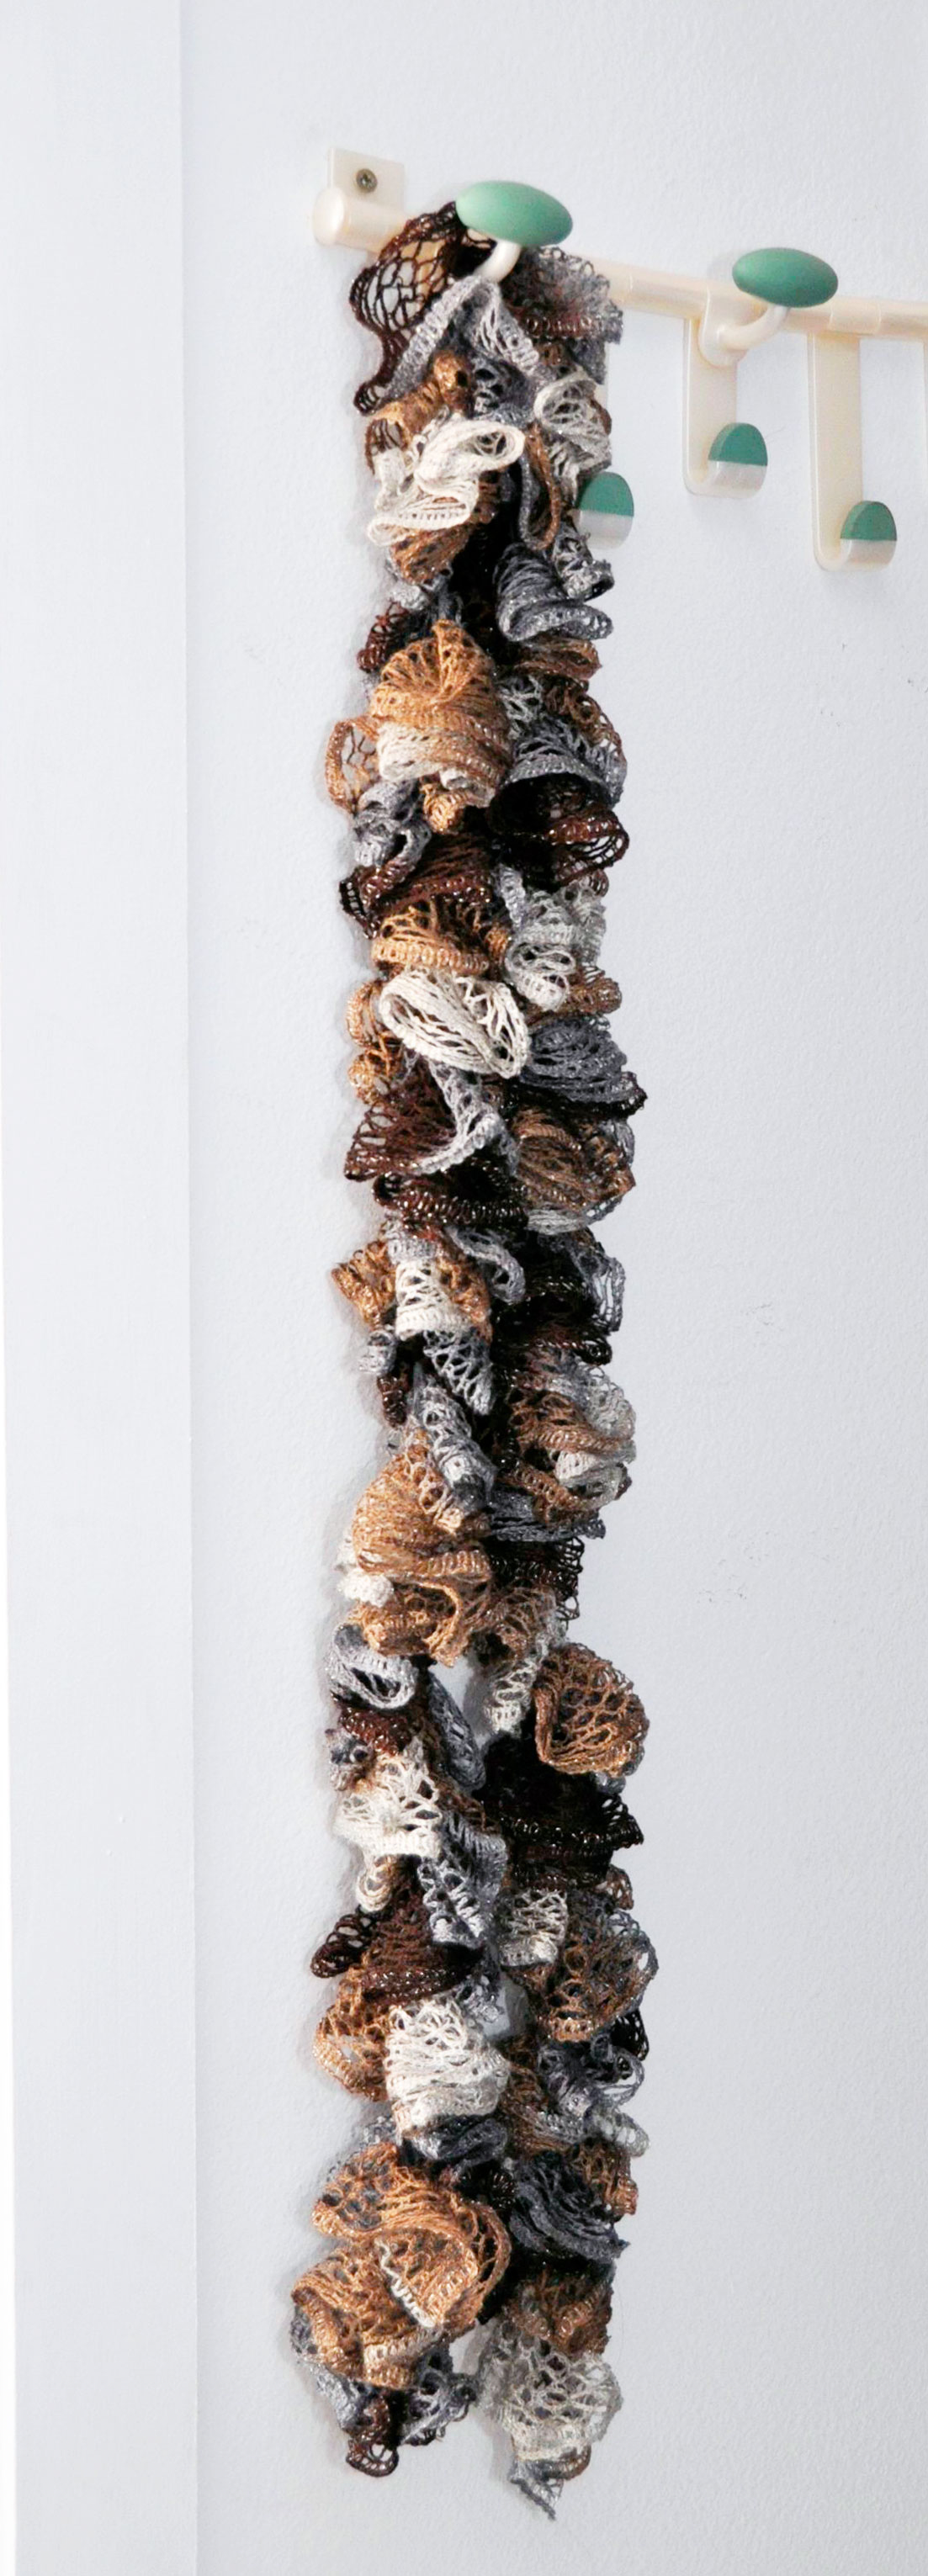
Since the thought of knitting is still something I’m nervous to attempt, I decided to crochet a ruffle scarf with Red Heart Sashay Yarn. I posted a photo of the completed scarf on Instagram, and I received a number of questions about how long it took, how complicated it was, and what pattern I used. So, I decided to show you step-by-step, how to crochet a ruffle scarf!
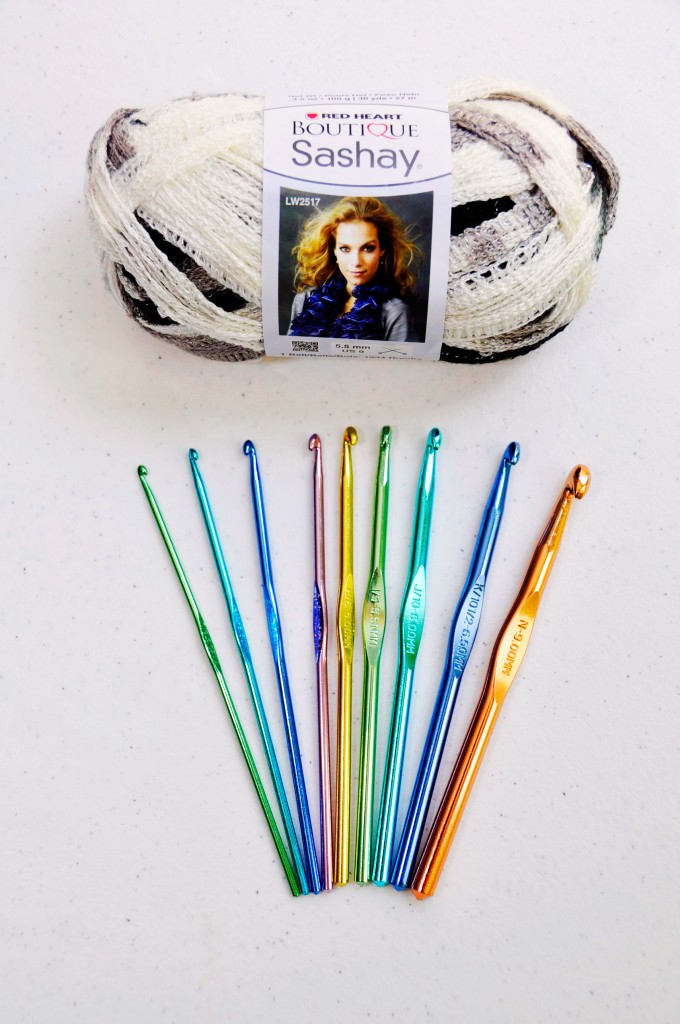
For this project, you’ll need the following:
1 ball of Sashay Yarn
1 Crochet hook (I used an H hook)
Red Heart Pattern for a Frilly Crochet Scarf
I also found it helpful to watch a video tutorial on YouTube, and in fact, watched it several times throughout the process.

1. Lay out your yarn flat, and identify the top (the bottom features the metallic edge)
2. Plan to work along the top row of holes (for a more secure stitch, work along the second row)

3. To start, fold over the edge and bring your crochet hook through 9 holes (at this point you are doubling up). This is probably the most challenging part of creating the scarf, but it will help ensure that the yarn does not unravel and will help hide the end.

3. Skip a hole, go through the 10th hole, then pull all of the loops over the last loop (this is your first “stitch”)
4. Continue to pick up 9 holes, skip 1 hole, then pick up the 10th. Bring the remaining loops through that last loop to continue creating stitches.
5. To end the scarf, ensure you have at least 10 holes. Double up the yarn (as you did in step 1) and crochet through each of the 9 holes, skipping one and picking up the 10th.
6. Whatever yarn you have left will be pulled through the last loop.
7. Tie a small but secure knot at the end and then trim the edge so that it is hidden.

Voila! You have just learned how to crochet a ruffle scarf!

The entire process took me about 3-4 hours, although I admittedly did not crochet the scarf in one sitting. The most difficult parts of the project were beginning and ending the scarf, and ensuring that I did not allow the yarn to become unraveled during those times that I was not working on it.
Just from one attempt, I walked away with a few tips that I think might be helpful when learning how to crochet a ruffle scarf:
1. If possible, try to dedicate enough time to finish the scarf in one sitting.
2. Find a good video tutorial to watch and refer back to.
3. Always work in the same direction.
4. Remember that the number of loops you pick up will determine how short/long, thick/thin your scarf is (more loops = thicker, shorter scarf, less loops = thinner, longer scarf)
5. Consider skipping a loop to make the process go quicker

Once you get accustomed to using Sashay Yarn, it’s actually quite easy to work with and the resulting projects are quite impressive. If you think about how much a scarf like this would cost in-stores (easily $30 on Etsy), you’ll realize how affordable it is to crochet the scarf yourself by setting aside just a few dedicated hours. One ball of Sashay yarn retails for $4.67 at Walmart and is available in 11 different colors. For additional patterns and project ideas, visit Red Heart.

- Discover Luxury at Sonesta Irvine: Your Ideal Staycation - August 8, 2024
- CHOC Walk Returns to the Disneyland Resort – Special Events and Ways to Support - June 28, 2023
- Beastly Ball Returns to the Los Angeles Zoo - May 8, 2023

good job! I pinned it on pinterest and shared on G+, because I want people to see your lovely creation. Vicki
Aw Vicki you are so sweet….thank you!
I have worked with this yarn , knitting it is so much easier .
Thank you for posting this – I was able to save the page to read offline – I’m going on a bustrip with a sister-in-law and she wants to learn this project. Since I don’t think the bus will have wi-fi I’ll be able to show her the instructions.
You make it loo so easy. Thank you
That’s wonderful Kathy! I hope it turned out beautifully!
I made one scarf and I’m only 13.
I am only 11 I have made 3 of them
same stella i love these
After pulling the loops through, go back and find the same loop and chain one; this will keep the scarf from unraveling.
Do you use the whole skein of Sashay?
Hi Lavell…I used the entire skein! : )
Yes you do Lavelle Mooney. It comes out beautiful. I like it better crocheted than knitted. I have done both. Have fun!
Roughly how long is the scarf?
I made 2 scarves with this tutorial! I did 6 holes pulling through the 7th before I saw your other tips ;) Next time I’ll do 9 or 10 to make it more compact and maybe make ONE scarf that way :) Thank you very much! Very useful and now I have one to wear and one to give away! :)
Thank you for the info. on making this scarf. The one I am making with your info. is easy and turning out to be so pretty. This is the first time I have used Net yard and find it a little difficult but I am sure I will get use to it. Thanks again for sharing.
Deb
Great instructions!! I have looked at other websites for instructions on how to make these, but they have all been so confusing!! I found yours, and a couple hours later, I had it done. Great job!!
Aw thanks Christi! So glad this was helpful! : ) Let me know if you have questions.
I was given a scarf by a friend and it is beautful! I want to make one from your instructions looks very easy! Beautful goob!
Caryn, sorry i misspelled job on my note to you! Your instructions are easy to follow.
I’m excited to try my luck at making one.
I watched a video and the only thing I really got out of it wss to take and straight yhe yarn flat and wrap it aroud a empty papertowel cardboard roll. So that I done. Thst took sometime. But I do better if it id written with pictures. Thsnk you so much for foing that. God Bless You.
Thank you so much for this pattern!!! I have tried others and could not figure them out. You explained his pattern so clearly that it was easy to do! I will be starting my third scarf soon.
can you use a j or k needle, instead of h.
I have made close to a dozen of these scarves as gifts. They are beautiful and can be made fairly quickly. I have been able to find the yarn at the Dollar tree for one dollar a skein. That’s a win win.