{Sponsored}
Before the Drybar, my idea of a really great personal hairstyle was defined by how straight my hair could get with a flat iron. The very first time my hair was blown out solely using a round brush and a blowdryer fascinated me, mostly because the texture, “bounce” and body created was absolutely stunning. During my blow-outs, I’ve started asking the stylist to share some tips on achieving a frizz-less, blowout defined by texture and “bounce.”

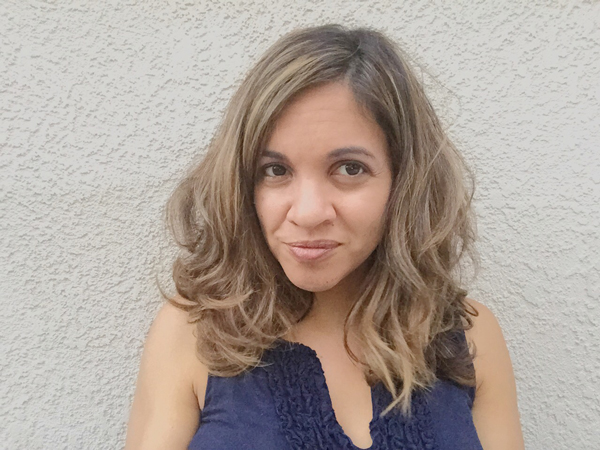
How to Create Loose Curls and Beachy Waves
1. The type and amount of product matter. As in any styling technique, applying the right products will help begin the initial process of smoothing and de-frizzing hair. I’ve been using the Diamond Color & Radiance Oil Elixir and the Satin Frizz Control & Protect Heat Protection Straightening Cream from Schwarzkopf to help begin doing some of the work before I ever use the blow dryer.
2. Use the right tools. Beyond the simple round brush, the ideal tool for creating body and texture with a blowdryer is a boar bristle brush. The benefits of using a boar bristle brush include the ability to help seal the cuticle (for a sleek, frizz-less look), distribute your hair’s own natural oils along with that of the product being used, and protect the hair during the styling process.
3. Know how to direct the heat from your blowdryer. According to a well-known celebrity stylist, the heat from a blowdryer should be directed from the root to the ends of your hair to help seal the cuticle (which in turn creates a sleek look). Interestingly enough, an excess amount of heat isn’t necessary for a sleek blowout as long as that heat is being directed appropriately.

4. Begin at the root. Take a comb and apply the same technique in step #3 to ensure the roots are dry. This will avoid that “bumpy” texture that is nearly impossible to correct once hair has dried.
5. Use a diffuser. Not only will a diffuser protect your hair from heat damage while you’re drying your hair, it will also help direct the heat, ensuring you achieve the style desired.
6. Use a round brush. Wrap hair around the round brush towards the scalp and blow-dry. Remember to direct the heat towards the root and to blow-dry in sections. The perfect blow-out takes time and patience so be sure to make allowance for this at the outset.
7. “Set” the blow-out. Once hair is blown out, use the cool setting on your blowdryer to set the hair. This step also ensures your blow-out will last longer.

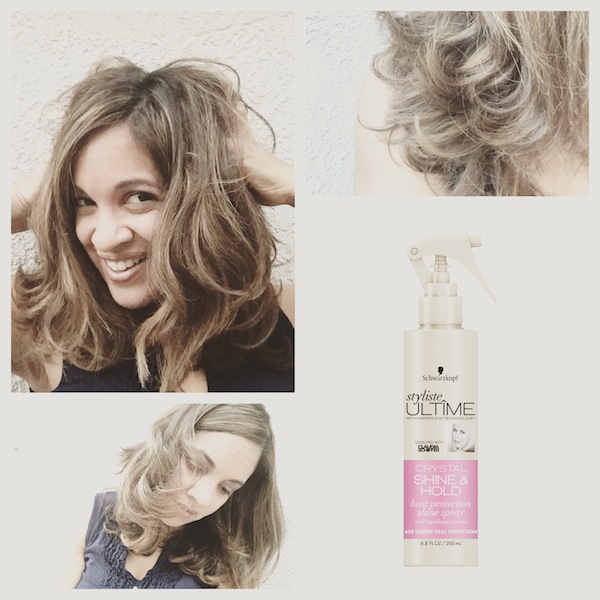
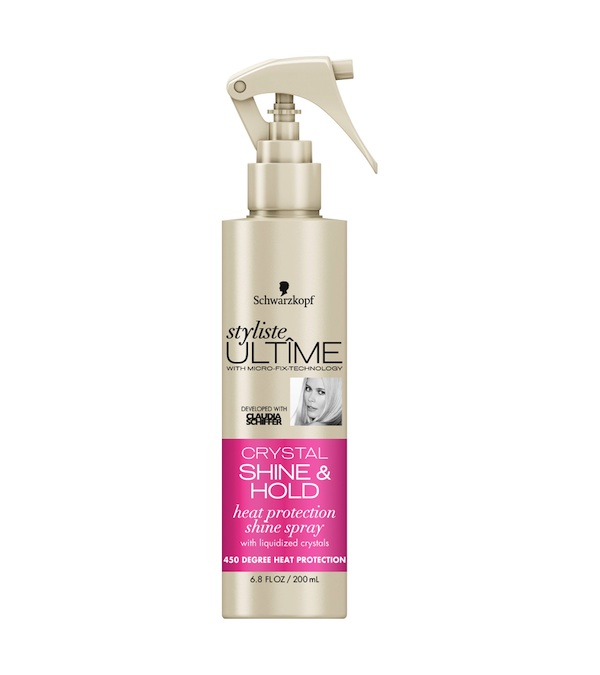
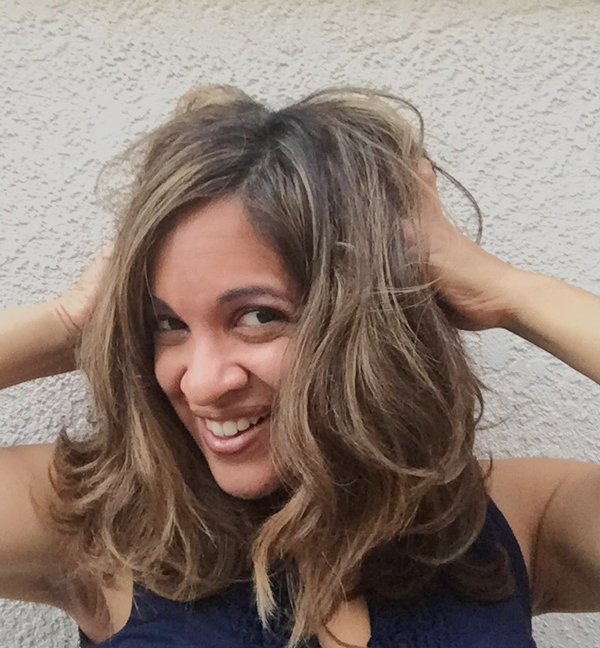
The question I always find myself asking is how I can get this blow-out to last longer. I’m not a fan of hairspray, and most days I won’t use it. However, after spending 30-45 minutes getting a blow-out, a protective spray like Schwarzkopf’s Crystal Shine & Hold Heat Protection Shine Spray helps keep my hair looking fabulous for days after the blow-out. I absolutely love that this spray provides a touchable hold, as opposed to most sprays on the market that leave hair feeling heavy and weighed down, “crunchy” or sticky. The thermal protection formula inherent to this product nourishes and protects hair from heat while sealing the cuticle (which will ultimately lead to the sleek look we’re always trying to achieve). I personally like to use a very light over-all application to “hold” the loose curls or beachy waves I’ve created with my blow-out.

You can find Schwarzkopf’s Crystal Shine & Hold Heat Protection Shine Spray at your local Walmart for just $6.97.
- Discover Luxury at Sonesta Irvine: Your Ideal Staycation - August 8, 2024
- CHOC Walk Returns to the Disneyland Resort – Special Events and Ways to Support - June 28, 2023
- Beastly Ball Returns to the Los Angeles Zoo - May 8, 2023


Leave a Reply