It’s rare for Southern California to be so cold that we literally want to stay in the entire weekend. With temperatures mimicking that of the East Coast, I thought it was the perfect weekend to get crafty with the kids.
Hands down, my childrens’ favorite holiday is Christmas, and if you follow me on Instagram, you likely noticed that we were still working on Gingerbread Houses long after the tree was put away. In fact, we STILL have our lights twinkling outside our home and I don’t anticipate we’ll have those down in the next week or so.
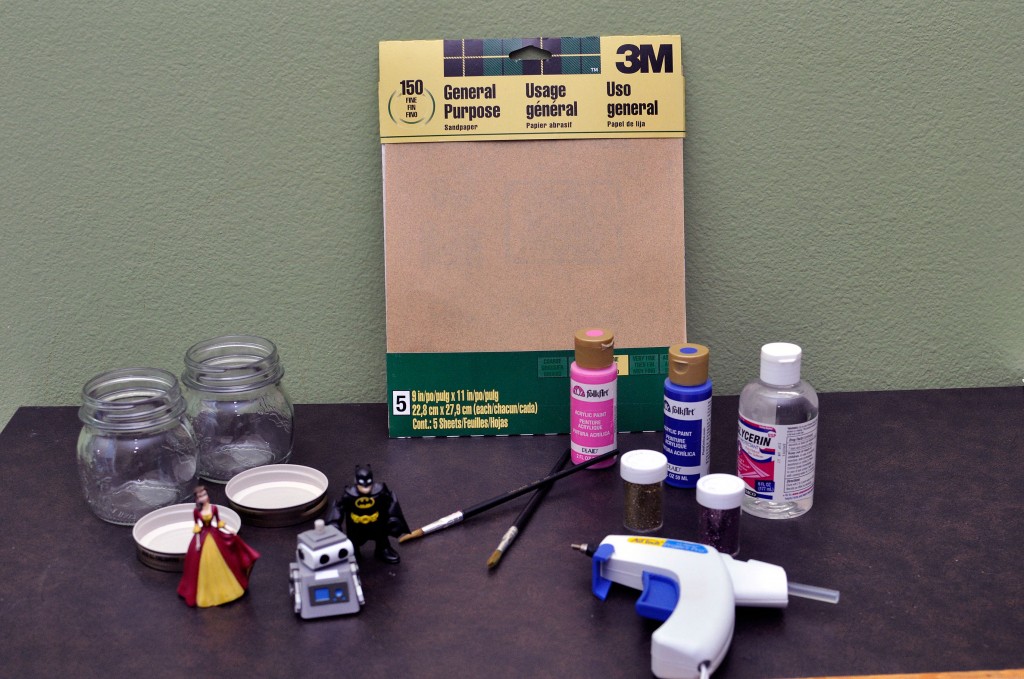
Since we’re in the middle of winter, I thought it would be fun to attempt to do something different. I often get my inspiration from Pinterest, and saw that one of the winter crafting trends was homemade snow globes. After doing a ton of research and taking inventory of the craft supplies we already own, I headed to my local Walmart to pick up the following items for our Snow Globes:

Items Needed to Make a Snow Globe:
Jars (in any shape or size, although I prefer Mason Jars) $7.47 for 12
Glitter $6.97
Glycerin (I found this in the Beauty/Cosmetics section at my local Walmart)
Sandpaper $2.97
Acrylic Paint $0.97 each
Waterproof Glue (I used a hot glue gun because most of the glue recommended is toxic i.e. epoxy glue)
Vinegar, if desired (this will prevent the development of mold)
Food Color, if desired
Cold Water (some sources recommend distilled water but we are simply going to opt for bottled)
Figures (I told each of my children to pick out a small toy that they would like to place inside their snow globe)

1. If you are using recycled jars, be sure to clean and dry them well.
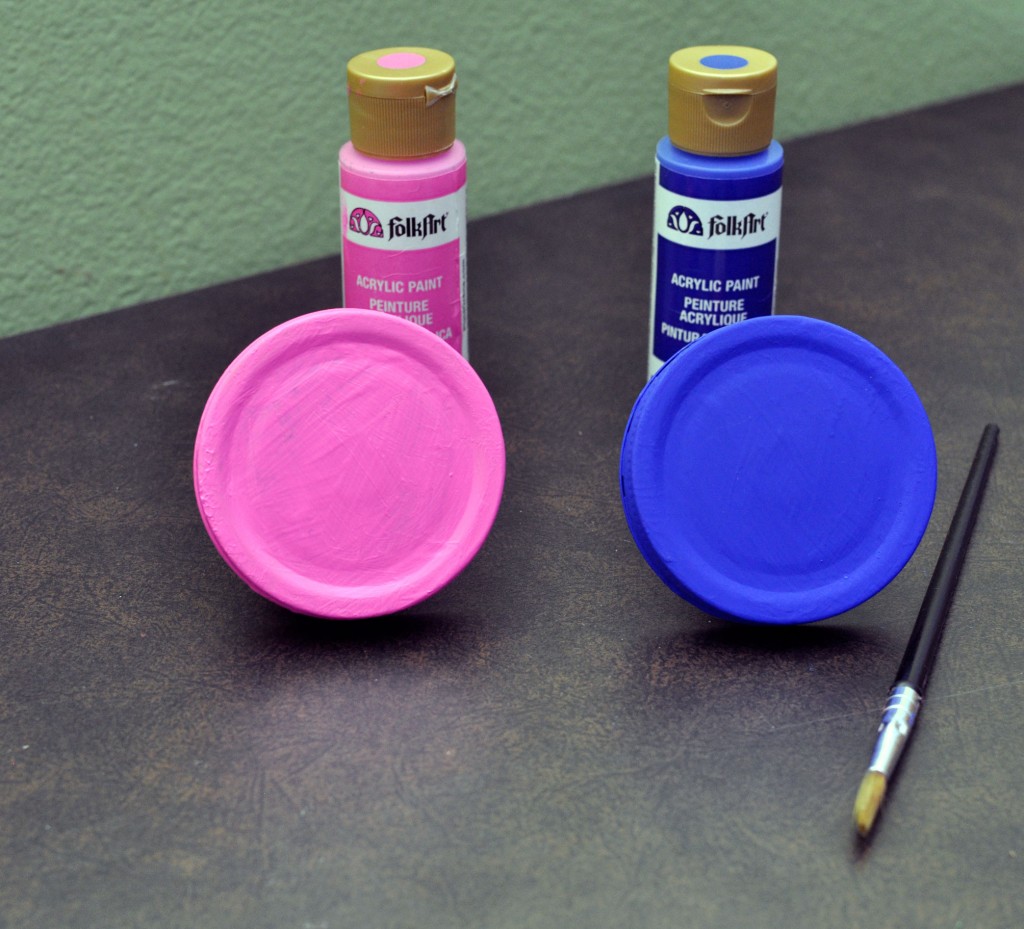
2. Paint the lids, if desired.
3. Sand the inside of each lid (a small circular area is sufficient to ensure the figure will adhere well).

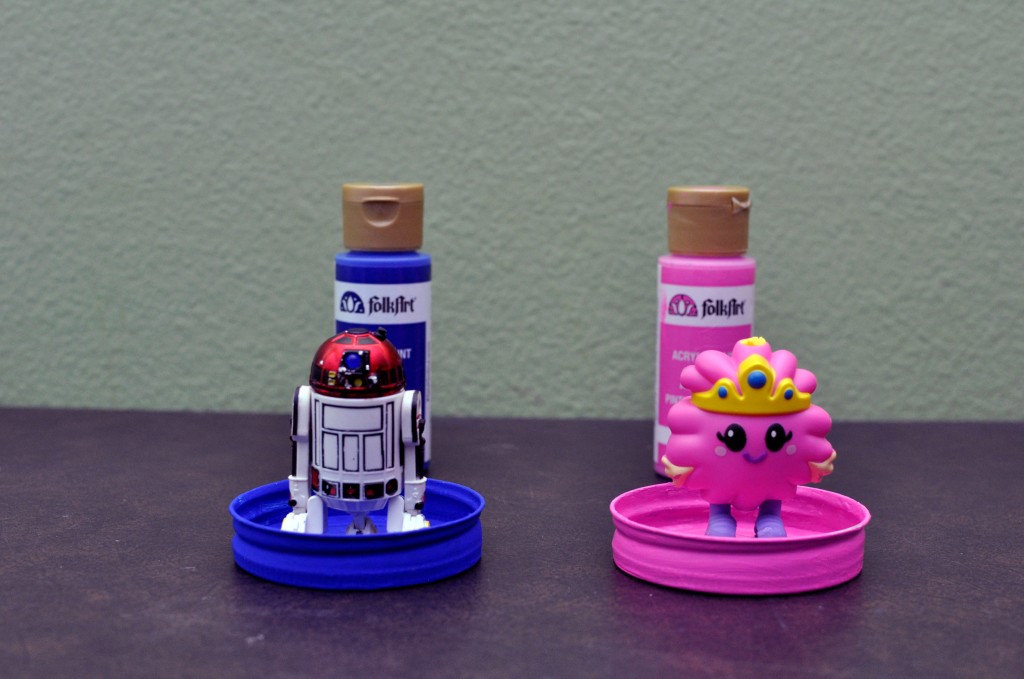
4. Glue figure to the inside of the lid and allow to dry overnight (24 hours is optimal).
5. Add a sprinkle of glitter and a couple of drops of glycerin to the water. Be sure to stir the glitter before adding the glycerin to prevent clumping.
6. Fill jar with cold water. Be sure to overfill it so that you don’t have air/bubbles inside your snow globe. This is where you can add a few drops of food color and vinegar, if desired.
7. Line the outside rim of the jar with glue for a secure seal.
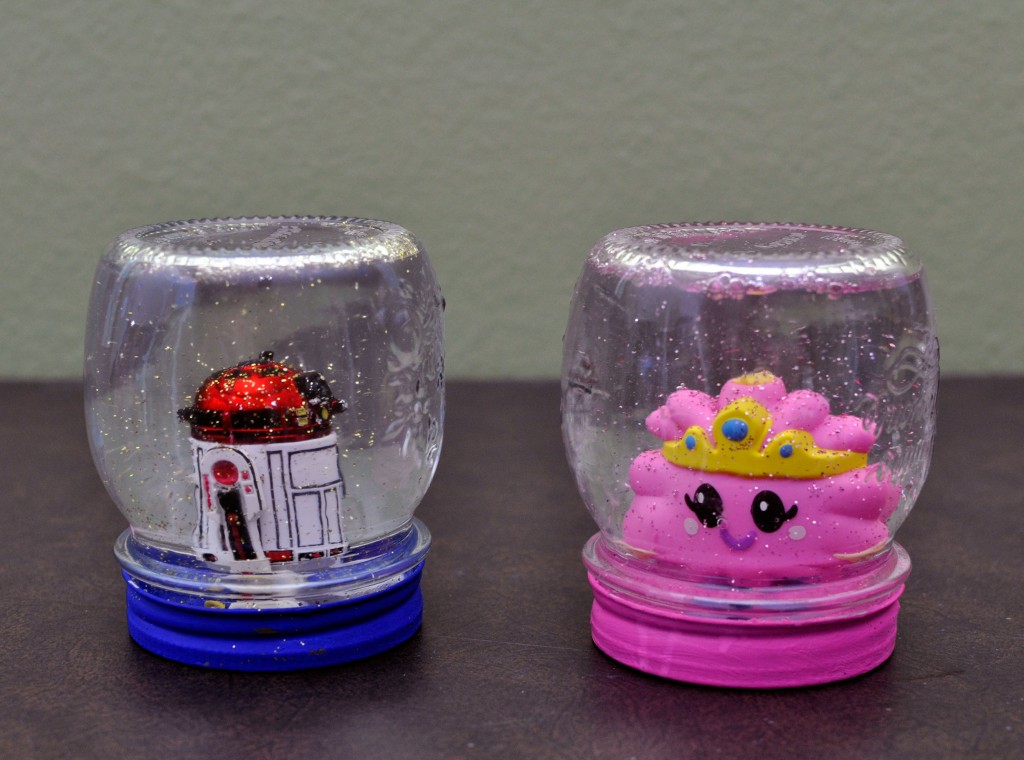
8. Turn over your snow globe and enjoy!

Apart from the time required to let the paint and glue dry, this craft can be accomplished quickly and easily. My children enjoy snow globes but this craft was much more meaningful to them because they picked out their favorite toys, helped paint the jars their favorite color, and picked out the color of glitter they wanted inside the jar. And, because I opted for non-toxic paint and glue, I felt comfortable including my children in the project.
To find the products you need for your next project, or for engaging ideas to craft with kids, just visit Walmart.
I participate in the Walmart Moms program and am compensated for my time and honest opinions.
Photos: Rockin’ Mama
- Discover Luxury at Sonesta Irvine: Your Ideal Staycation - August 8, 2024
- CHOC Walk Returns to the Disneyland Resort – Special Events and Ways to Support - June 28, 2023
- Beastly Ball Returns to the Los Angeles Zoo - May 8, 2023

Leave a Reply