One of my favorite breakfast treats growing up was Kellogg’s Pop-Tarts. The combination of a crisp flaky crust with a warm, fruit filling was absolutely divine. While I think my parents would have preferred that I eat the plain, unfrosted varieties, I used these opportunities to indulge. I’ve tried a few of the unfrosted varieties with my own kids, and their favorite is hands down the berry-flavored Pop-Tarts.
Up until a few weeks ago, I had not thought about attempting to make these from scratch at home. While it seems easy enough (a flaky crust filled with jam or preserves and topped with a light frosting), I began envisioning all of the different flavor combinations. Melted dark chocolate chips, cinnamon and sugar, and even lemon curd seemed like delightful fillings for my toaster tarts. But I know my kids still haven’t developed my foodie palate, so I opted to stick with strawberry and blueberry filled toaster tarts.
This particular recipe (slightly adapted from one I found on King Arthur Flour) uses whole wheat flour, homemade jam/preserves, and an easy 2-ingredient frosting/glaze. I knew that if I wanted to use the term “homemade” that I would have to make everything from scratch. What I did not anticipate was how long this culinary project would take. I’ll walk you through the steps and then share my best tips (and shortcuts) for toaster tarts.
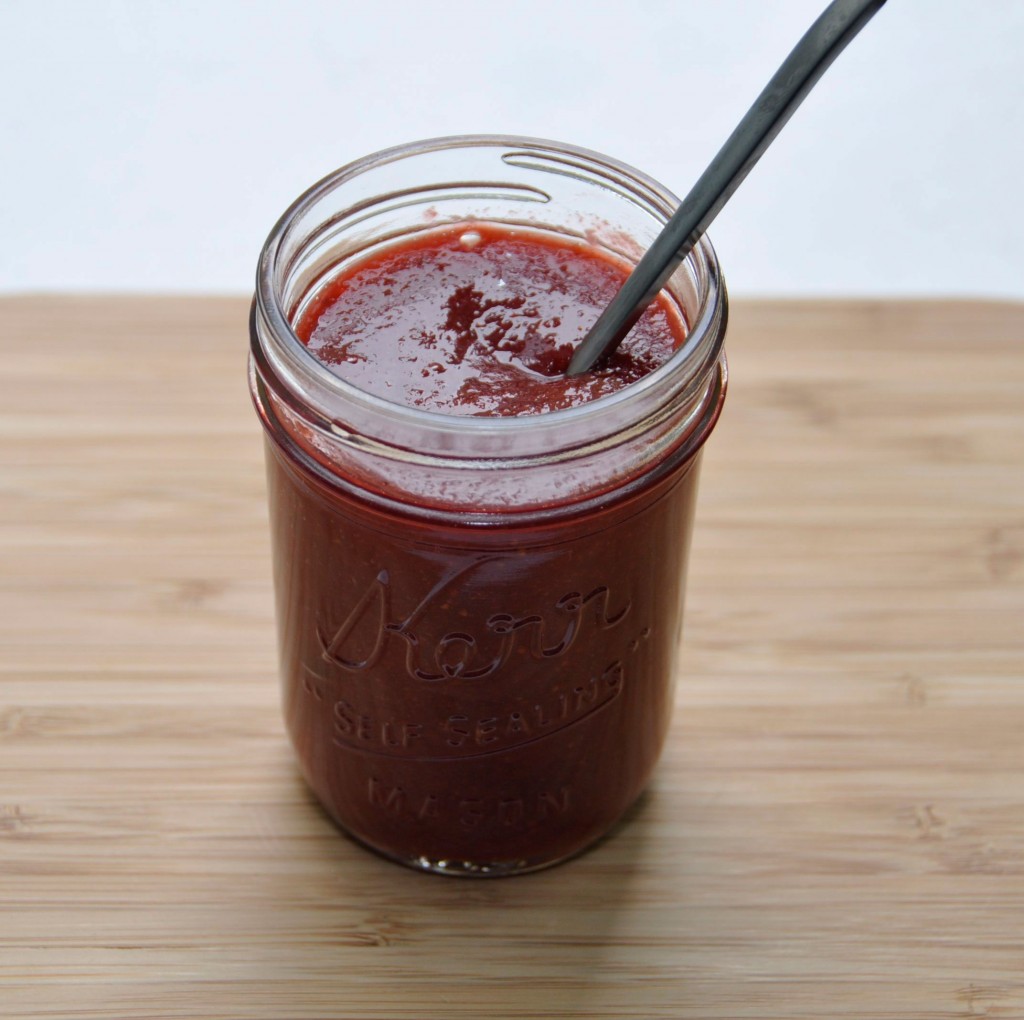
The very first thing I did was make the strawberry jam and blueberry preserves. I’ll be posting the recipes this week, however, making them from scratch is much easier than you would think. With a little sweetener, fresh lemon juice, and fresh berries, you can have homemade jam or preserves in less than 30 minutes without pectin or other artificial ingredients.
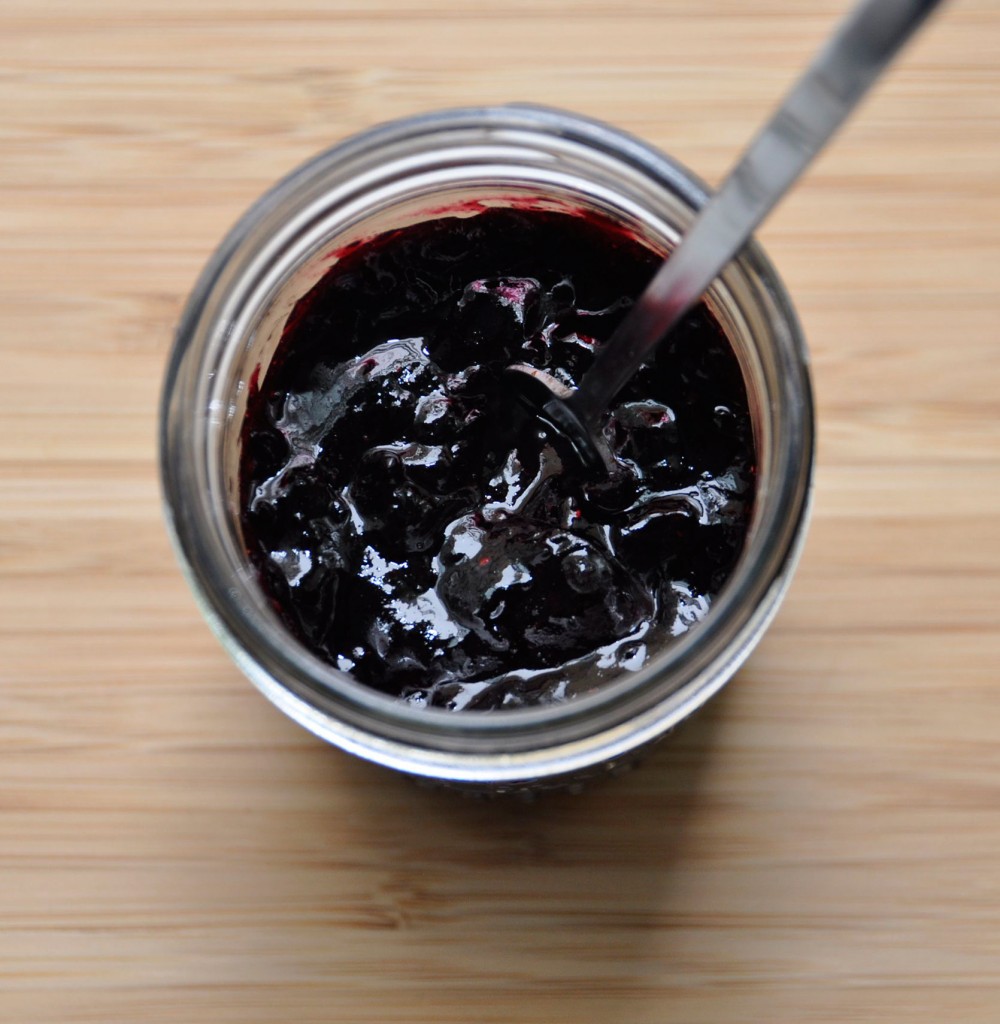
So what’s the difference between the two? Jam is smoother in consistency while preserves contains chunks of fruit.
Tip: Use an Organic, store-bought variety to save time, however, it might be difficult to find a brand that does not use pectin.
Once my fillings were complete, I started working on the dough. Here is the adapted recipe:
Pastry:
2 cups White Whole Wheat Flour
1 tablespoon sugar
1 teaspoon salt
1 cup unsalted butter, cut into pats
1 large egg (plus one egg for the wash)
2 tablespoons milk
Whenever I can get away with whole wheat flour in a recipe, I use it for the added health benefits. This is a delicious, crisp, flaky pastry that tastes amazing, even with whole wheat flour. If you’re still on the fence, I recommend using 1/2 white and 1/2 white whole wheat flour. What is nice about this dough is that it is very easy to work with. I simply placed my ingredients in a bowl and let the KitchenAid Mixer do all of the work. If the dough is too sticky, consider sticking it in the refrigerator for 30 minutes before rolling it out.
Divide your dough in half, and roll out each one on a well-floured surface.
Using a knife, cut the dough so that it measures 9×12 inches.
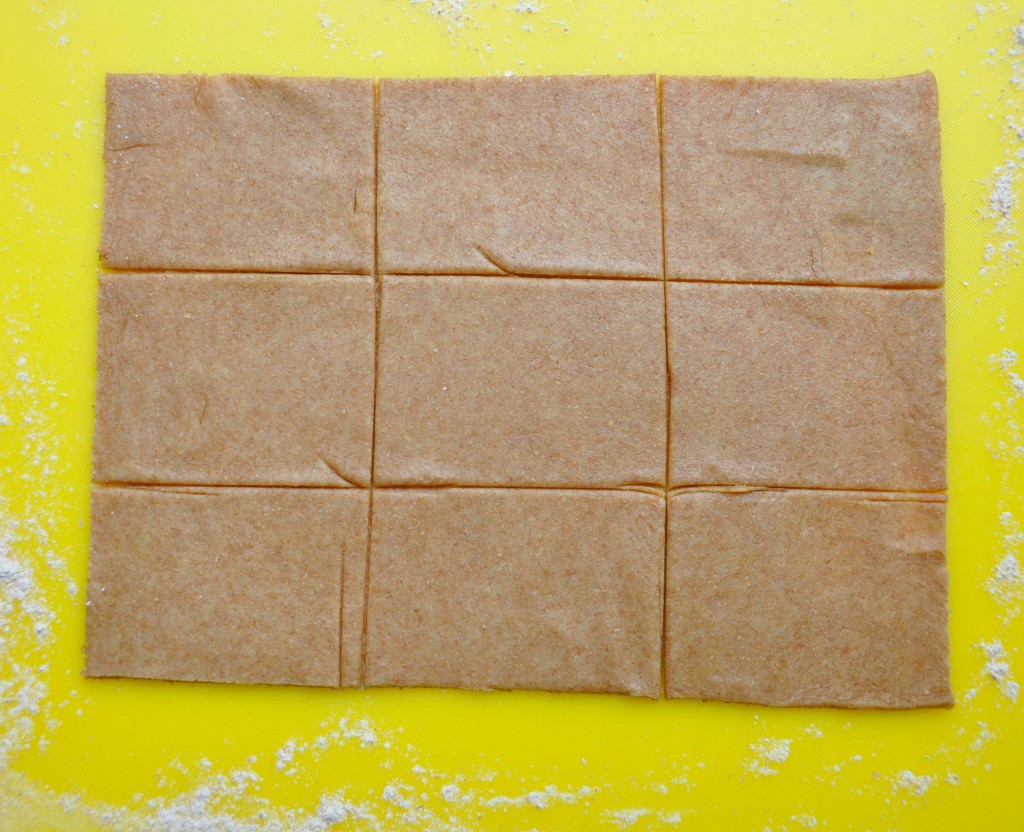
Cut 9, 3×4 inch rectangles
Lightly beat one egg, and brush across the entire surface of the dough.
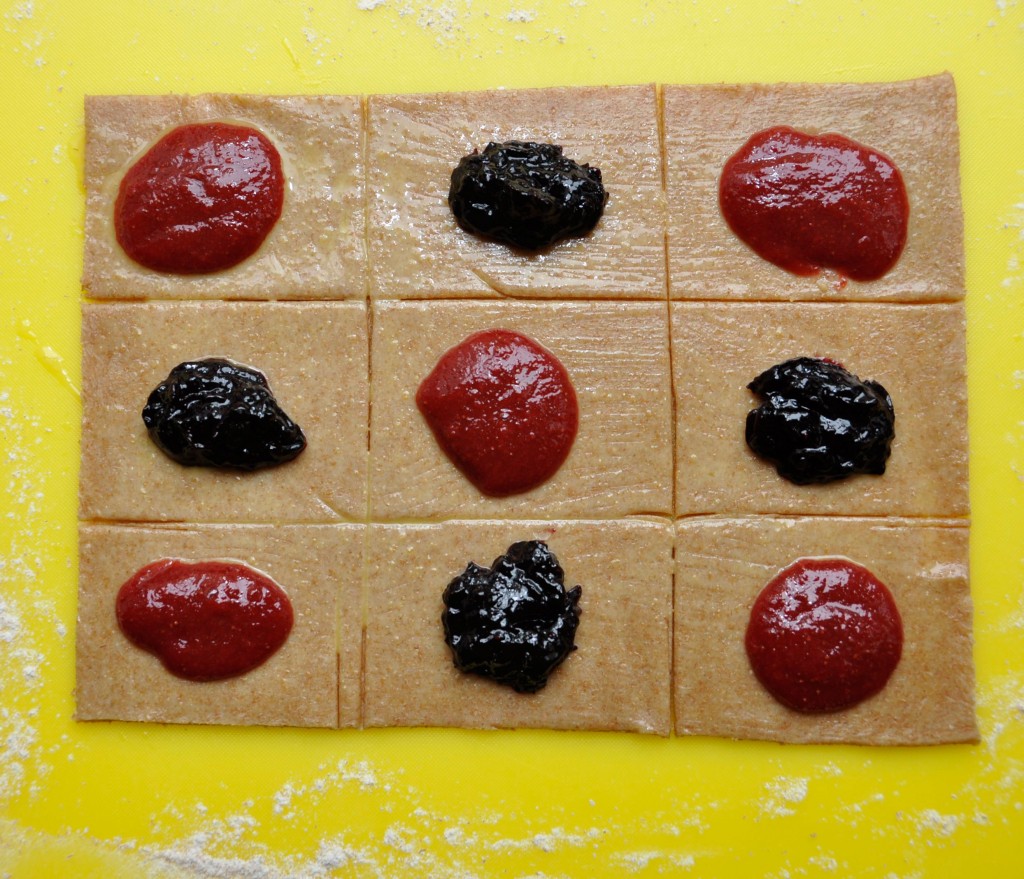
Fill each rectangle with 2 teaspoons of jam/preserves (do not overfill).
Place second sheet of rectangles over each one, sealing with your fingertips.
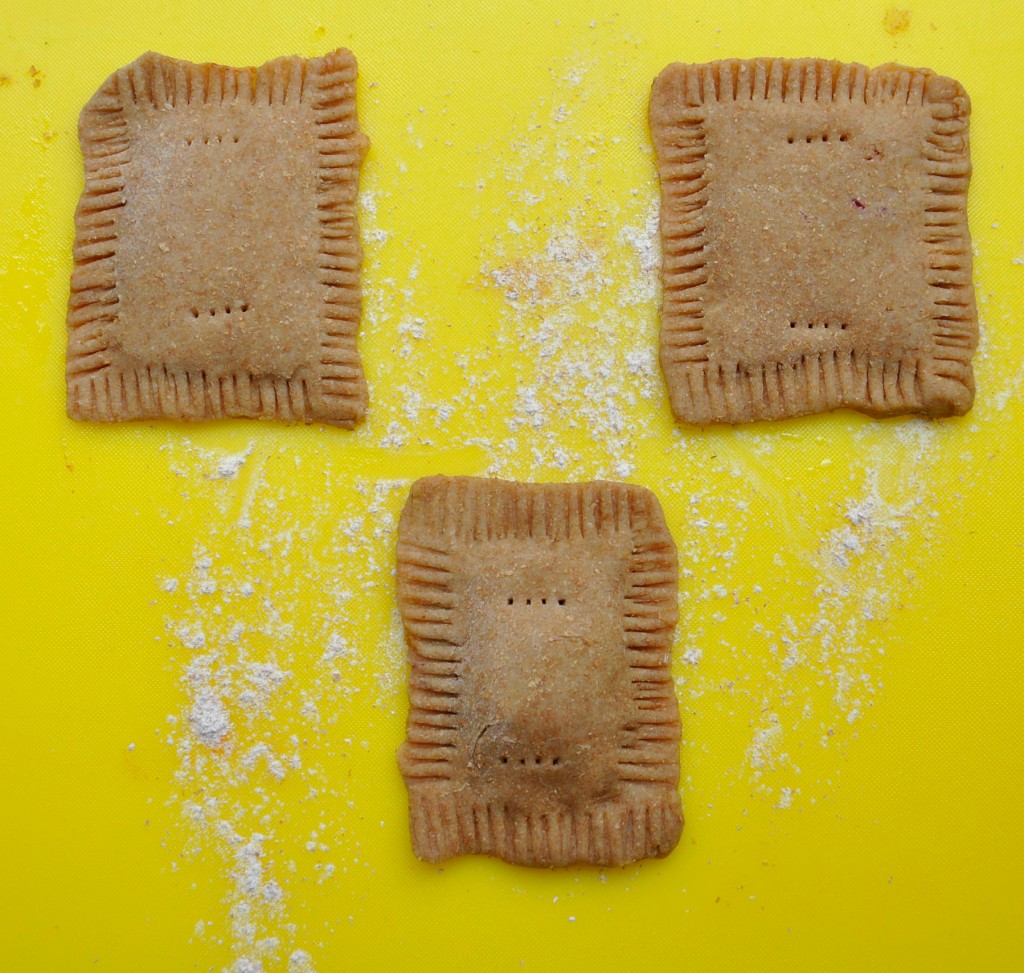
Use the tines of the fork to create indentations along the edge of each rectangle.
Prick each tart several times to avoid expansion during baking.
Brush the top of each tart with remaining egg wash.
Refrigerate for 30 minutes prior to baking
Bake at 350 degrees F for 25-30 minutes, or until golden brown.
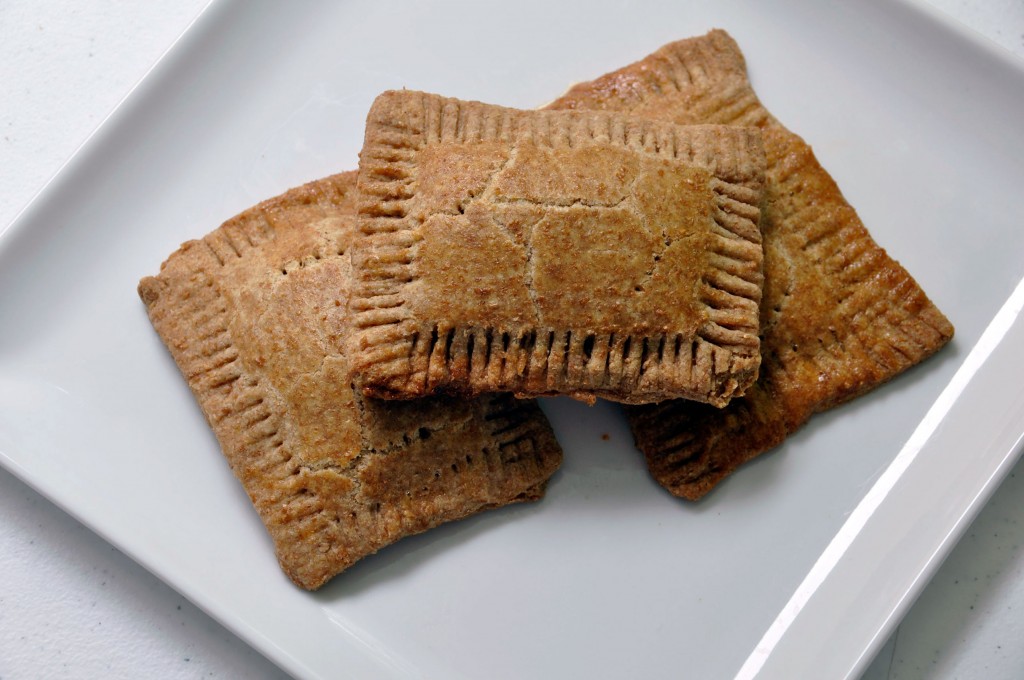
While the toaster tarts are baking, you can begin preparing the frosting/glaze. To make it easy, I simply mixed 2 teaspoons of almond milk with 1/2 cup powdered sugar and 1/2 teaspoon of vanilla. The consistency should be rather thick since you’ll be topping the warm toaster tarts with it.
Once slightly cooled, top toaster tarts with frosting and sprinkles, if desired.
Tips: Use a refrigerated, store-bought pastry.
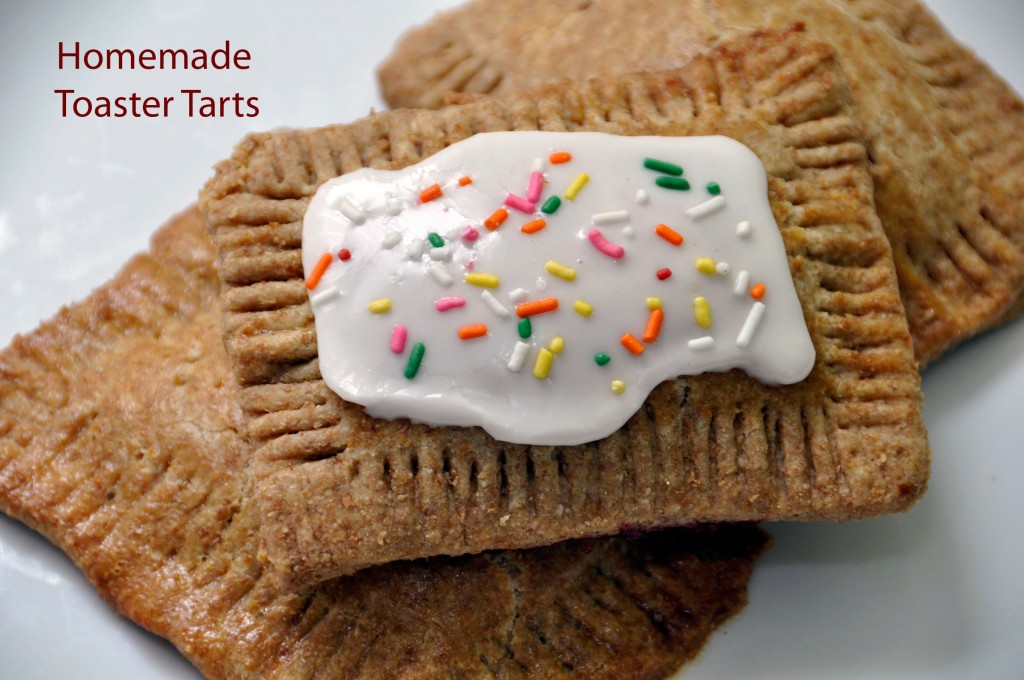
They look imperfect, but hands-down these toaster tarts are incredible. There are so many different flavor combinations I could dream up for both the filling and the topping. I wonder if an apple filling would make these taste like pie?
So how long did the entire process take me? I am guessing that it was around 4 hours, however, that includes the time it took for me to make each of the fillings from scratch using fresh fruit. Above, you can see my tips and notes for cutting down some of the time and work involved with making homemade toaster tarts.

What do you think? Have you ever made toaster tarts at home? I’d love to hear about your recipes and favorite fillings!
- Discover Luxury at Sonesta Irvine: Your Ideal Staycation - August 8, 2024
- CHOC Walk Returns to the Disneyland Resort – Special Events and Ways to Support - June 28, 2023
- Beastly Ball Returns to the Los Angeles Zoo - May 8, 2023

Leave a Reply