Owning a home was one of the greatest achievements my husband and I realized. We no longer feel like we’re throwing our money away each month, rather, we’re slowly paying off an investment. With tremendous freedom comes incredible responsibility. When something breaks and my husband is working, I don’t have a landlord to call to fix it. I don’t have any immediate plans to take up carpentry or plumbing which is why I am loving Walmart’s new Projects Made Simple Program.
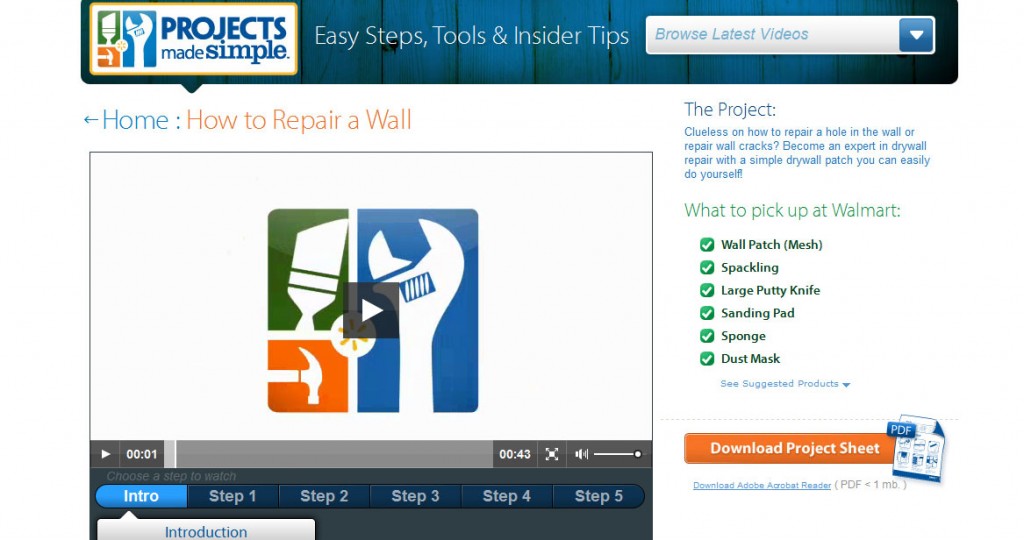
Do you have a faucet that needs to be replaced? A running toilet that could stand to be fixed? Projects Made Simple is Walmart’s new (and might I add handy) solution to help you complete those projects you’ve been meaning to get to around the home, easy and affordable. The new site offers a series of projects complete with instructional videos, downloadable project sheets, and a complete list of everything you need to complete the project. At present, you’ll find 10 of the most common DIY projects, and Walmart will continue to add additional projects over the next few months.
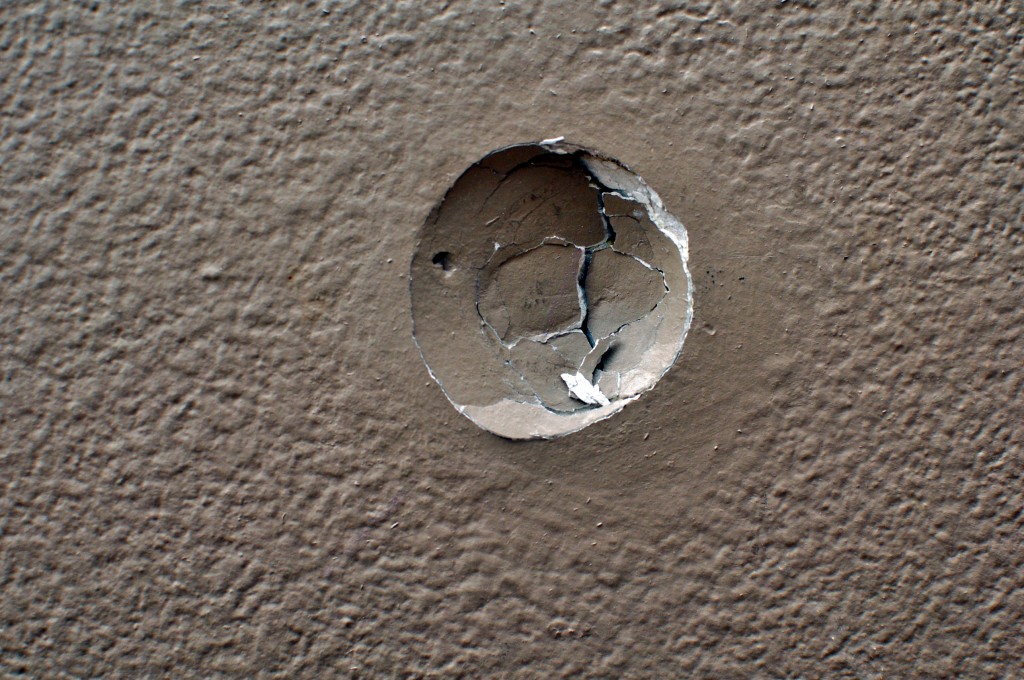
Since I wanted to complete the project myself (to inspire all of the women out there!), I chose to Repair a Wall, because it’s fairly straightforward and doesn’t require a long list of supplies.
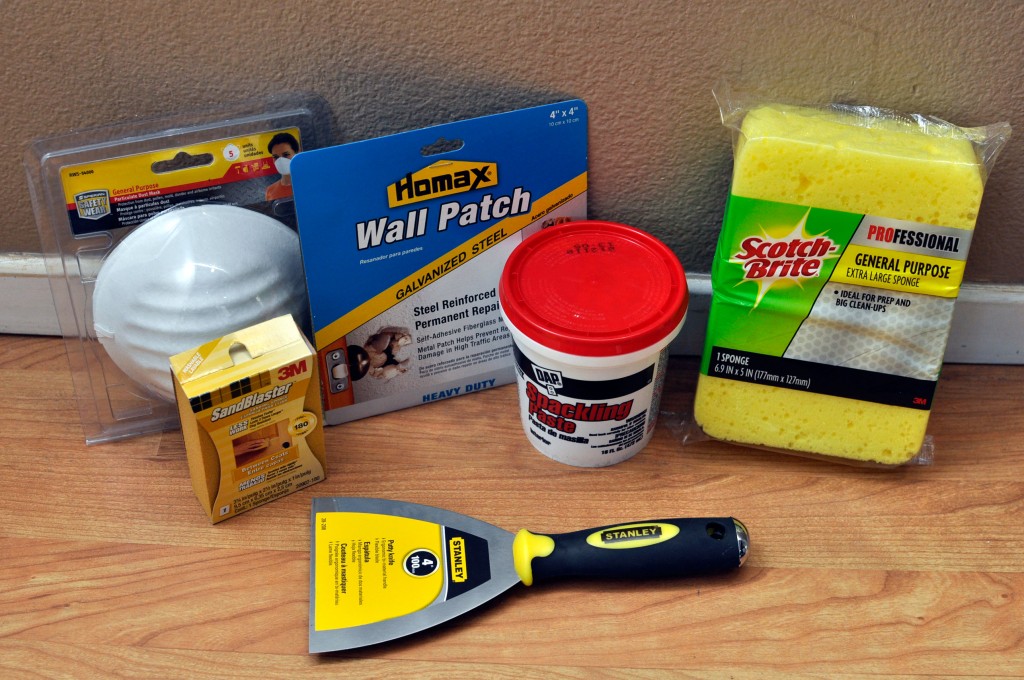
For just $20, here is what I picked up at Walmart for this particular project:
- Wall Patch (Galvanized Steel)
- Spackling
- Large Putty Knife
- Sanding Pad
- Sponge
- Dust Mask
*Note* I substituted a Galvanized Steel Wall Patch in place of the recommended Mesh.
**I also picked up a doorstop to prevent future holes from my front door
While shopping for the above supplies, I found a handy little Project Sheet on one of the aisles, which outlines the entire process. I found several of these sheets, which feature a variety of projects, displayed throughout the aisles in this section.
The how-to video was incredibly helpful for helping me visualize each step. I liked seeing the actual products recommended, since fixing holes in walls is something I’ve never done before. In fact, most of the items I had never seen before, so the fact that I can see everything on video before going into the store was incredibly helpful.
After purchasing the supplies and examining the hole in my wall, I still needed to watch the video a few more times to get a handle on the project, as I’m a very visual person.
The first step was sanding down the rough edges on the wall. With some guidance from my husband, I then filled the hole with spackle prior to applying the wall patch.
Applying the wall patch was simple since it just sticks to the wall. I then applied the two layers of spackle recommended in the video. It took about a day for both coats to dry, so I spread the project out over the course of two days. However, the actual time I spent fixing the hole was minimal…maybe 30 minutes.
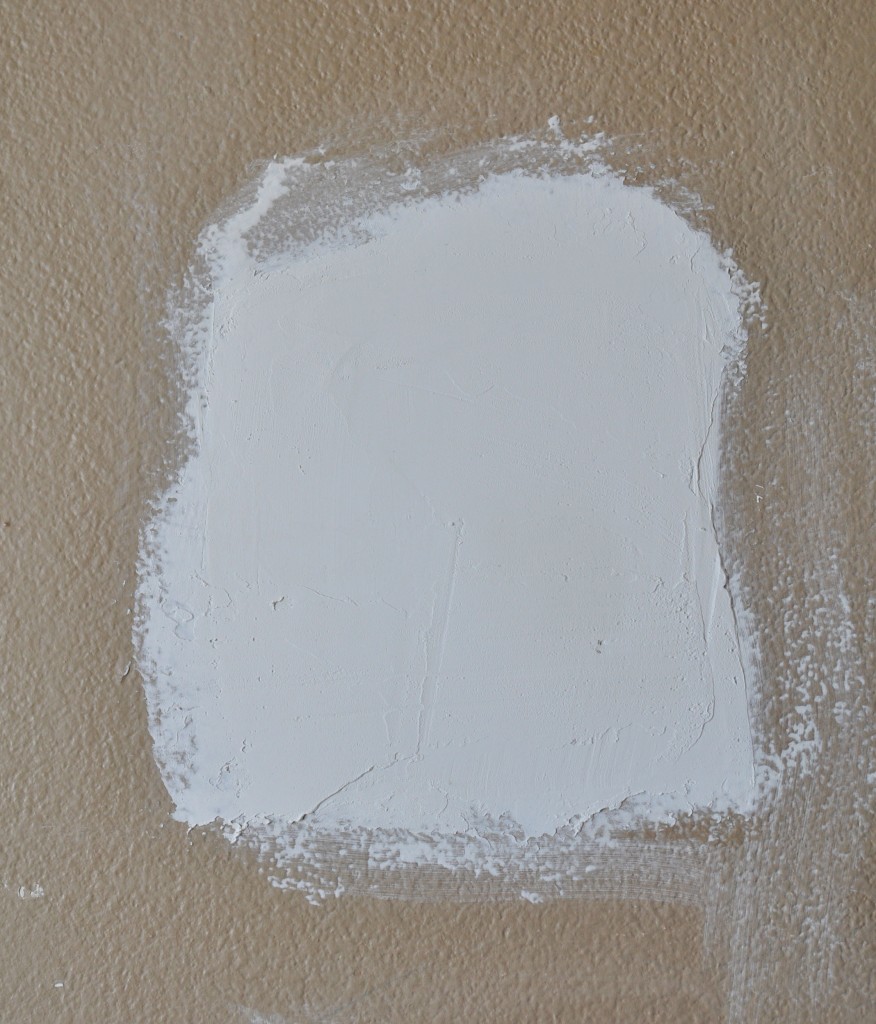
After both layers dried, I sanded down the edges. The video recommends using a dust mask, and after doing this, I understand why. Some of the small dust particles could be inhaled through sanding. We have a textured wall, so I will have to go back to Walmart to pick up a texture spray.
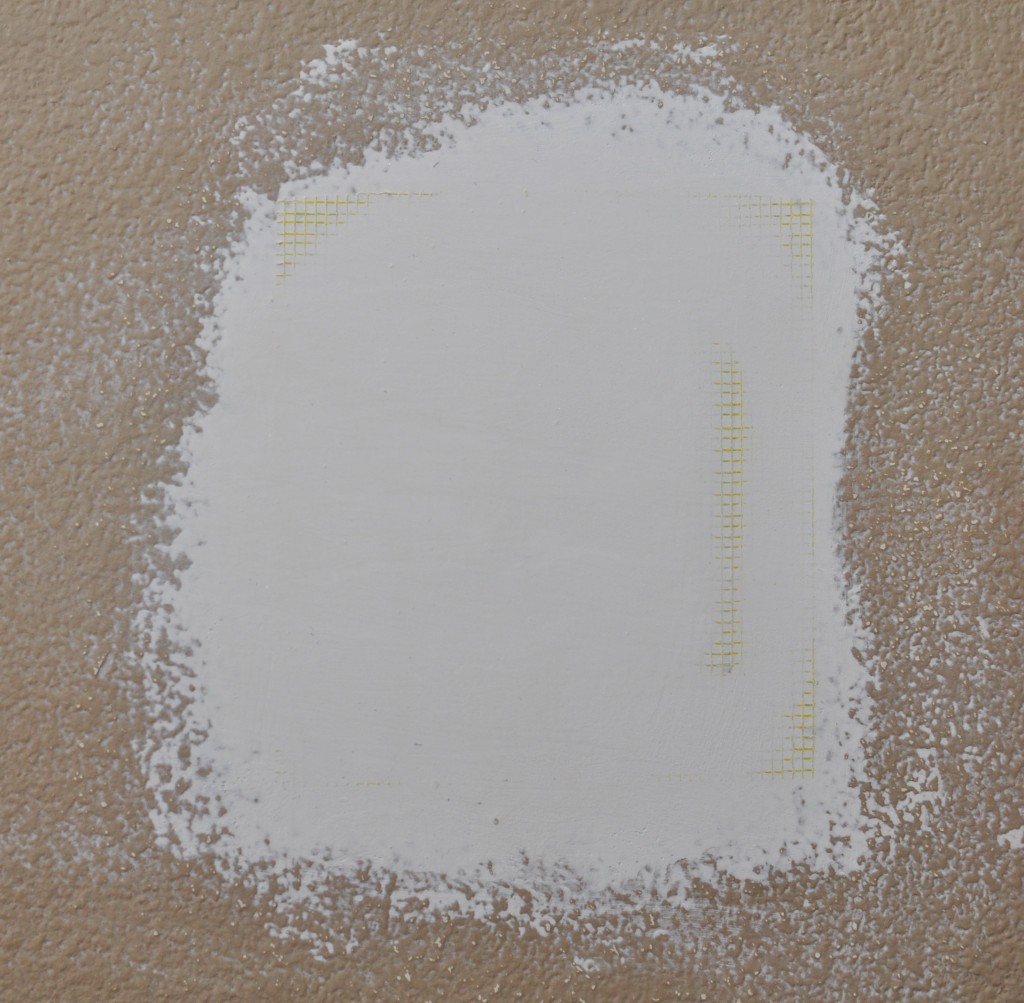
Some of the Wall Patch was visible so I applied another coat
Once sanding was complete, I wiped away the residual dust with a damp sponge. My hole in the wall is complete!! The only thing left for me to do is add texture, prime and paint the wall, and put in the door stop!
Projects Made Simple is an easy, affordable way to get some of those DIY projects checked off your running to-do list around the home. For additional information, just visit their website or YouTube channel.
Disclosure: I participate in the Walmart Moms program and am compensated for my time and honest opinions.
- Discover Luxury at Sonesta Irvine: Your Ideal Staycation - August 8, 2024
- CHOC Walk Returns to the Disneyland Resort – Special Events and Ways to Support - June 28, 2023
- Beastly Ball Returns to the Los Angeles Zoo - May 8, 2023

This is an awesome post, when I bought my new house there were several parts of the wall we had to fix. This is a great tutorial!
We do tons of home repairs. It always seems like there is something that needs to be done when you own a home!
Go you! I love How To videos, and had no idea Walmart offered them. Thank for the fabulous post!
Good for you for tackling it yourself!
Hey Caryn — this is so helpful. When anything goes wrong in my house I’m all over my husband to fix it. And of course he’ll never get there as quickly as i think he should. I’ve realized I just need to start doing things for myself. No more resentment, woman empowerment. xo
I am with Shannon!
Glad you wrote this post – because heaven knows my husband isn’t going to fix anything around here. (He’s far from lazy, he just has no idea what he’s doing when it comes to home improvement, bless his heart). Wall-fixing here I come!
GREAT Post and so great for busy moms and dads who often don’t have the time to fix things around the house.
I love that you did it yourself. I usually help with minor repairs around our house. I especially like stripping wood or painting.