{Sponsored}
I remember the year cake pops gained popularity. I was working with Wilton as one of their ambassadors, and in 2010, they launched an entire line of products designed to make it easy for families to make cake pops. Over the years, I’ve attempted to make cake pops for birthdays, Christmas, and every holiday in-between with little success. Cake pops are time-consuming and require precision and creativity. So when my local friend invited me over for a cake pop-making party over the Christmas break, you can imagine my apprehension. She assured me that an initial attempt was successful and that she had great success altering a family Pudding Cake Recipe. Surprisingly, we had a really good time making cake pops and our kids could not have been happier with the results.

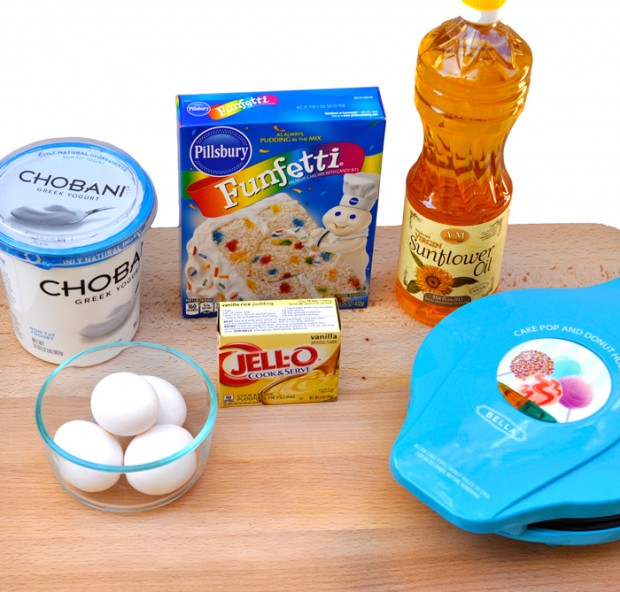
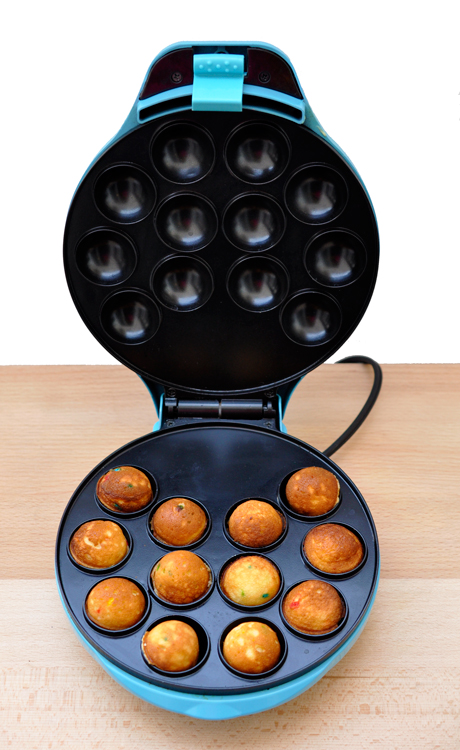
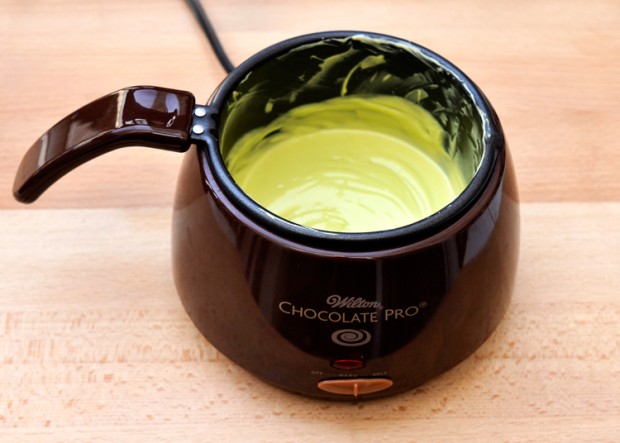
Ever since our cake pop-making party, I have wanted to recreate her recipe with our favorite flavors and decorations. Although I’m definitely not Bakerella, I was content with the result of our Spring Cake Pops. All of the ingredients you’ll need can be found at your local Walmart. I also recommend investing in a Cake Pops Pan or a Cake Pop Maker, a Cake Pops Decorating Stand, and a Candy Melting Pot, which will make the process a bit more seamless. In addition to your baked cake pops, you’ll need the following items:
- Candy Melts (I opted for Spring Pastel Colors)
- Cake or Lollipop Sticks
- Sprinkles
- Optional:
- Treat Bags With Ties

- 1 package of cake mix
- 1 package of instant pudding
- 1 1/2 cups Greek yogurt
- 1/2 cup oil
- 4 eggs
-
Preheat oven to 350° F
-
Grease and flour cake pop pan
-
Combine all ingredients until smooth
-
Bake at 350° F for 12-14 minutes
-
Allow cake pops to cool before coating with candy melts


How to Make Cake Pops:
- Melt candy melts on high (melt). Once melted, switch setting on Candy Melting Pot to low (warm)
- Dip lollipop stick in melted candy and insert through the bottom or each cake pop
- Freeze cake pops for 5 minutes
- Coat cake pops with melted candy
- Decorate with sprinkles
- Set on decorating stand to dry (ay freeze for 5 minutes to speed up setting time)
In previous years, I had aspired to make these using the prepared cake and frosting process by hand. Using a cake pops pan or cake pop maker really helps to ensure the cake pops are round and freezing ensures they don’t fall apart when exposed to the warm candy. I also found that using a candy melting pot helped keep the candy at a consistent temperature for quick, easy dipping. There are 2 ways to display cake pops and I found that setting them with the cake pop down ensured the candy didn’t melt down the stick.

While these Spring Cake Pops can be completed in one day, I recommend preparing the cake pops the day before and then spending the second day decorating them.
Looking for additional Spring and Easter Recipes? Visit Walmart.com’s Food & Celebrations Site!
- Discover Luxury at Sonesta Irvine: Your Ideal Staycation - August 8, 2024
- CHOC Walk Returns to the Disneyland Resort – Special Events and Ways to Support - June 28, 2023
- Beastly Ball Returns to the Los Angeles Zoo - May 8, 2023


Leave a Reply