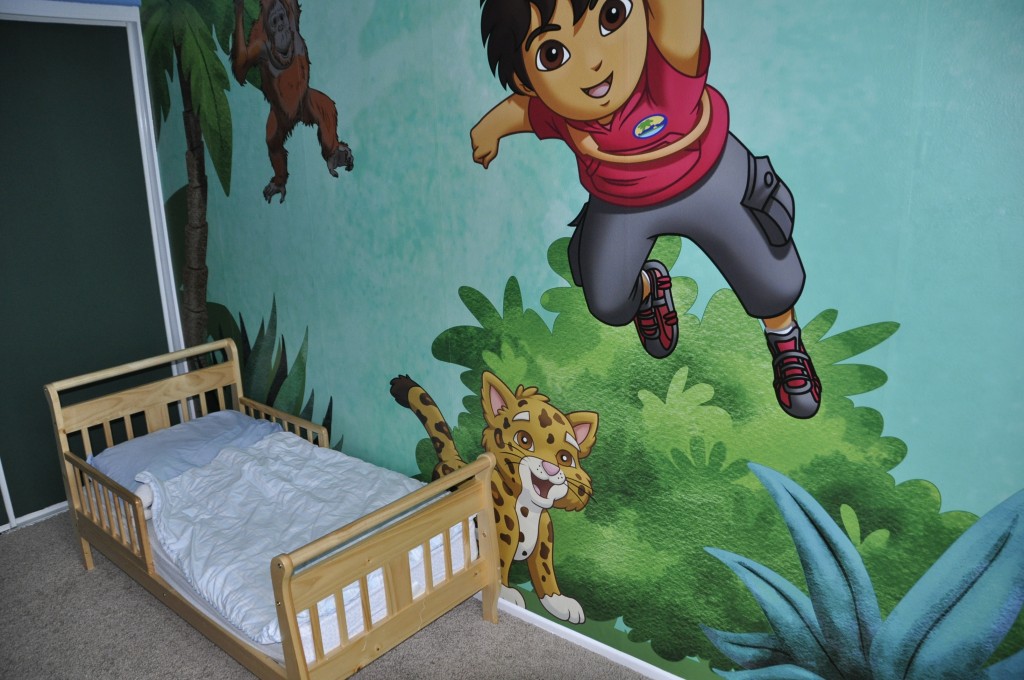
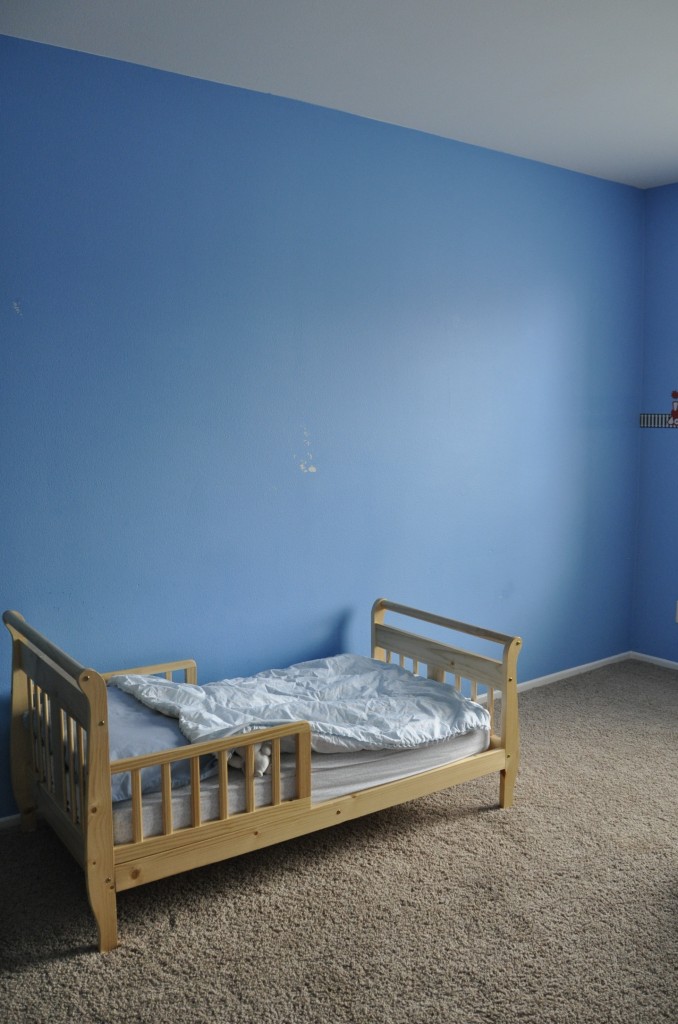
One of the most impressive gifts my son received this Christmas was surprisingly not from my husband and I. Last week, I told you about our experience custom-designing his Diego wall, courtesy of HP. I am so excited to show you the finished work:

You truly have to see the wall in person to appreciate how gorgeous it is. I am someone who typically doesn’t like wall paper and yet all I really want is for HP to offer custom designed walls for adults so we can redo one of the walls in our bedroom. And while the wall art easily goes up on the wall like wall paper, that is where the resemblance ends. The designs are authentically “Nick” and the colors are vibrant. Diego literally feels like he’s going to jump off the wall!
HP’s wall art can be used on a variety of surfaces and can be enjoyed for years without fading when cared for properly. The most interesting part of the process was the finished work looks cohesive and the individual panels unnoticeable to the naked eye.

Our canvas…

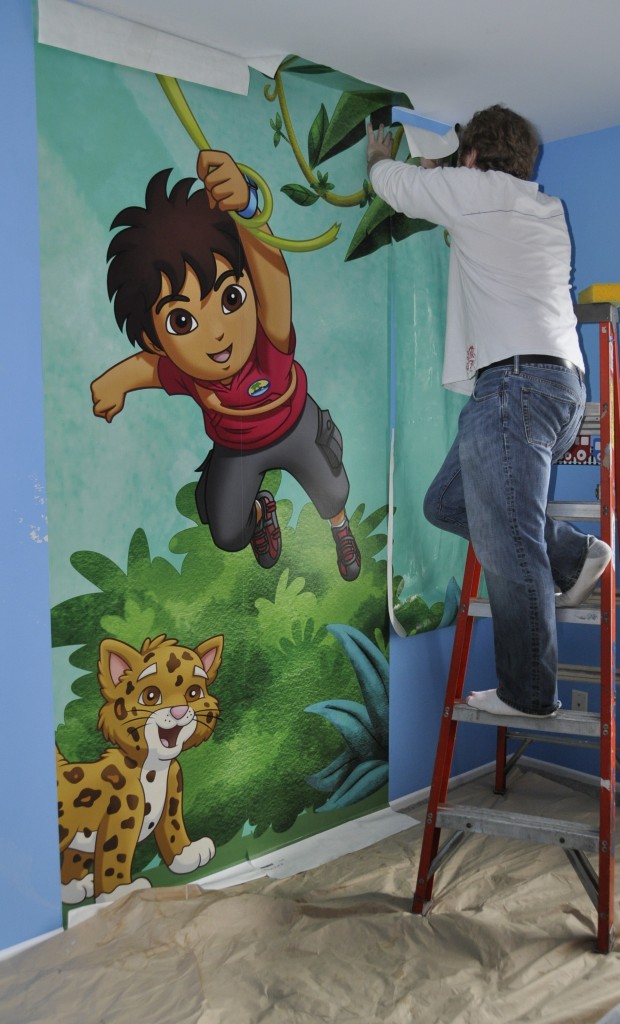
Installation is relatively easy, however, we had to send our little boy to my parents to complete the wall so that his little helping hands didn’t prolong the process. From wall preparation to completion, it took about 3 1/2 hours. Here is a quick recap of what’s involved in the installation process (the video we shot captures it much better than the verbal description):
1. Prepare the wall so it’s clean and blemish-free.
2. Pencil in guide lines for the first panel
3. Install each panel (wet, fold, unfold and smooth.)
4. Trim excess with a utility knife.
While the process is easy and self-explanatory, I highly recommend including the EZ-Installation kit with your Wall Art. The kit includes a smoothing tool, knife, level, sponge, and drop cloth.
If you’re an eco-mama, you’ll be happy to know that HP’s wall art is printed with inks and wallpaper that are approved according to health-related environmental criteria. There was no odor during installation or once the wall was up.
Your custom Nick Wall by HP starts at just $3.99 per square foot. To give you a rough idea of what that translates into, our wall would have cost about $300. Through the end of January, you’ll save 5% and receive an EZ-Installation Kit free with purchase.

No compensation was received for this post. HP invited me to test out their new design service and we received wall art and a video camera to share our experience.
- Discover Luxury at Sonesta Irvine: Your Ideal Staycation - August 8, 2024
- CHOC Walk Returns to the Disneyland Resort – Special Events and Ways to Support - June 28, 2023
- Beastly Ball Returns to the Los Angeles Zoo - May 8, 2023

wow – that’s impressive!! My son would LOVE a wall like that 🙂
WOW, that is really cool! Zoe and Miles would love the Dora version of this!
That is so awesome! It looks just like the design y’all worked on! I know he has to love it!
Happy New Year!