{Sponsored}
Every year, just a few days before Christmas, we decorate a Gingerbread House. We wait until right before the holiday because my children like to sneak pieces of candy off of it as soon as they’ve opened their presents. While I absolutely love to bake, the process of making the gingerbread from scratch is lengthy and one my kids don’t have the patience for at their young age, so we tend to stick with store-bought varieties. This year, while perusing some ideas to make our traditional Gingerbread House Decorating party special, I came across an adorable Rice Krispie Holiday Candy Cottage recipe so we decided to make it!
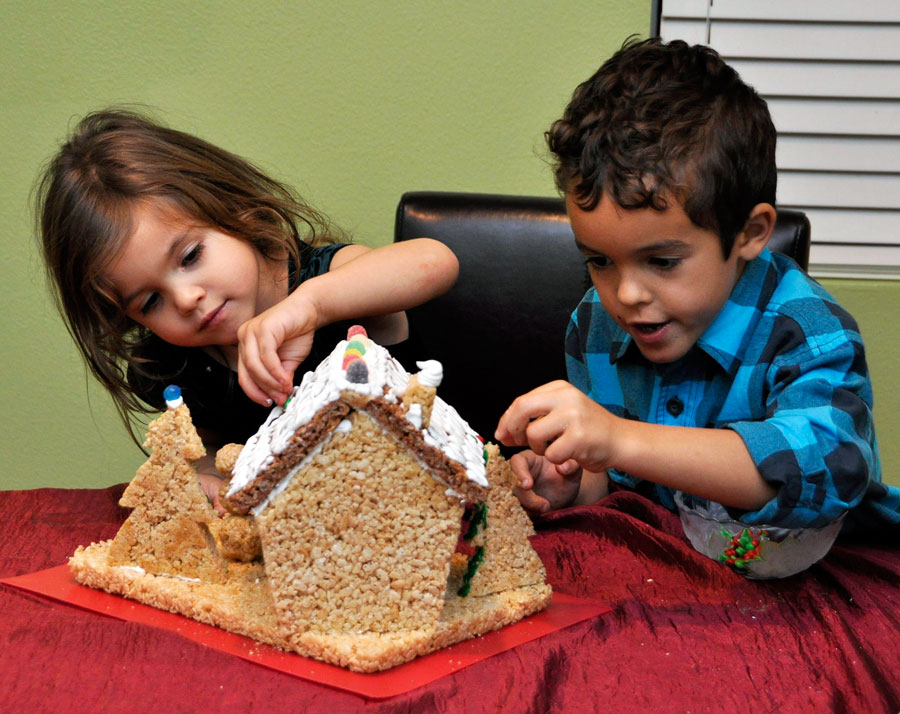
Since my husband is brilliant with projects like this, he worked his artistic magic and created a printable template for our house!
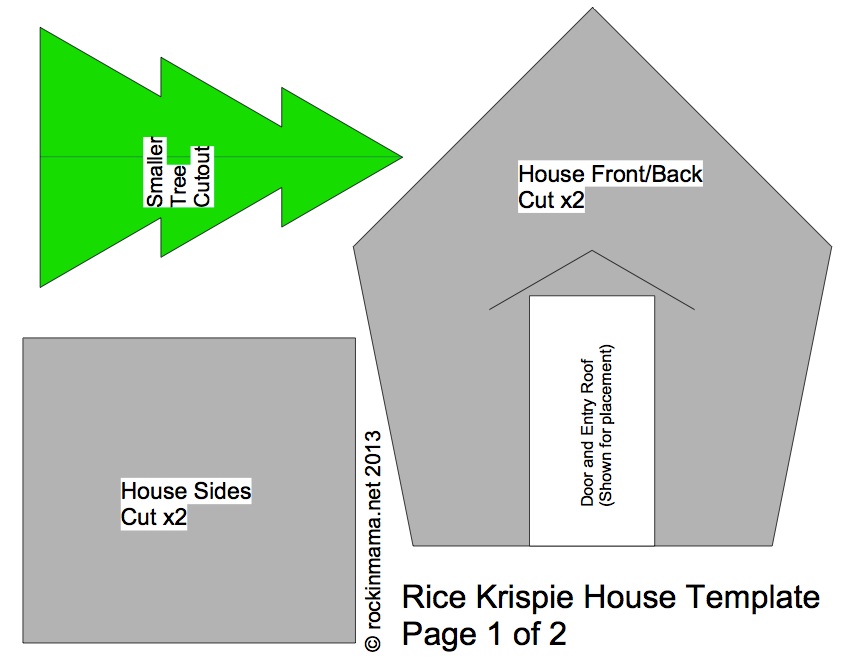
You can download the free Rice Krispie House Template here!
Print and cut it out because you’ll need it once your Rice Krispie base, walls, and roof are baked.
How to Make a Rice Krispie Holiday House (Adapted from Kellogg’s)
Here is what you’ll need:
- 7 1/2 tablespoons butter, divided
- 10 cups miniature marshmallows, divided
- 12 cups Kellogg’s Cocoa Krispies cereal (divided)
- 3 cups Kellogg’s Rice Krispies cereal (divided)
- Icing (recipe below)
- Assorted candies, decorating gels, pretzels, chocolate bars, coconut
Base:
- In a large saucepan, melt 3 tablespoons of butter over low heat
- Add 4 cups of miniature marshmallows and stir until melted
- Over medium heat, cook while stirring for 2 minutes until mixture starts to boil
- Remove from heat
- Add 6 cups of Kellogg’s Rice Krispies cereal and stir until well coated
- Using a greased spatula, press mixture evenly into a greased 13 x 9 x 2 inch pan and allow to cool
Walls and trees:
- In a large saucepan, melt 3 tablespoons of butter over low heat
- Add 4 cups of miniature marshmallows and stir until melted
- Over medium heat, cook while stirring for 2 minutes until mixture starts to boil
- Remove from heat
- Add 6 cups of Kellogg’s Rice Krispies cereal and stir until well coated
- Using a greased spatula, press mixture evenly into a greased 15 x 11 x 2 inch pan and allow to cool
Roof and curvy path:
- In a large saucepan, melt 1 1/2 tablespoons of butter over low heat
- Add 2 cups of miniature marshmallows and stir until melted
- Over medium heat, cook while stirring for 2 minutes until mixture starts to boil
- Remove from heat
- Add 3 cups of Kellogg’s Cocoa Krispies cereal and stir until well coated
- Using a greased spatula, press mixture evenly into a greased 10 x 10 x 2 inch pan and allow to cool
Set the cereal mixture from the 13 x 9 x 2 inch pan on a foil-lined tray and use as a base for your house.
Using the template above, cut the trees, sides, front, and back of the house from the cereal mixture. I recommend using a sharp knife but be careful not to cut into the pan (of course I have absolutely no experience with this right?).
Using the template above, cut the curvy path and main/entry roofs out of the Kellogg’s Cocoa Krispies mixture.
Once all of the pieces have been cut out, place them on a greased baking sheet and bake at 250 degrees Fahrenheit for 25 minutes. Cool.
Icing:
- 1 3/4 cup plus 2 tablespoons of powdered sugar
- 1 large egg white
- 1 teaspoon of lemon juice
Using a stand mixer, blend all ingredients until smooth. Use a pastry bag or a plastic ziploc bag with the tip cut to ice house
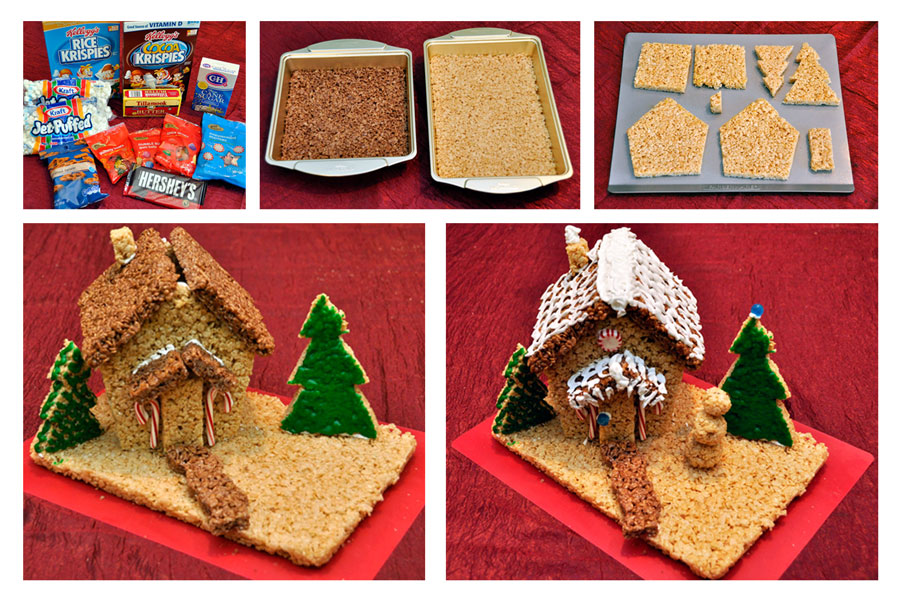
To assemble house:
Stand the front of the house near the center of the base.
Pipe icing to attach house sides to back of the back of the house front.
Use icing to attach house back, roof pieces, and chimney.
Place trees using icing.
Create path to the front of the house using chocolate bars.
Create fence with the mini pretzels, attaching them to the base with icing.
Create icicles with the icing.
Sprinkle coconut on the base for “snow”
Decorate the remainder of the house with icing and candies.
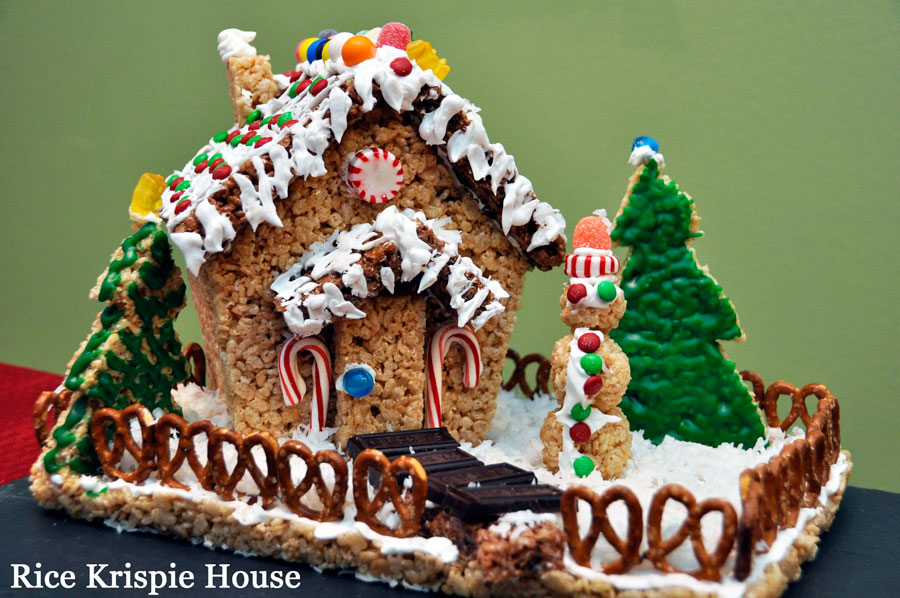
I can’t begin to tell you how much fun we had creating our Rice Krispie House. The process of making the house takes a couple of hours, so if your children are small like ours, you might consider doing this ahead of time. After all, decorating is the best part for kids!
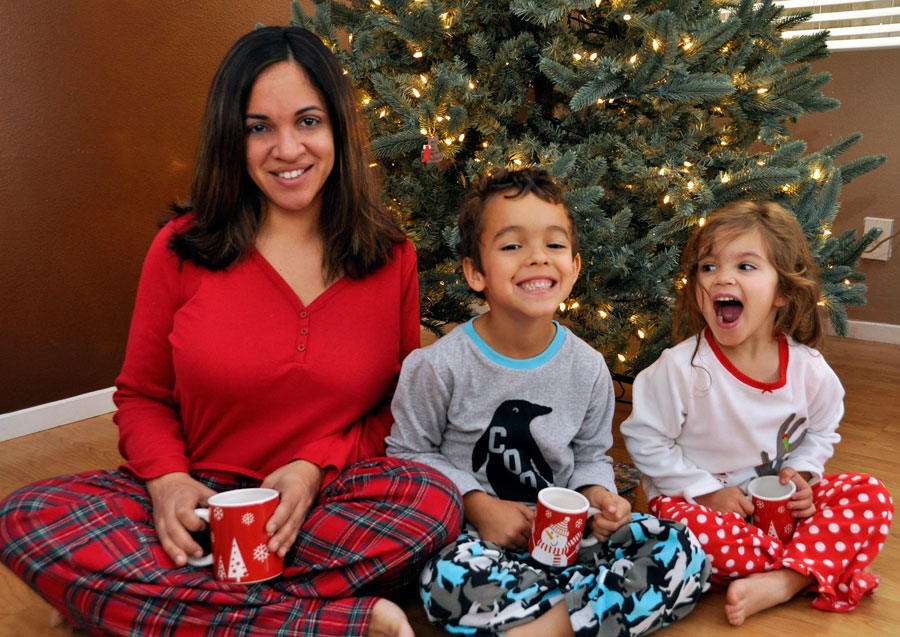
What Christmas traditions do you and your family have? I’d love to share them below. Merry Christmas from The Baileys!
Images/Printable: Rockin’ Mama. All rights reserved. Content may not be used without written permission.
- Discover Luxury at Sonesta Irvine: Your Ideal Staycation - August 8, 2024
- CHOC Walk Returns to the Disneyland Resort – Special Events and Ways to Support - June 28, 2023
- Beastly Ball Returns to the Los Angeles Zoo - May 8, 2023

Leave a Reply