Confession: I have never carved a pumpkin. {Gasp}
It wasn’t until I was sitting outside, arms deep inside the pumpkin we had picked up, that I realized this was the very first time I was going at this alone. Growing up, my father carved while I watched. Sometimes I’d even help him scrape out the seeds and such. When we carried the pumpkin carving tradition into our own family, my husband did the carving with our kids.
The very first thing you should consider when planning to carve a pumpkin is selecting one that will look good when displayed. My friend Erika actually picked out this pumpkin at Walmart because it was large, had a nice “face,” and a long stem.
While we were at Walmart, we picked up a Pumpkin Decorating Kit and an LED Pumpkin Light. The total cost including the pumpkin was just about $10 plus tax which I found to be super cheap!
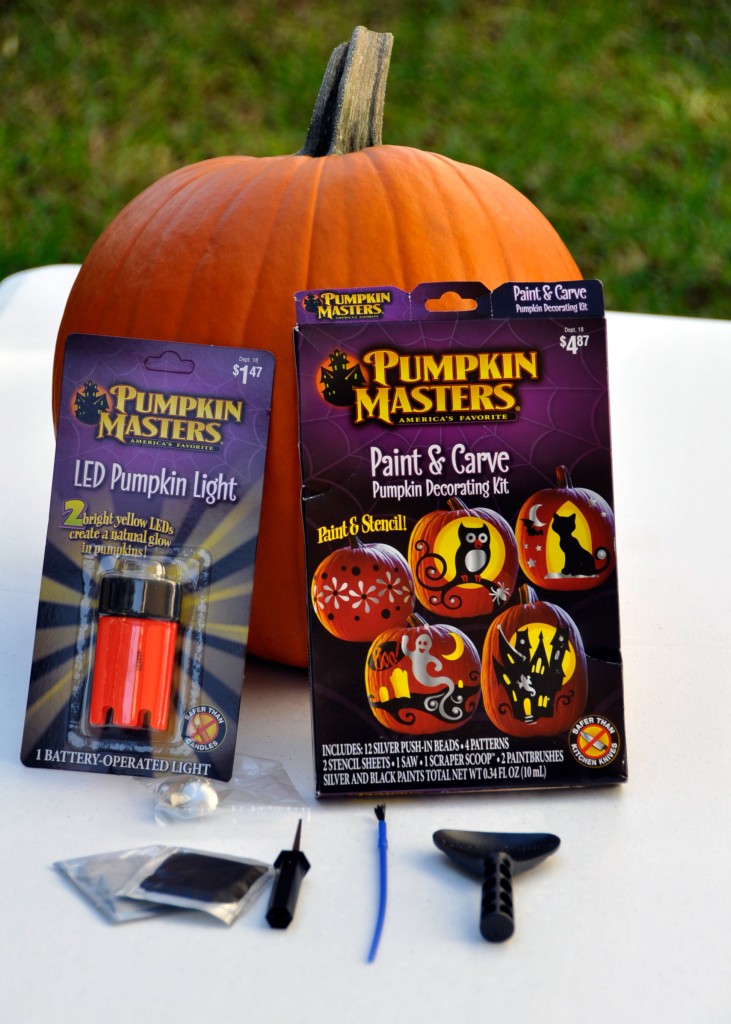
Because I like to get creative (and I had no concept of how long this project would take), I picked out a Paint & Carve Set from Pumpkin Masters. My son picked out the ghost design and I began prepping the pumpkin.
Pumpkins are dirty! Take a wet cloth and clean off your pumpkin before beginning as this will be incredibly helpful when you begin painting.
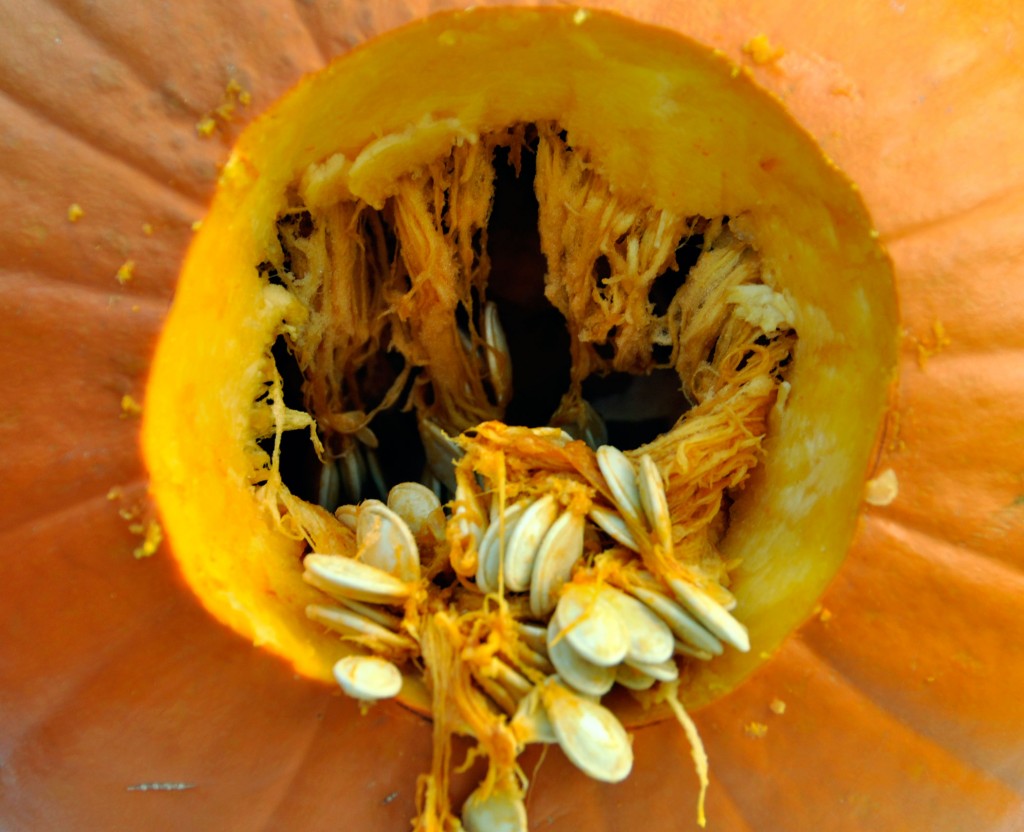
1. Carve out the bottom of the pumpkin. Why? I read online that this technique helps keep the moisture inside the pumpkin longer. I also found that it offers more workable space for decorating.

2. Clean out the pumpkin. Our kids had a blast doing this, although admittedly it’s messy. One tip the instructions offered was to scrape away the inside wall of the pumpkin until the area you want to carve is approximately 1 inch thick.
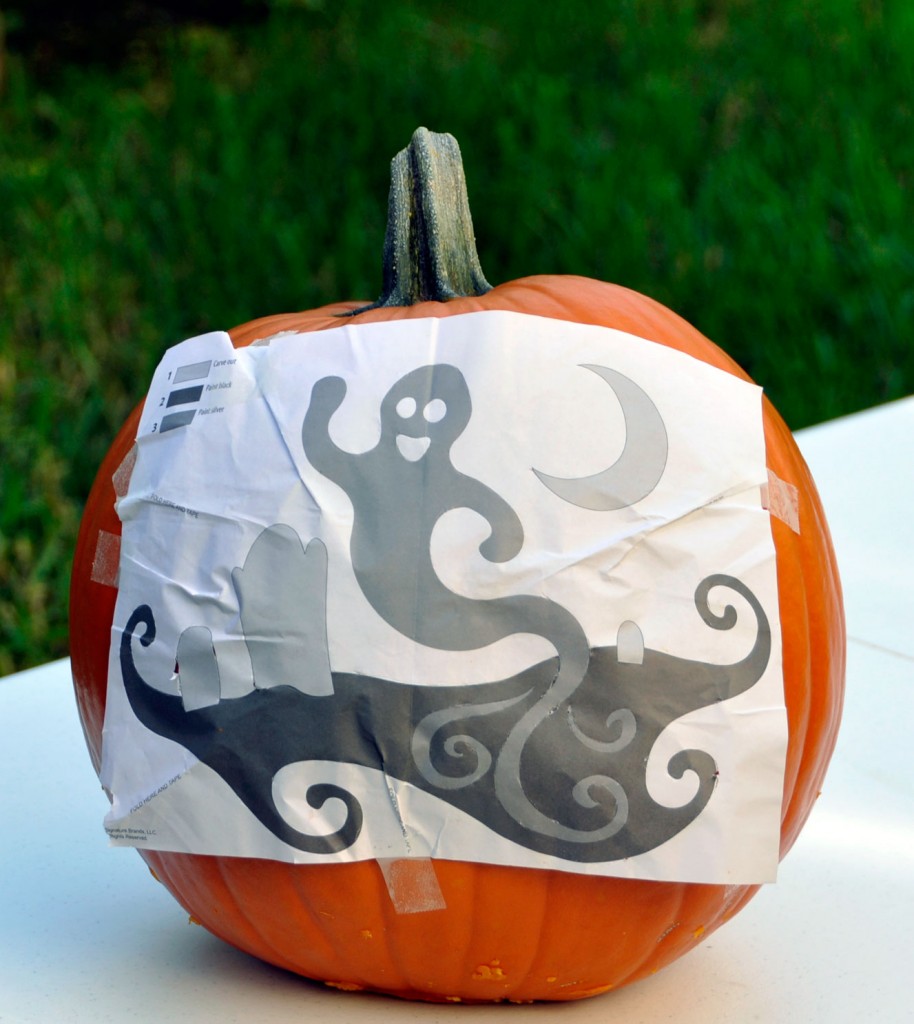
3. Attach the pattern. I used tape and found that folding it once I had it on the pumpkin helped ensure the pattern was as straight as possible.
4. Transfer the pattern. Although the instructions say to use a dull pencil, I found that using a dull point and making small indentations along the pattern made it easy for me to visualize where I was to carve.
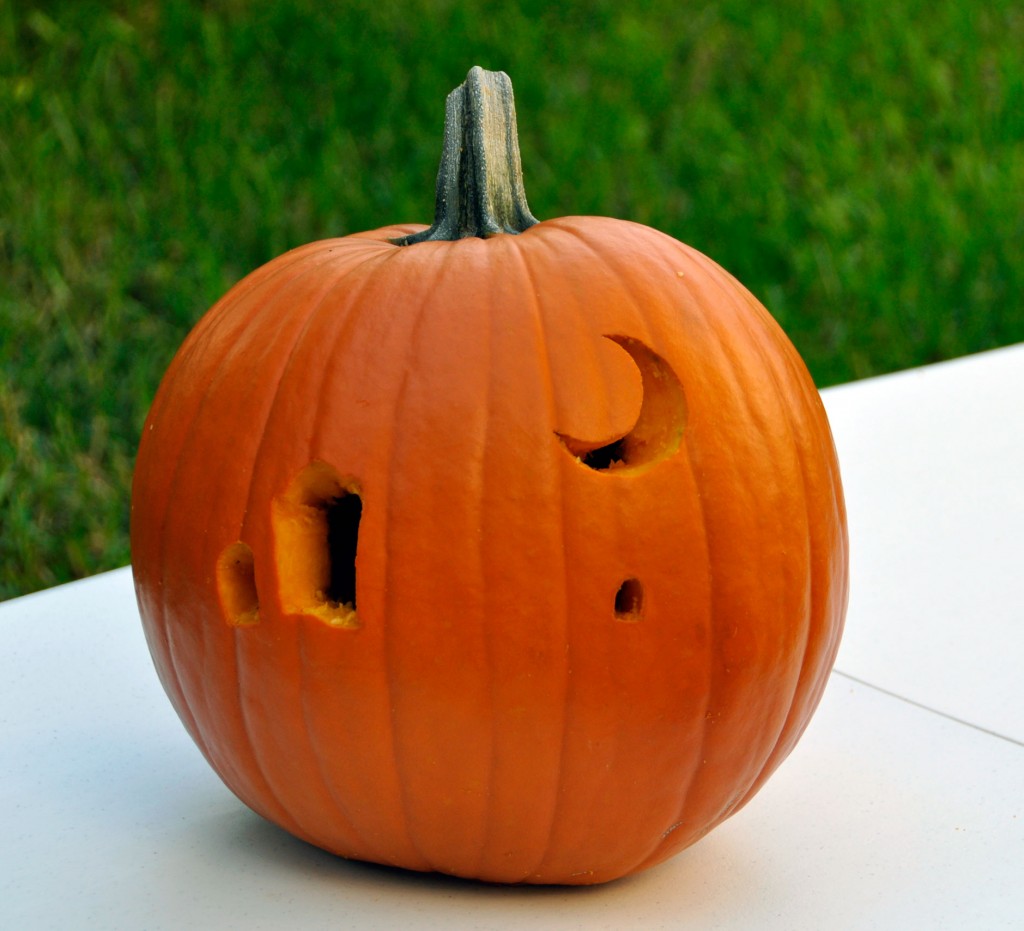
5. Carve your design. We only received one “saw” in our kit and I ended up using another one I had from a previous kit because I bent the first one. The instructions recommend holding the pumpkin in your lap and holding the saw like a pencil, sawing steadily with an up and down motion at a 90 degree angle. Be careful with your pressure as the saw is breakable.
6. Paint the design. I found it was easier for me to visualize where to paint if I drew the pattern out with a pencil. The sheet provided will tell you which areas to paint and what colors to use. I recommend painting with the darker color first and applying at least 2 coats.
7. Embellish with the push-pin silver beads provided in the kit.
8. Place the LED light inside of your pumpkin!

This project took me two days to complete. I spent the first day cleaning and carving the pumpkin and spent the next day painting it. While it’s more involved than a simple carved design, we were really happy with the results and how unique it looks.
For additional tips and ideas, or to pick up your own pumpkin and carving kit, just visit your local Walmart.
I participate in the Walmart Moms program and am compensated for my time and honest opinions.
- Discover Luxury at Sonesta Irvine: Your Ideal Staycation - August 8, 2024
- CHOC Walk Returns to the Disneyland Resort – Special Events and Ways to Support - June 28, 2023
- Beastly Ball Returns to the Los Angeles Zoo - May 8, 2023

Nice craft idea
Third time reading an article in this website. thankyou for sharing!
I also found a unique website that offers personalized portraits for babies and children. They saved us when we missed our photoshoot due to the pandemic. Try them out!