No compensation was received for this post. I attended an event and received a gift bag and a $25 GC from Lowes.
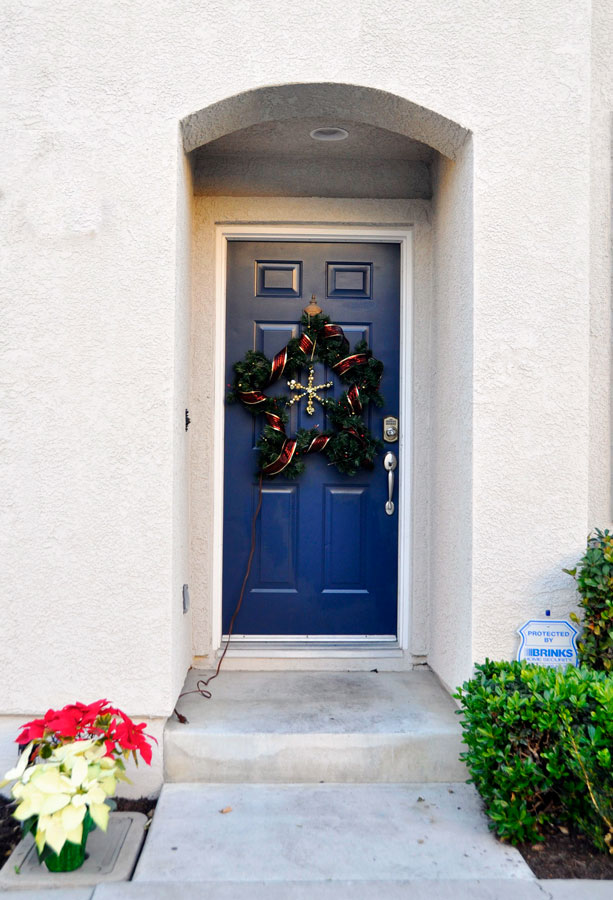
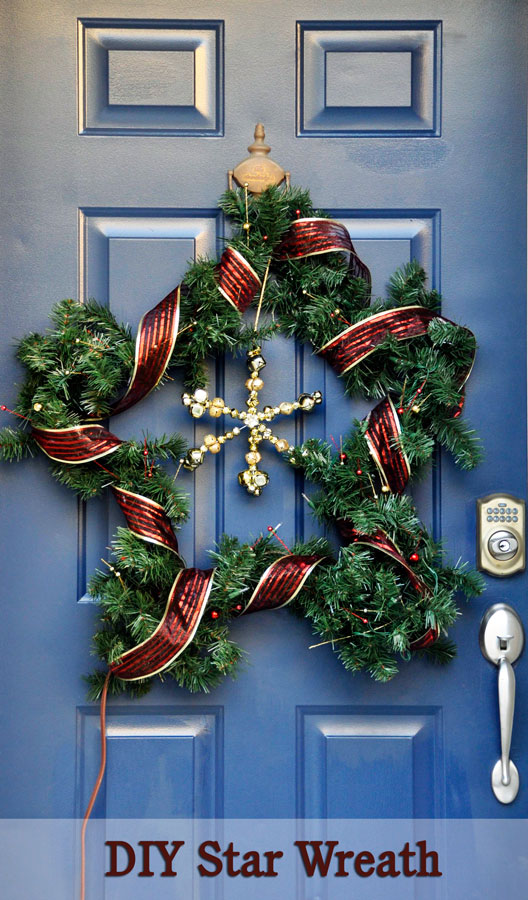
Our Christmas tree is all dressed up, our mantle is decorated with a beautiful lit garland, and our stockings are hung. The only thing we had to do over the weekend was display our Star Wreath (because, it couldn’t be round right?). We love to decorate around our home for the holidays but as a mom to two children with a busy at-home job, I need easy decor-solutions that won’t break the bank.

Image via Lowe’s
Recently, Yolanda from Sassy Mama in LA hosted a Lowe’s Holiday Showcase where we got a glimpse of all the holiday decor items available and gleaned some awesome and easy tips and inspiration from The Kitchen Cousins. What I learned from the event was that decorating can be as easy as incorporating splashes of color (and I don’t mean just red and green), using lots and lots of lights, and buying to then add your own personal touch to. Here are my favorite 3 tips for a Holiday Ready Home from The Kitchen Cousins:
1. Look to nature for inspiration: From colors and fabrics to pinecones and birch, natural elements give that warm touch to wintery decor.
2. Add a touch of pizzaz with metallics: Silver, gold, and anything sparkly compliments holiday colors well and adds just the glitz you need to get into the Christmas spirit.
3. Consider using a simple 3-color palette: Complimentary colors can be used to make a bold statement such as white, blue, and silver.
After we had gnoshed on empanadas and the most amazing chocolate torte from Porto’s Bakery, we left inspired to create our own Holiday Ready Home. Lowe’s and Yolanda graciously sent us home with the materials we’d need to Make the Perfect Snowman. Unfortunately, we never see snow in Southern California and in fact, our weather forecast for Christmas looks more like Spring!

I decided to take the $25 gift card I was given and purchase supplies to make a Star Wreath!
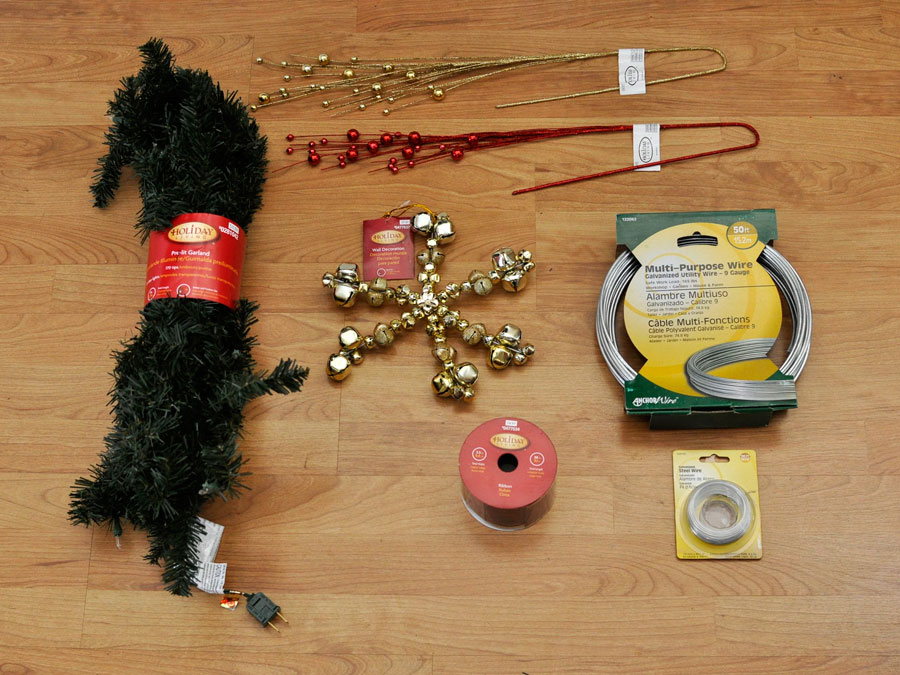
Here is what you’ll need

Instructions:
- Unroll 9 gauge wire to straighten it.
- Cut to length of pre-lit garland (9′ in our case) and add 4-6″ to the length to allow an overlap
- Divide garland length by 5 (21.6″ for 9′ Garland) and put mark on wire every 21.6″ after the 4-6″ overlap. (These will be the points of the star)
- Then divide those segments in half (10.8″) and mark the wire in the middle of each section (These will be the inset angles on the star)

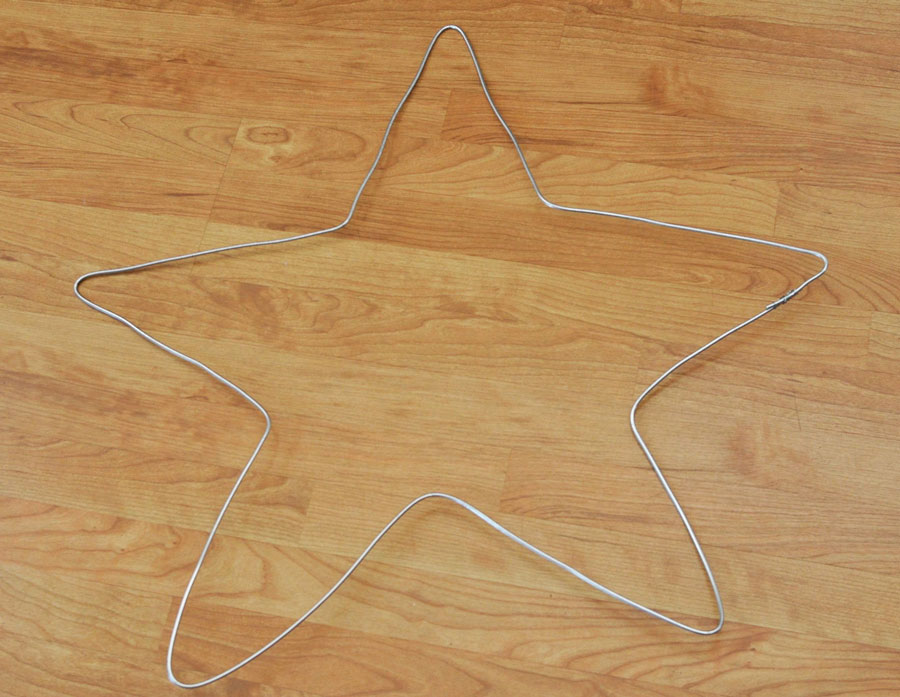
- With pliers, grip 1/4″ above the first tick mark and form the first point – a 36 degree angle to be exact (with the overlap section on one side and the full section on the other).
- Move to the mid point and bend the opposite direction in a wide angle.
- Continue all the way around the star until you reach the overlap.
- With 18-20 gauge wire, tightly affix the overlapping 9 gauge sections together. Tip: wrap the overlap several times and twist the smaller gauge wire together near the heavy gauge wire using pliers.
- Twist to make the small wire tighten around the overlap to keep it from sliding. Repeat at least once more to lock it into place.
- Lay star on ground and adjust bends to make it both flat and relatively even on all sides.
- Starting with the end of one point, wire one end of the garland onto the star with the smaller wire (or green floral wire).
- Continue around the star, wiring at least at every bend, but preferably in between each bend as well. Tip, start with the power connector on the point of the star closest to where you want the power to connect. ie: if your power outlet is to the left side of your hanging point, use the bottom left point and work in either direction.
- Adorn with ribbon, ornaments, etc.

- Discover Luxury at Sonesta Irvine: Your Ideal Staycation - August 8, 2024
- CHOC Walk Returns to the Disneyland Resort – Special Events and Ways to Support - June 28, 2023
- Beastly Ball Returns to the Los Angeles Zoo - May 8, 2023

Leave a Reply