{Sponsored}
Picking out the perfect gift, in an age where the choices are seemingly limitless, can be a challenge. I can get overwhelmed with too many options, and very often those items don’t necessarily add the personal, human touch I feel should characterize a gift. I love all-things handmade, and I often incorporate photos to create a gift that is unique and enduring.

Since I have an expansive collection of digital photos, I decided to use some of my favorites from the year to create DIY Photo Cube Ornaments.
Before you begin this project, head over to the Photo department at your local CVS/pharmacy store to purchase mini-prints. At present, this custom size cannot be ordered online, so you’ll have to create a collage in-store at the KODAK Picture Kiosk. The alternative is to create a customized collage in PhotoShop and then print it at your local CVS/pharmacy, which will ensure your size is accurate, however, this is a more time-intensive process.
How to Create a Mini Photo Collage:
1. Download the free KODAK Kiosk Connect App and connect to your specific kiosk’s WiFi
2. Upload the photos you have selected from your phone to print a collage of 9 photos
3. Remember that you can crop and rotate photos
4. If you have some free time, choose the One-Hour Service for higher quality photos. Otherwise, you can print in seconds right from the kiosk.

Supplies for DIY Photo Cube Ornaments:
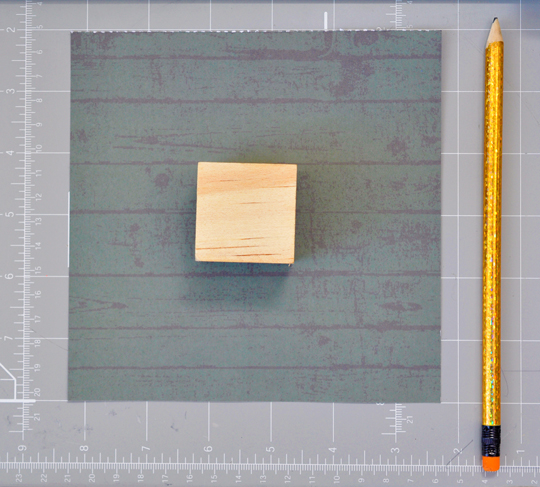
1. Wood cubes (I used 1.5 x 1.5)
2. Sandpaper
3. Assorted scrapbook paper
4. Mini prints of your favorite photos
5. Mod Podge (I opted for Matte).
6. Assorted stickers
7. Screw eyes
8. Assorted ribbon
Instructions for DIY Photo Cube Ornaments:
1. Using sandpaper, sand blocks until smooth.

2. Measure your wood blocks
3. Use a pencil on the back of the scrapbook paper to serve as a guide for cutting

4. Use a paper cutter to cut out the scrapbook paper and photos to match the size of your wood cubes.

5. Mod Podge paper and photos to wood cubes. *Tip* If your photos are not wide enough, you can use a piece of scrapbook paper as a background for your photo. Allow Mod Podge to dry completely before handling.

6. Trim excess scrapbook paper, if necessary.
7. Apply stickers using Mod Podge, in order to seal them to the wood. *Tip* Flat stickers are ideal to ensure they will adhere to the wood block.

8. Insert screw eye into the top of the cube. This can be tricky so be sure to screw it in straight and use just enough pressure to get it in while leaving the wood intact.
9. String ribbon through the screw eye and create a bow.

While creating these adorable Photo Cube Ornaments is time-consuming, the project itself is easy to replicate and there are many ideas for making these completely unique. Some ideas include painting the wooden blocks with acrylic paint and then alternating each side with scrapbook paper, creating an ornament completely out of photos with a common theme, and varying the message to include either an initial or a short, inspirational word or phrase. You can also use stamps or stencils to create your own designs directly on the wood block.

Head over to CVS.com/photo to print out your family’s favorite photos from the year and frame them as gifts, create photo gifts like my Photo Cube Ornaments, or order last-minute Holiday Photo Cards (you can order and receive them same-day!).
- Discover Luxury at Sonesta Irvine: Your Ideal Staycation - August 8, 2024
- CHOC Walk Returns to the Disneyland Resort – Special Events and Ways to Support - June 28, 2023
- Beastly Ball Returns to the Los Angeles Zoo - May 8, 2023

these are so cute!
I love this! What a wonderful idea and a great way to use some of our adorable photos we collect throughout the year! I know I take so many and my little guy loves to craft with me, so this will definitely be something we do this Christmas.