Peppermint Bark is one of those gourmet delicacies that look like they take a lot of time and effort, but don’t. Peppermint Bark is simply comprised of two layers of chocolate…dark and white with a little peppermint thrown in the mix.
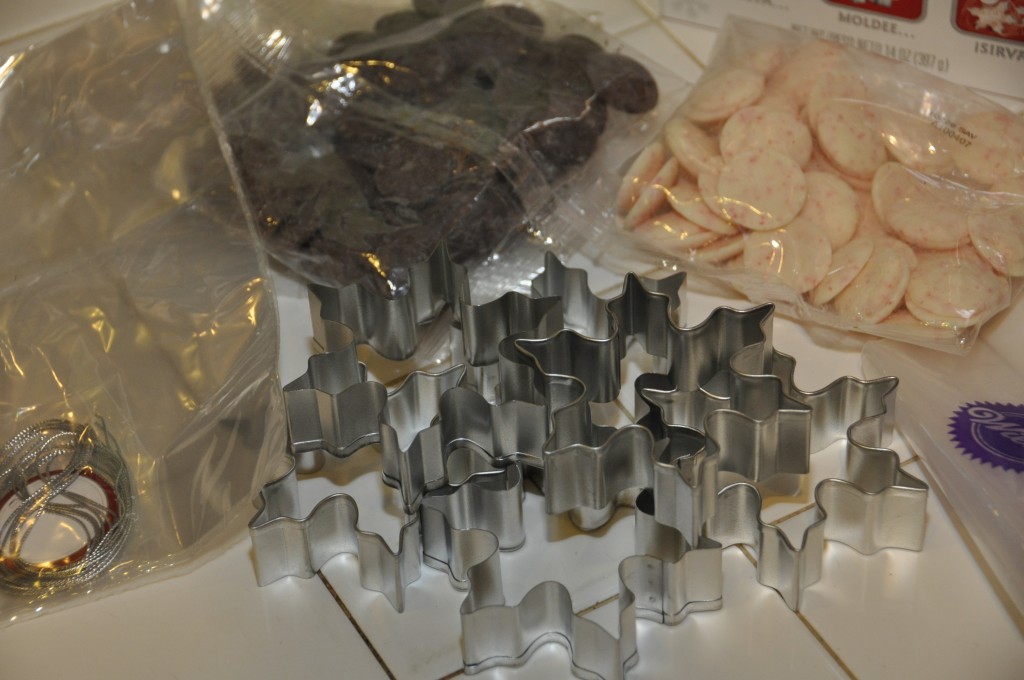
Wilton’s Holiday Peppermint Bark Kit includes everything you need to make six Snowflake-shaped treats, complete with wrapping and gift tags. What I like about this version is that after you’re done enjoying this delicious little treat, you have a cookie cutter you can use for holiday cookies.

Kit contains everything you need…
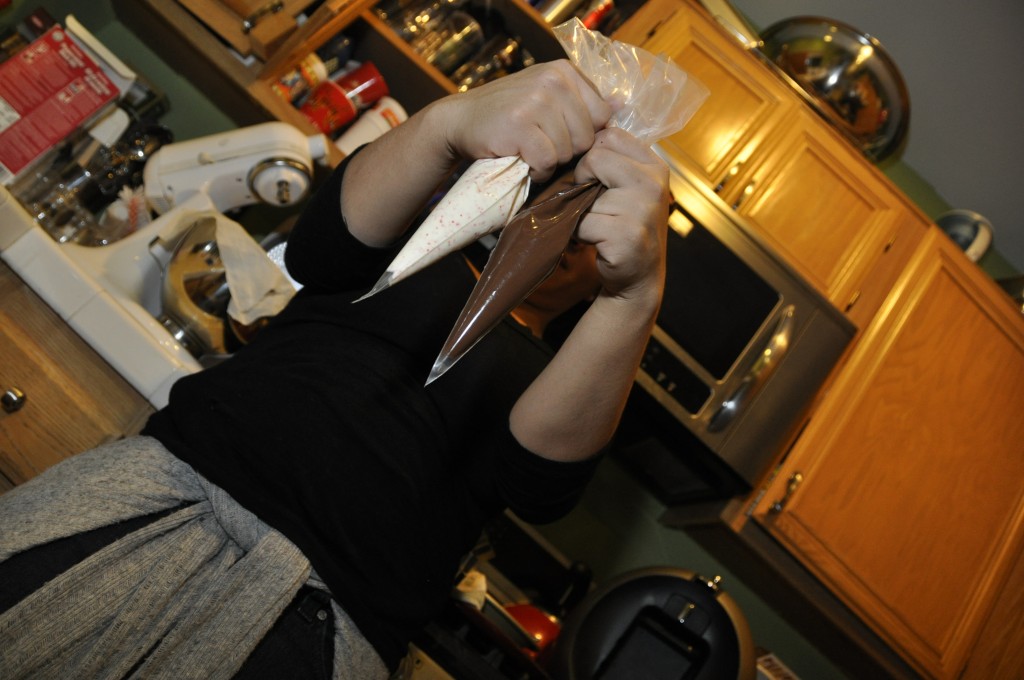
Once you’ve set out the Snowflake cutters on a baking sheet lined with wax paper (so the candy doesn’t stick), you’re going to get ready to melt the candy. You can melt it in a Chocolate Melter, over a double boiler, or in the microwave (which I recommend because it’s quick and easy). Place the Dark Cocoa Melts and the Candy Cane Colorburst Melts in the Decorating Bags provided. Loosely twist the bag, but don’t tie it (heat plus plastic in the microwave = explosion if not allowed to vent). Microwave the candy on 50% power at 30 second intervals (it took about a minute and a half in our microwave for reference). Kneading the bag in between cycles will help melt the candy thoroughly. I also recommend melting the Dark Cocoa first, then going back to melt the Candy Cane Melts when you’re ready so that it doesn’t start to harden. Next, cut off the tip of the decorating bag with a pair of scissors. Be careful not to cut too much of the tip off so that you can control the flow of the candy. Now you’re ready to fill your snowflakes!

While it’s hard to gauge how much to fill them, I found a little less than half was ideal to ensure that each had enough Dark Cocoa. You can always add a bit more once you’ve filled all six snowflakes, however, it will be harder to achieve a smooth look once it starts to dry. Tap the sheet on the counter to spread the candy being careful not to disrupt the snowflakes too much. Place the snowflakes in the fridge to harden (approximately 2 minutes). This is the perfect time to melt the Candy Cane Melts using the technique described above. Once they’ve hardened a bit in the fridge (this is to prevent mixing of the Dark Cocoa and Candy Cane candies) it’s time to start filling the snowflakes with the Candy Cane Melts. In order to get the candy into the points, use either the edge of the bag or a toothpick. Allow the candy to harden completely before wrapping or removing from the snowflake cutter.

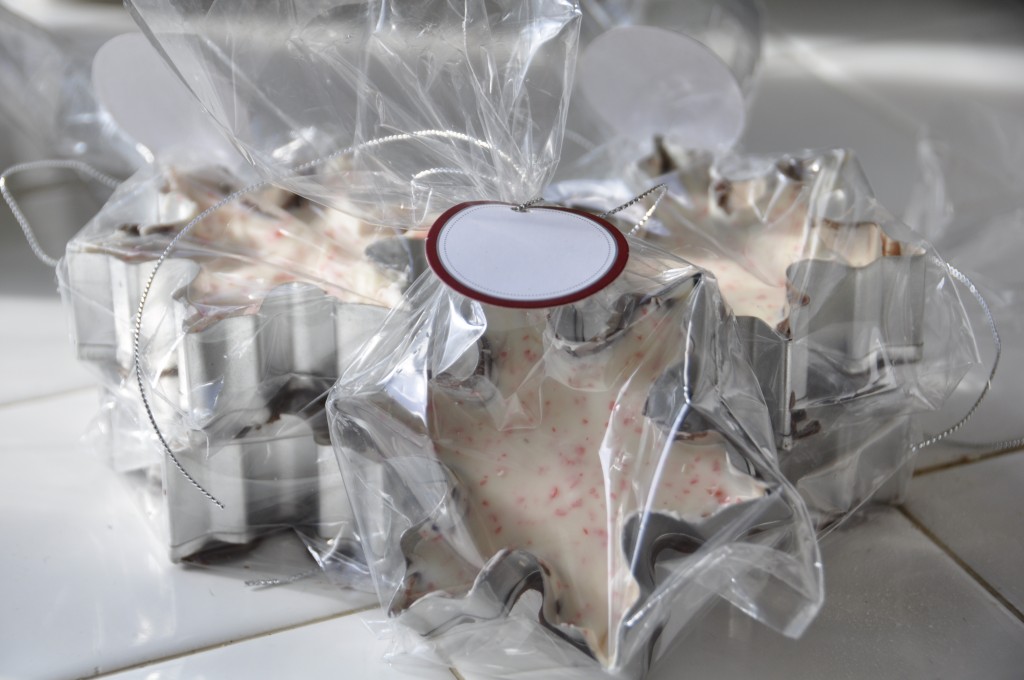
The kit comes with gift bags, silver ties, and tags so you can wrap them and gift them. But perhaps you’d rather just eat them!

The Holiday Peppermint Bark Kit retails for $9.99 and is available at retailers where Wilton products are sold.
No compensation was received for this post. A product sample was provided to facilitate this review.

- Discover Luxury at Sonesta Irvine: Your Ideal Staycation - August 8, 2024
- CHOC Walk Returns to the Disneyland Resort – Special Events and Ways to Support - June 28, 2023
- Beastly Ball Returns to the Los Angeles Zoo - May 8, 2023

what a beautiful gift!
These look awesome but are already out of stock. Hopefully I can get my hands on a set for next year’s holiday season.