{Sponsored}
I wanted to frame that first piece of artwork my son brought home, proudly displaying it like a Picasso for all to see. And then the artwork continued and I ran out of living room wall space, so my thought was to then compile it into one comprehensive, Pinterest-worthy scrapbook. But that box of artwork sat in its designated storage place, gathering dust. Occasionally, I would peruse through it, reminiscing about a time when my kids couldn’t color inside of the lines, but I wanted that box to be more than a place to house artistic memories.

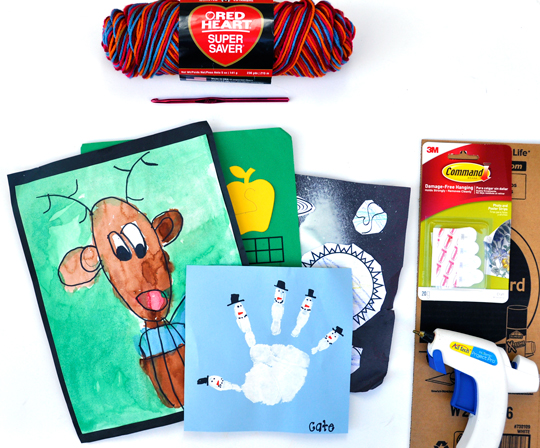
So I compiled my favorites and decided to frame them in vibrant, crochet picture frames. We headed to my local Walmart and each of my kids picked out their favorite Sashay yarn colors. You could use any yarn for this project, but I prefer a medium-weight yarn like the Red Heart Super Saver Yarn for it’s durability. I also chose multi-color yarn to give the project some depth of color. To crochet, you’ll need an I hook (I used an I-9, 5.50 MM hook) and this pattern, which I altered. To put the frame together, you’ll need cardboard, a hot glue gun, and Command Damage-Free Hanging Strips.

Here is the pattern:
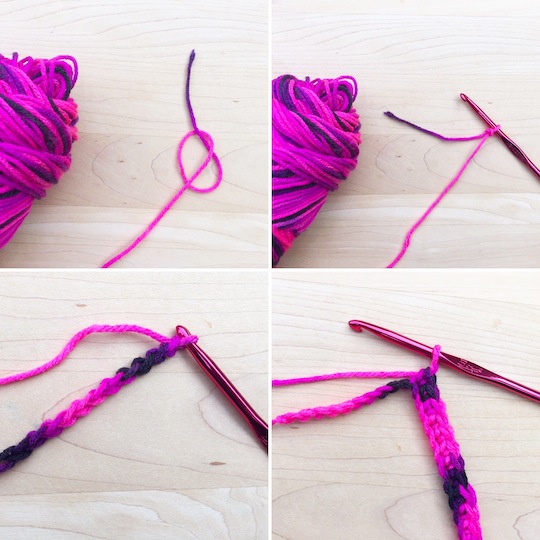
- ch 28 or to the length desired (i.e. 8″ for 8″ x 10″ frame)
- Top border: sc across the chain, ch 1 and turn (I continued this until i reached 2.5″)
- 1st Side border: 8 sc , ch 1 and turn for 4″ down one side (creates a 2.25″ strip that is 4″ long). End yarn.
- 2nd Side border: Join yarn on other side and repeat 8 sc, ch 1 turn for 4″ down the other side.
- Bottom border: sc across 8, ch 10, sc 8 (I continued this for 2.5″ to make an even border, but you could make it longer to give it a weighted feel.)

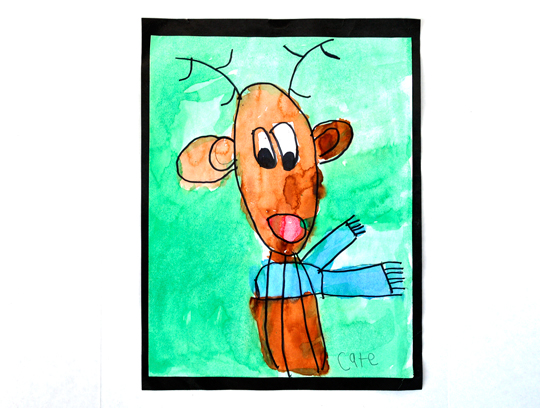
- Once the frame is complete, select the artwork you’d like to display and ensure it fits the opening. I also suggest choosing artwork in color schemes that match the yarn selected.
- Center the artwork over the cardboard and hot glue to secure.
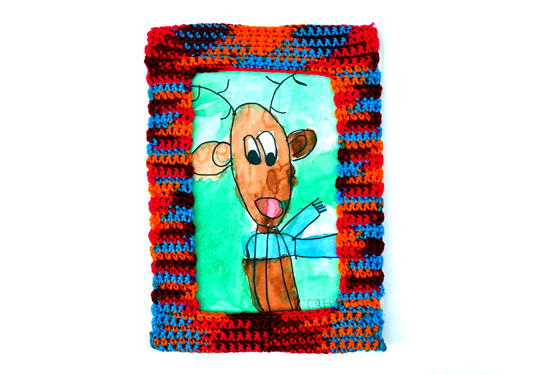
- Hot glue frame over artwork and allow to dry completely.
- Hang framed artwork using Command Strips

This project is easy and can be completed within a couple of hours for a unique way to display your child’s artwork. You can vary the size of the frame as well as the opening to tailor it to your child’s artwork. You can also opt for a crocheted back (as opposed to the cardboard back I used) and the instructions can be found here. Be sure to involve your kids by asking them to select the colors of yarn they prefer for their Crochet Picture Frame.
What do you do with your child’s artwork? I’d love to share your ideas below.

- Discover Luxury at Sonesta Irvine: Your Ideal Staycation - August 8, 2024
- CHOC Walk Returns to the Disneyland Resort – Special Events and Ways to Support - June 28, 2023
- Beastly Ball Returns to the Los Angeles Zoo - May 8, 2023

Leave a Reply