One of our favorite Fall activities involves picking out a pumpkin at our local pumpkin patch and spending an afternoon carving it. We typically try to display our creation on our front porch mid-October so that it lasts through Halloween. Our kids have come to enjoy getting messy with the pumpkin, digging out the pulp and the seeds, but this year, I thought we could try something different.
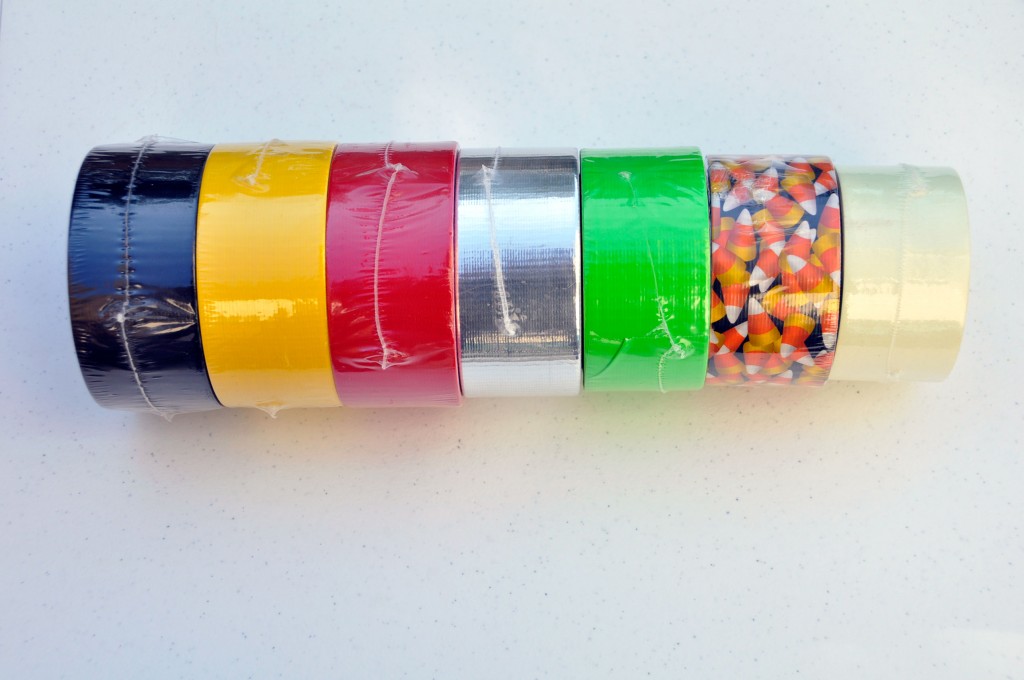
Every year, the Duck brand hosts a Stick or Treat Jack-O-Lantern Contest, inviting entrants to show off their creativity by decorating a pumpkin with Duck tape! With over 100 colors and prints, there is no limit to what you can do. This year, the Duck brand has introduced Candy Corn and Purple Spider Duck Tape rolls which can be used for Halloween crafts and trick-or-treat bags.
To enter, simply submit a photo of your real or artificial pumpkin decorated with duct tape to StickOrTreat.com. A panel of judges will choose winners based on originality, workmanship, use of color, and quantity of tape used. Entries can be submitted online through November 1st, 2012 and the grand prize is $1,000 (a second place winner will receive $500 and a third place winner will receive $250).
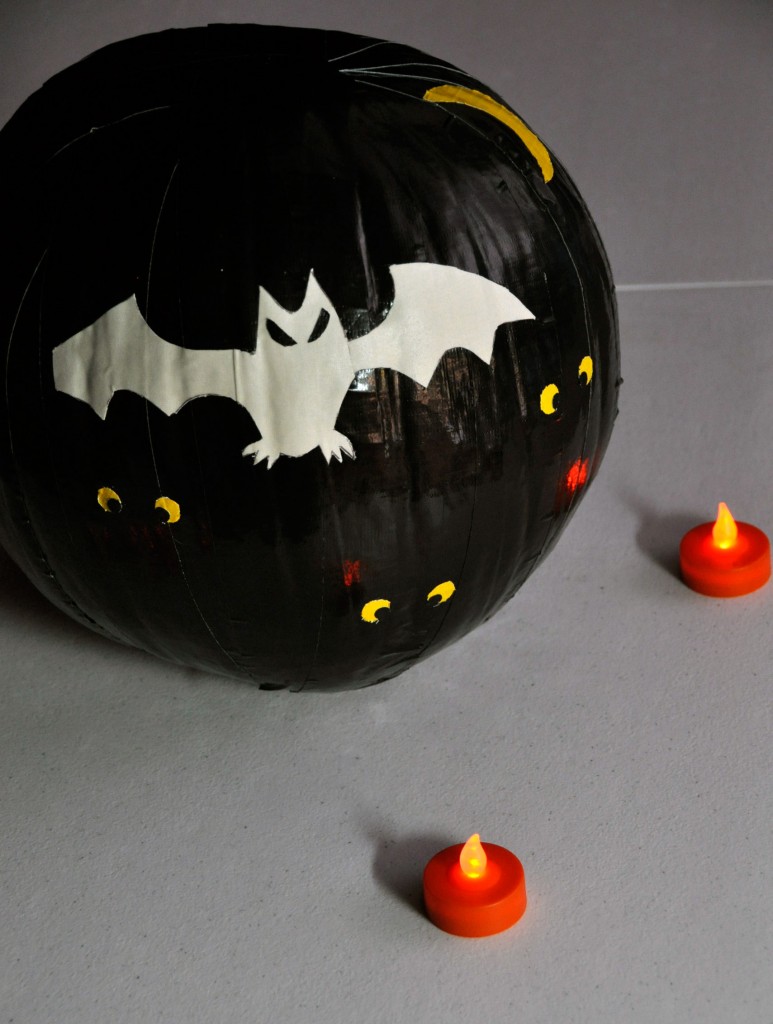
I like the idea of decorating with Duck Tape since no carving (or mess) is involved. And, if we don’t get it right, we can simply peel off the tape and start again.
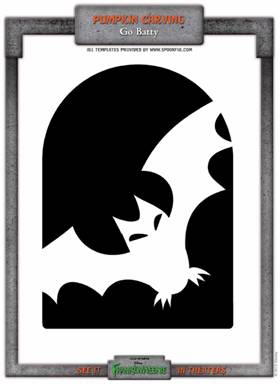
We decided to take the “Go Batty” template we found on Spoonful.com and re-create it using Duck Tape.
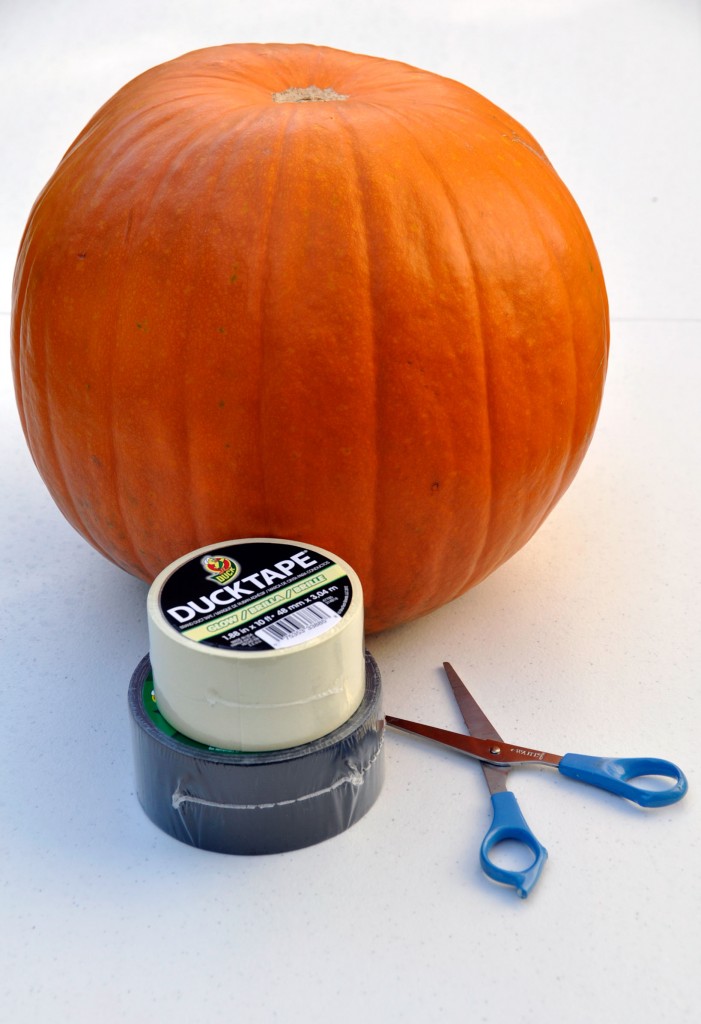
Here is what you’ll need:
1 pumpkin (I prefer a pumpkin that is smooth)
1 roll each of black, yellow, and glow-in-the-dark Duck Tape.
Scissors (or an Exacto Knife)
Hole Punch
1. First remove the stem from the pumpkin
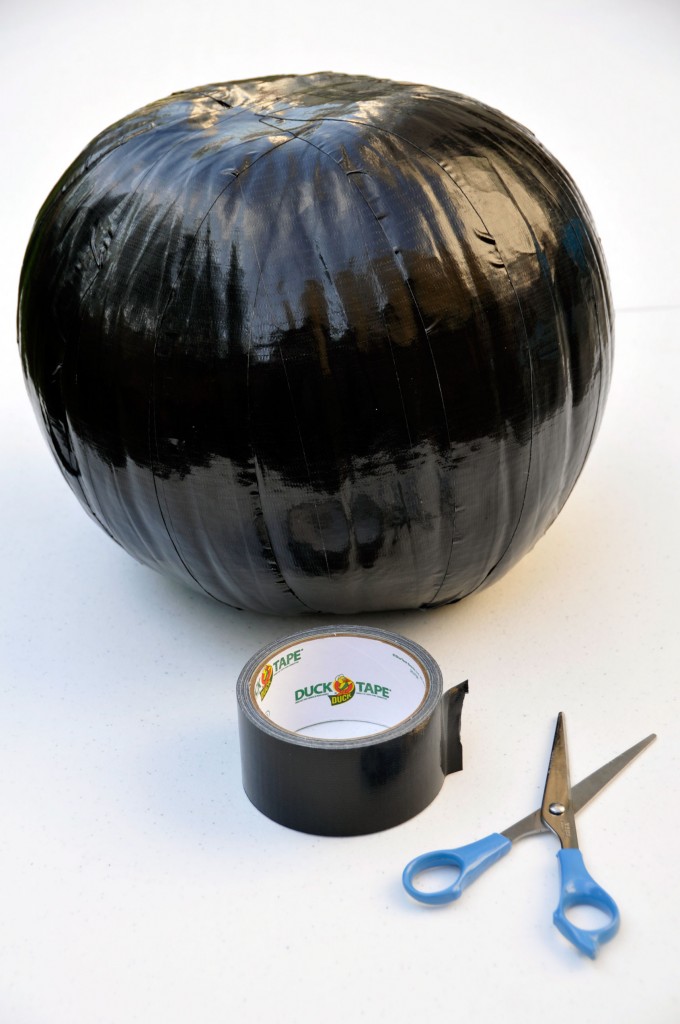
2. Next, use the black tape to cover the pumpkin. Tip: Rather than applying strips of tape side-by-side, divide the pumpkin in quarters and apply tape, then proceed to apply additional tape to cover the bare areas.
3. Cut out the bat from the template
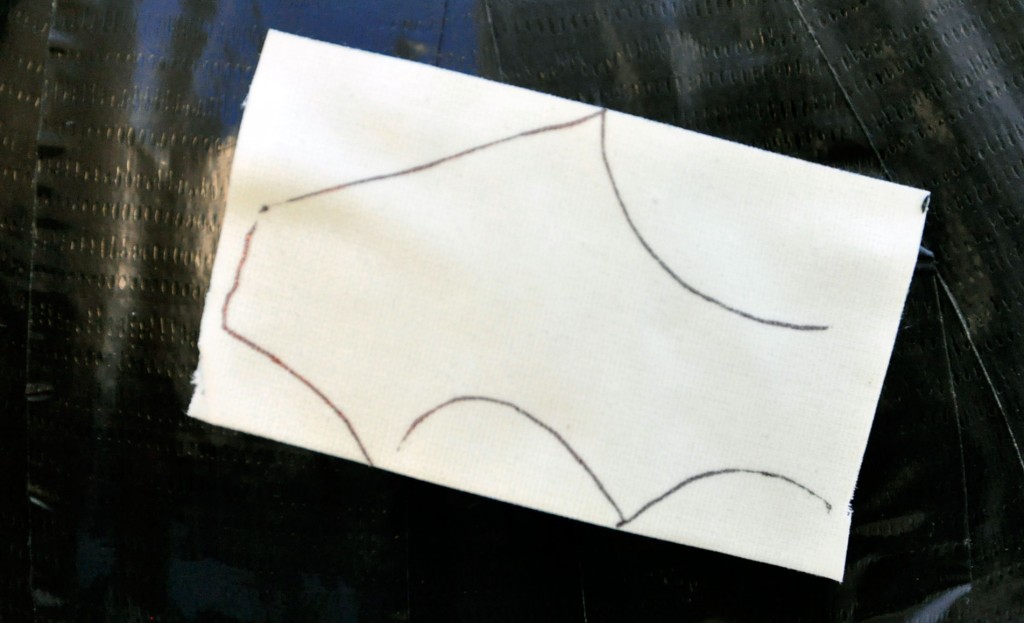
4. Draw each third of the bat in pencil onto the glow-in-the-dark duck tape
5. Use scissors or an exacto knife to cut each piece out and adhere it to the pumpkin
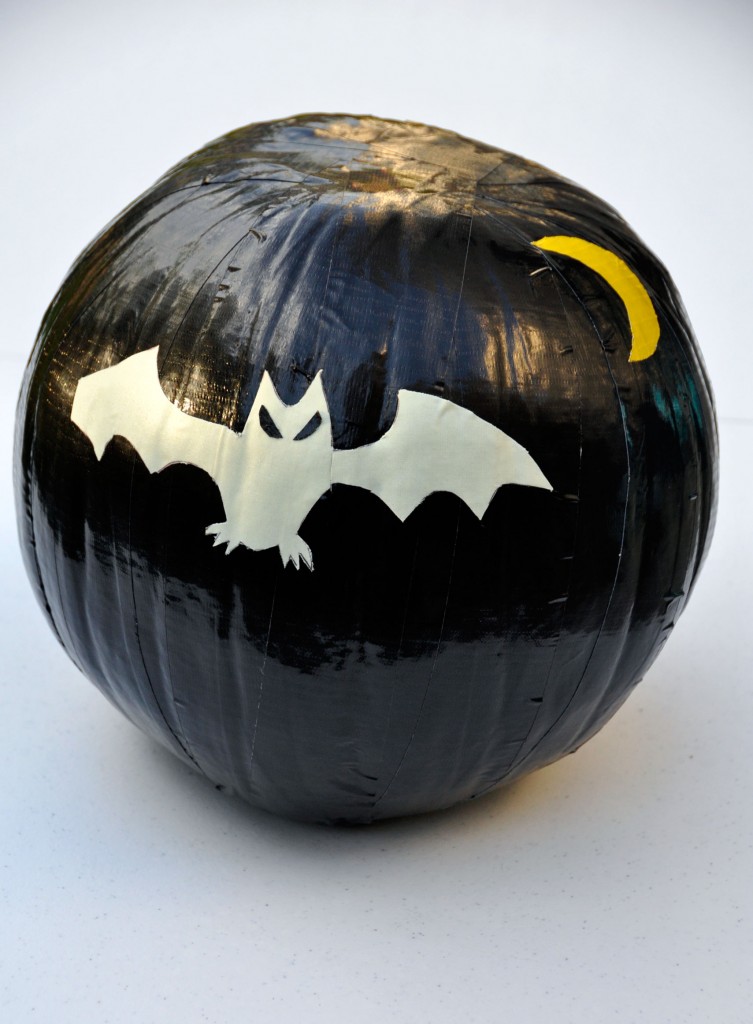
6. Cut out a crescent-shaped moon from the yellow duck tape (you can draw this in pencil to make it easier) and adhere it to the pumpkin
7. Cut out several circles from the yellow duck tape
8. Use a hole punch to cut out smaller circles to place in the corners of each eye
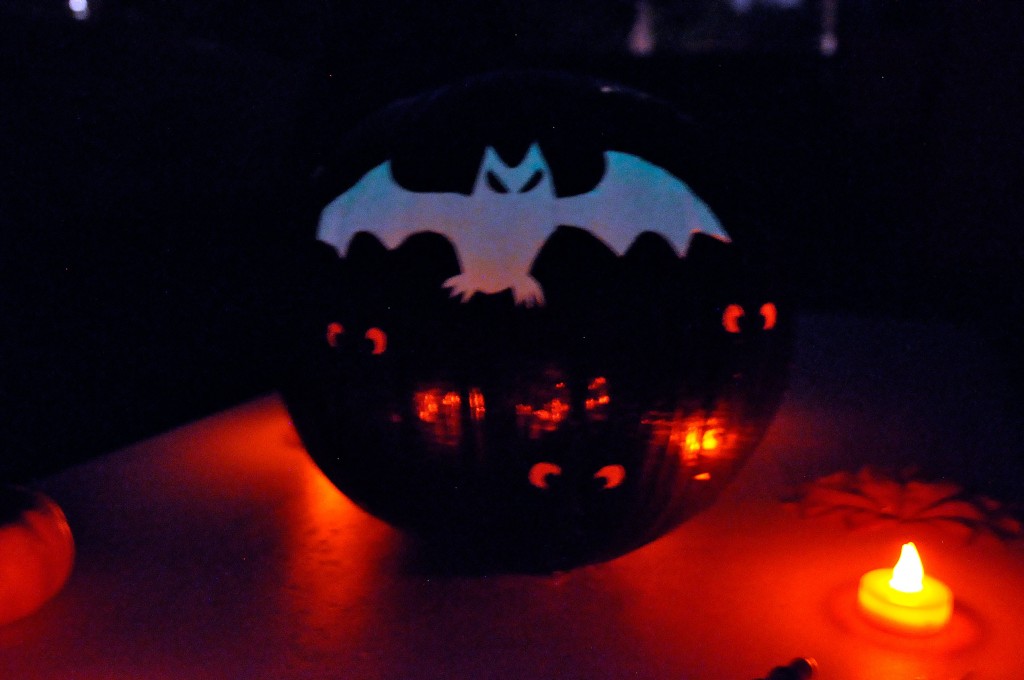
Voila!
While I wouldn’t say this project is difficult, it was a bit time-consuming, particularly when it came down to the smaller details of the eyes.
Overall, we had a lot of fun creating our pumpkin and the best part is that it will last much longer since we didn’t carve into it.
For more inspiration or to enter, just visit StickOrTreat.com.
I participate in the Walmart Moms program and am compensated for my time and honest opinions.
- Discover Luxury at Sonesta Irvine: Your Ideal Staycation - August 8, 2024
- CHOC Walk Returns to the Disneyland Resort – Special Events and Ways to Support - June 28, 2023
- Beastly Ball Returns to the Los Angeles Zoo - May 8, 2023

Love this – our friends are coming over to decorate pumpkins TODAY and I just saw this – YAY!!!