{Sponsored}
Christmas is my favorite time of year, and once we’ve celebrated all that we have to be thankful for, our home is transformed for the season. While I might put out a few seasonal, decorative items throughout the year, in the weeks leading up to Christmas, we craft and decorate throughout our home to give it a warm, inviting holiday feel.
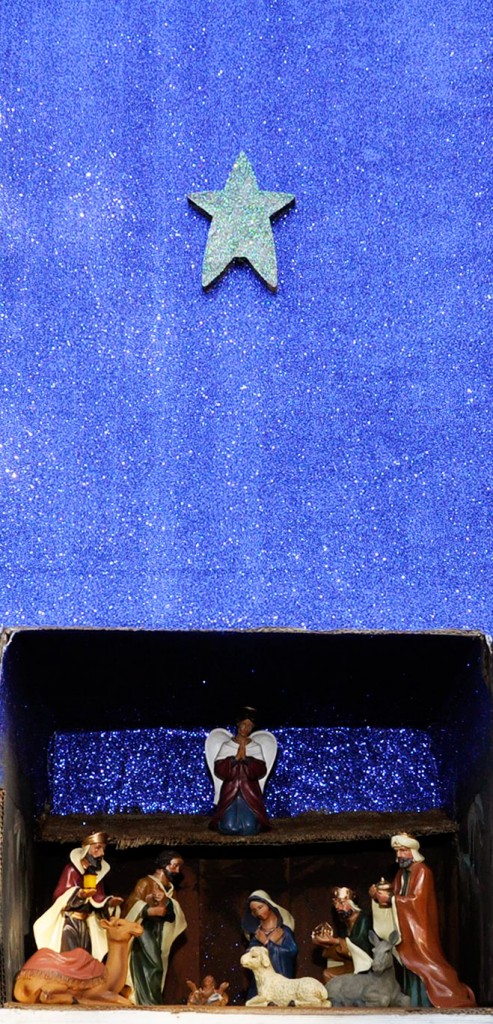
During my trip to Bentonville earlier this season, we spent some time with the Crafts Department and I gleaned some inspirational ideas for personalizing our home decor. Some of the new items you’ll find this year at Walmart include printed burlap and painted wooden ornaments. This year, for the very first time, we’ll have a nativity scene in our home. I grew up with a display in my parents’ home each year, but I had yet to follow this tradition because my children were young and I was nervous they would be destructively curious.
Since we don’t have a ton of places to display figurines and collectibles, my husband and I dreamed up the idea to create a window shadow box to display throughout the season for our family and those who pass by our home.
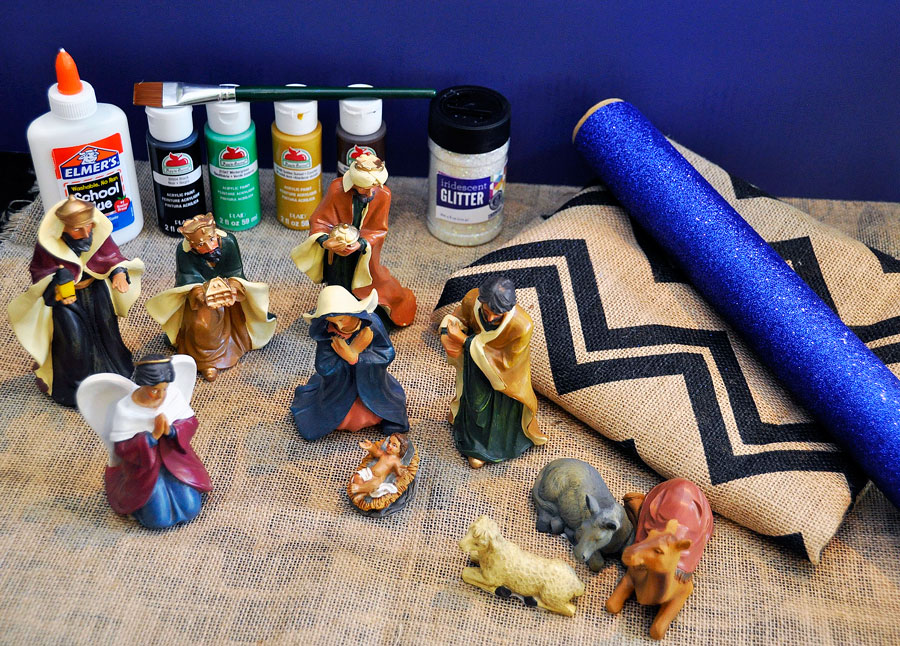
Everything you’ll need to create this Nativity Scene Shadow Box Craft was found at Walmart (just be sure you have an appropriately-sized box that will fit inside your own window).
1. Find a cardboard box that either matches the width of the poster board, or fits the width of your window section and cut poster board to match.
2. Cut the flaps off of a cardboard box.
3. Use blue glitter wrapping paper to create the sky.
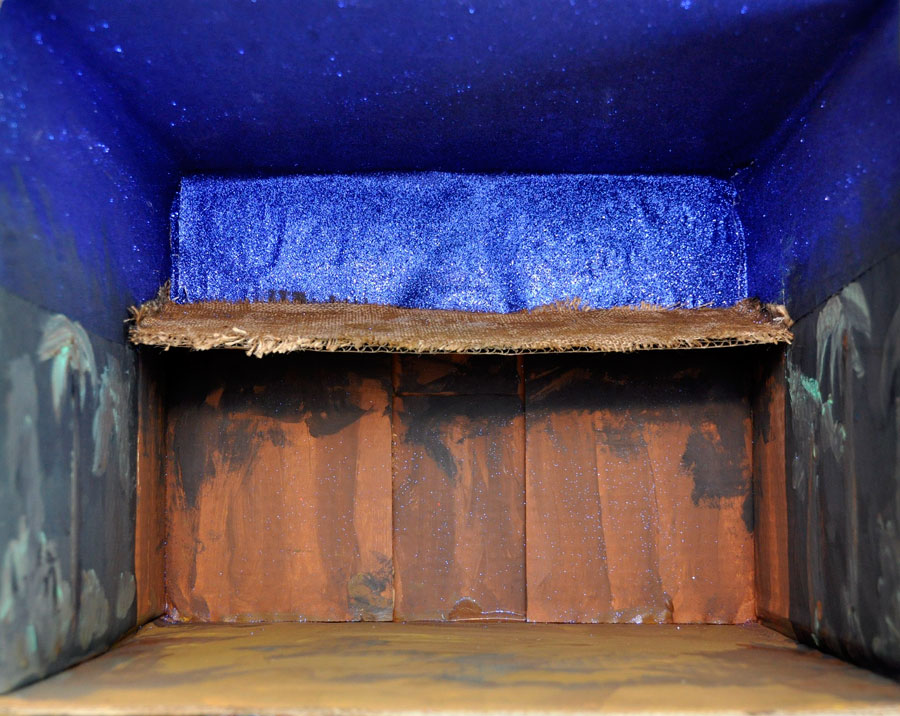
4. Paint the inside to look like a manger, ground and surrounding scene (palm trees, etc). Allow to dry.
5. Create the manger roof by gluing burlap to one side of the cut off box flap matching the width of your box. (this is where the Angel will sit).
6. Hot glue the manger roof into place allowing enough room for the angel to sit on top. Secure well to support weight of angel figure.
7. While the paint is drying, cover the poster board with blue glitter wrapping paper.
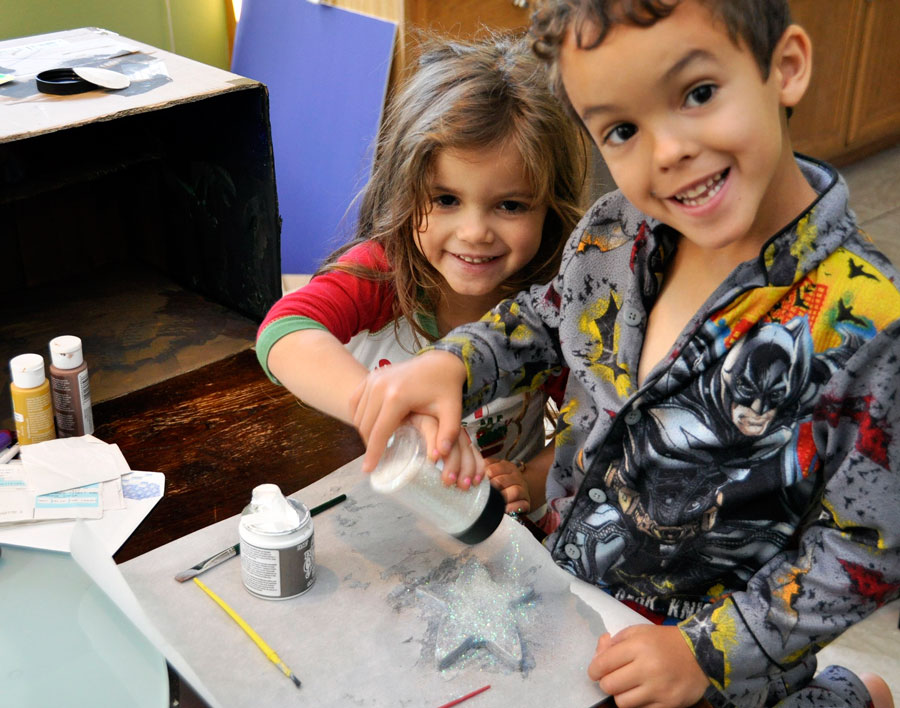
8. Remove the stand from the star and paint using white or gold acrylic paint.
9. Cover with glitter while still wet and allow to dry.
10. Glue star onto the wrapping paper-covered poster board.
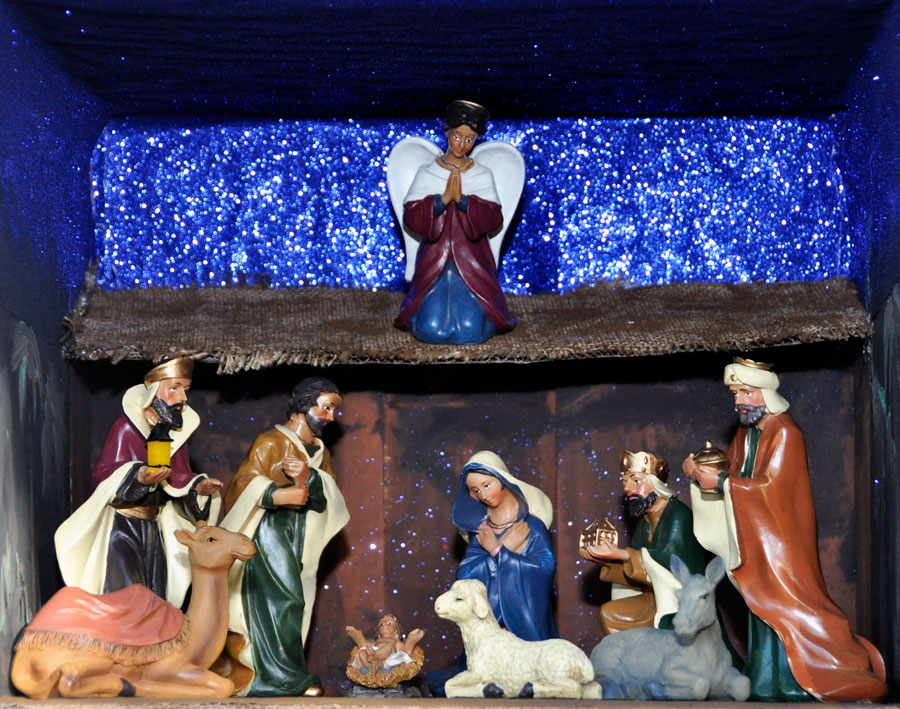
11. Arrange Nativity Figures in the scene. I recommend using glue to secure them.
12. Display shadow box in the window and hang the poster board above it.
Tip: If you have some space on the sides of your window, you can fill it with spray snow, available at your local Walmart.
While some aspects of this craft definitely require an adult, we included our kids throughout the process. They enjoyed painting and glueing things together and we used this time to tell them about the true meaning of Christmas. I like displaying our nativity scene this way because my kids will be less likely to play with them and/or break them. If you do decide to glue them down, remember that you likely won’t be able to reuse them at another time.
We now have this beautiful reminder throughout the season that we’ll use to continue telling our children about the joyous birth of Jesus…the true “reason for the season.”
- Discover Luxury at Sonesta Irvine: Your Ideal Staycation - August 8, 2024
- CHOC Walk Returns to the Disneyland Resort – Special Events and Ways to Support - June 28, 2023
- Beastly Ball Returns to the Los Angeles Zoo - May 8, 2023

Leave a Reply