My “honey do” list is quickly becoming a “honey look what I did” list thanks to Walmart’s Projects Made Simple tutorials! If you’ve frequented your local Walmart in the past few months, you might have noticed the tear-off project sheets located in the Craft and Hardware sections of the store. Additionally, new videos and tutorials are being added to the site, and the latest three feature creative ways to personalize a child’s room.
Projects Made Simple is Walmart’s resource for making DIY projects easy and affordable. The project sheets are straightforward and easy to follow, but because I’m highly visual, I rely on the videos to help guide me.
For this project, I decided to turn one of our kids’ old playtables into an art space. My goal was for them to have a magnetic surface that they could use dry erase markers and crayons to color and get creative with.
In order to prepare the table, I actually had to patch a hole! Fortunately I have some experience with this.
Here are the supplies you’ll need for the magnetic part, all of which can be purchased at your local Walmart:
- Rust-Oleum Magnetic Primer
- Paint
- Painter’s Tape
- Drop Cloth
- Foam Roller
- Paint Brushes
- Tray Kit
- Magnets
Because I had most of these items, this project didn’t cost me personally more than $10. The paint was sent to me and is the most expensive item ranging in price from $10 (Magnetic, Chalkboard) to $20 (Dry Erase).
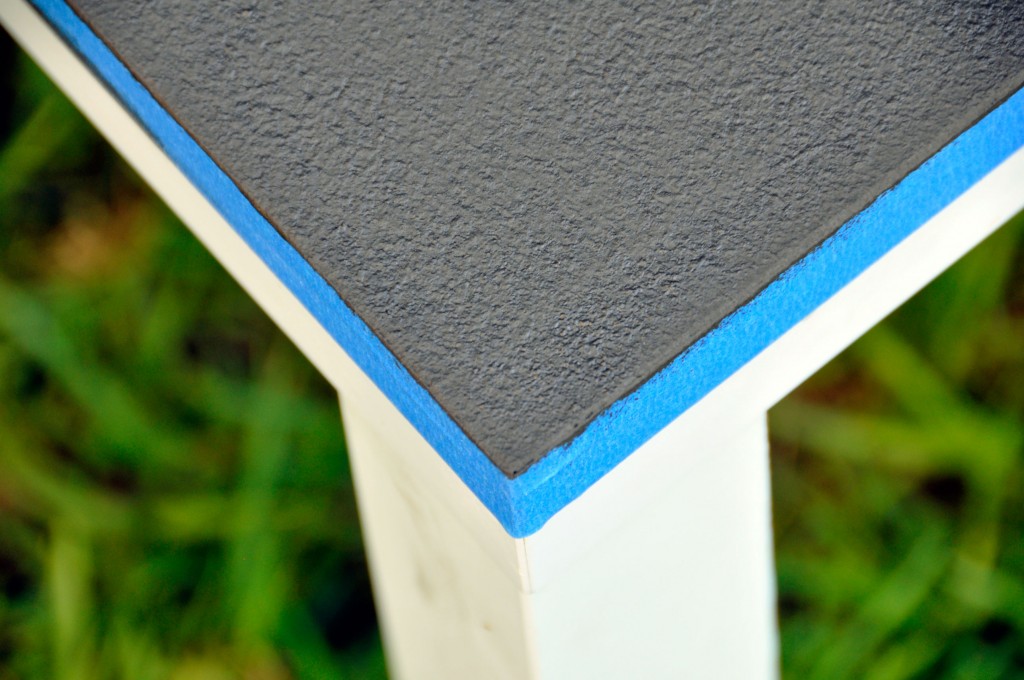
First, I sanded the table smooth and wiped it down with a damp cloth.
Next, I taped the edges to create a barrier.
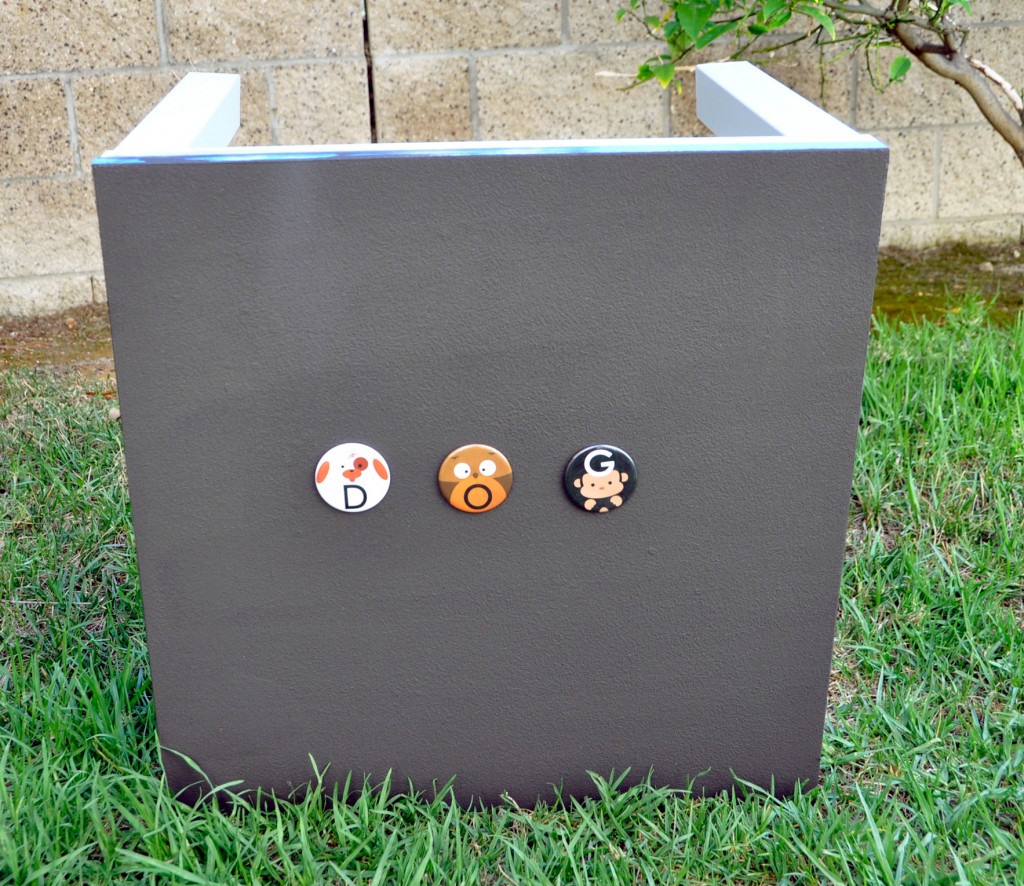
After mixing the paint, I applied 3 thin coats, allowing each coat to dry for 30 minutes in between.
I then allowed the last coat to dry overnight.
Here is the original video for reference:
At this stage, you can either paint the surface with the color of your choice, or apply Dry Erase or Chalkboard Paint to transform it into a creative art space. We opted for a Dry Erase surface. Here is what you’ll need:
- Rust-Oleum Dry Erase Paint
- Painter’s Tape
- Drop Cloth
- Foam Roller
- Tray Kit
- Sandpaper
- Primer
- Dry Erase Markers
- Eraser
Since my surface was already prepared, I simply mixed the two Dry Erase components together and applied 3 thin coats over the dark surface, allowing each to dry about 30 minutes. Be sure to use the mixed paint within 2 hours.
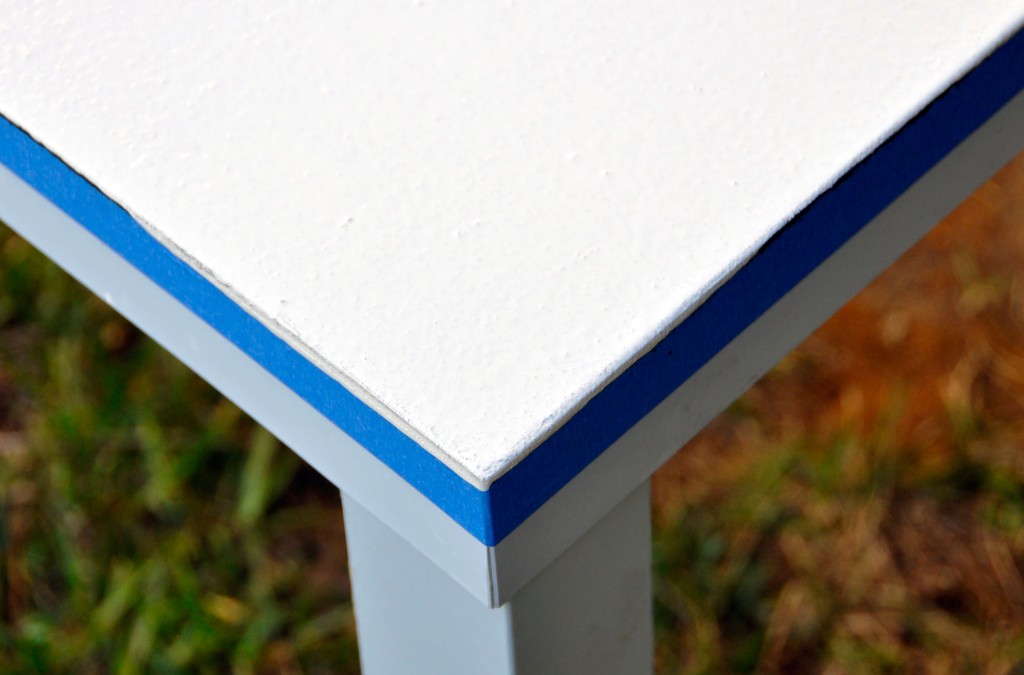
While the paint dries to the touch in an hour, you’ll want to let it dry completely for 2 full days before writing on it.
Here is the original video for reference:
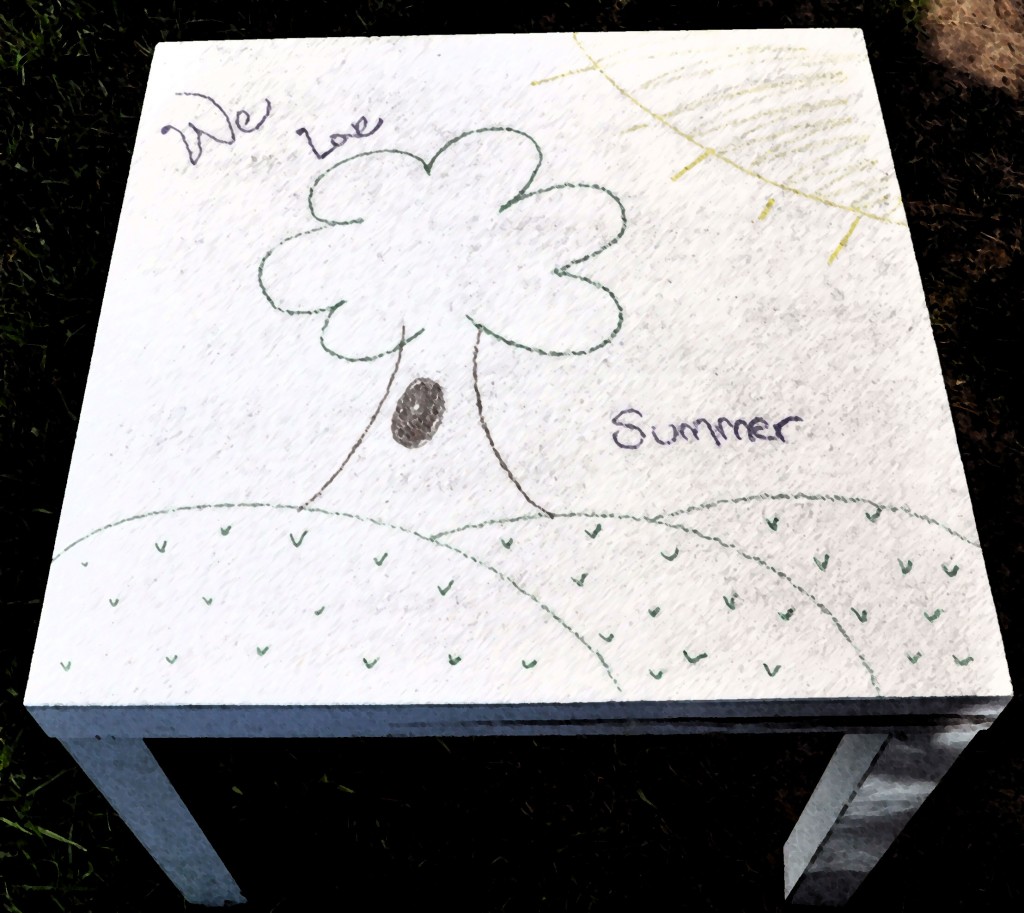
Here is our newly transformed table…perfect for all of our kids’ artistic ventures!
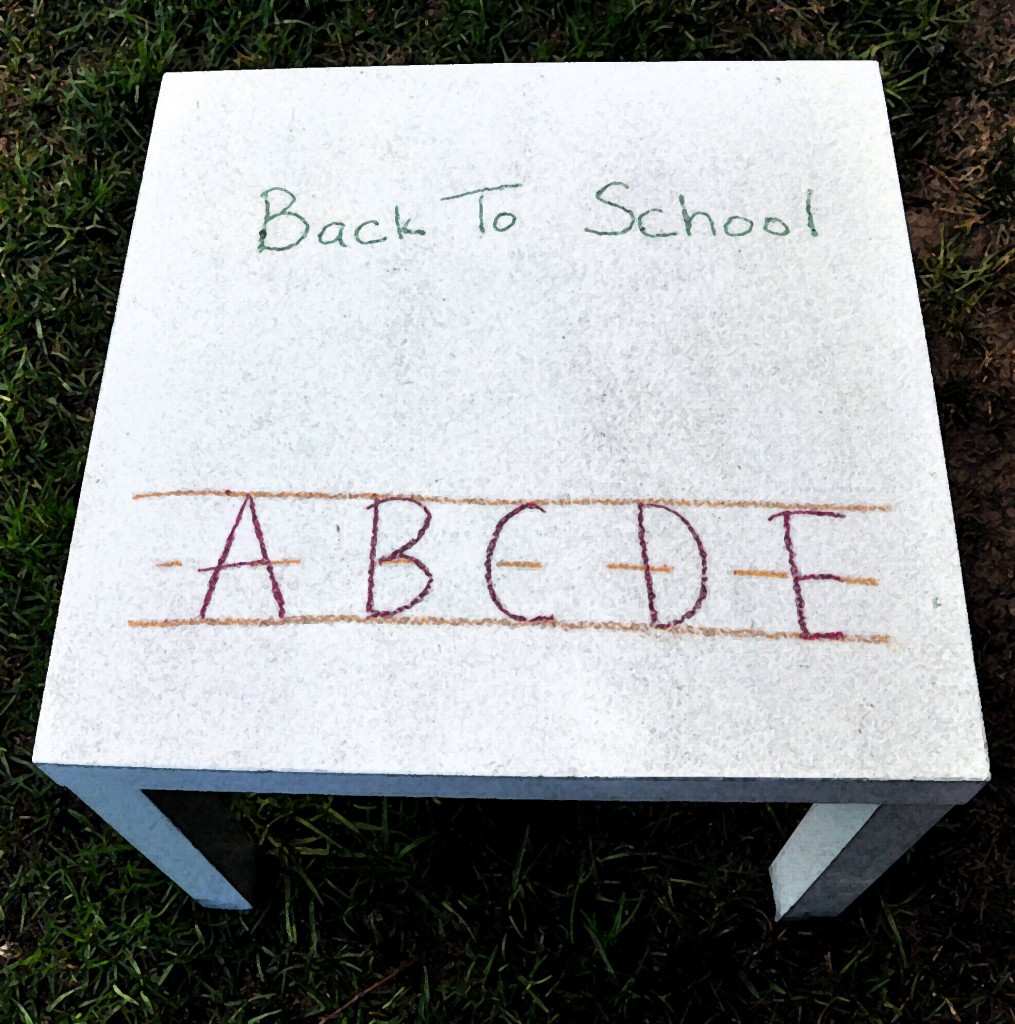
For additional projects, just visit your local Walmart or check out their online site Projects Made Simple.
Disclosure: I participate in the Walmart Moms program and am compensated for my time and honest opinions.
- Discover Luxury at Sonesta Irvine: Your Ideal Staycation - August 8, 2024
- CHOC Walk Returns to the Disneyland Resort – Special Events and Ways to Support - June 28, 2023
- Beastly Ball Returns to the Los Angeles Zoo - May 8, 2023

That is so awesome!!! It turned out beautifully!!!
Neat!
That is such a cute idea, my son would love it! He’s always trying to draw on the table:)
What a fantastic idea! Thanks so much for sharing.
Wow, that’s so neat!
Thanks so much for the tutorial! I have really been wanting to do this!
Very cool. Thanks for sharing. You’ve inspired me to attempt some projects.
That’s so cool. You’ve inspired me to want to be more crafty. Thanks for sharing.
This has been bookmarked! What a fabulous and easy DIY project!
Wow! It looks like you did a really great job on that table!
DAwn
http://www.cheapisthenewclassy.com
I love these types of DIY projects!!! I have been trying to convince hubby to let me do chalkboard walls in our kid’s rooms, but he just doesn’t get it. I’ll have to sneak them in!!! 🙂
Whoa, wow, that is SO COOL. I’ve seen dry erase (already made) but never in a DYI way, which makes it so much cheaper and personalized, too. Love it.
That is so neat. I might just have to do this DIY project.
great idea!!! Thanks for the tips.
Fun! I’ve wanted to create something like this for the boys. I’ll have to try it.
Our girls would love a dry erase table! Thanks for the idea!!
I really need to do this, because if I don’t write things down in about 20 different locations I don’t know what I’m doing.
Love that you transformed the play table. I have a similar one for my girl that’s already all full of doodles. This would suit her perfectly
Pretty cool I didn’t know there was dry erase paint, I knew about the chalkboard paint as a friend of mine did their hallway door for her kids. I’m going to get the dry erase paint and try it out.
How has this held up over time? Is there anything you would do differently now?