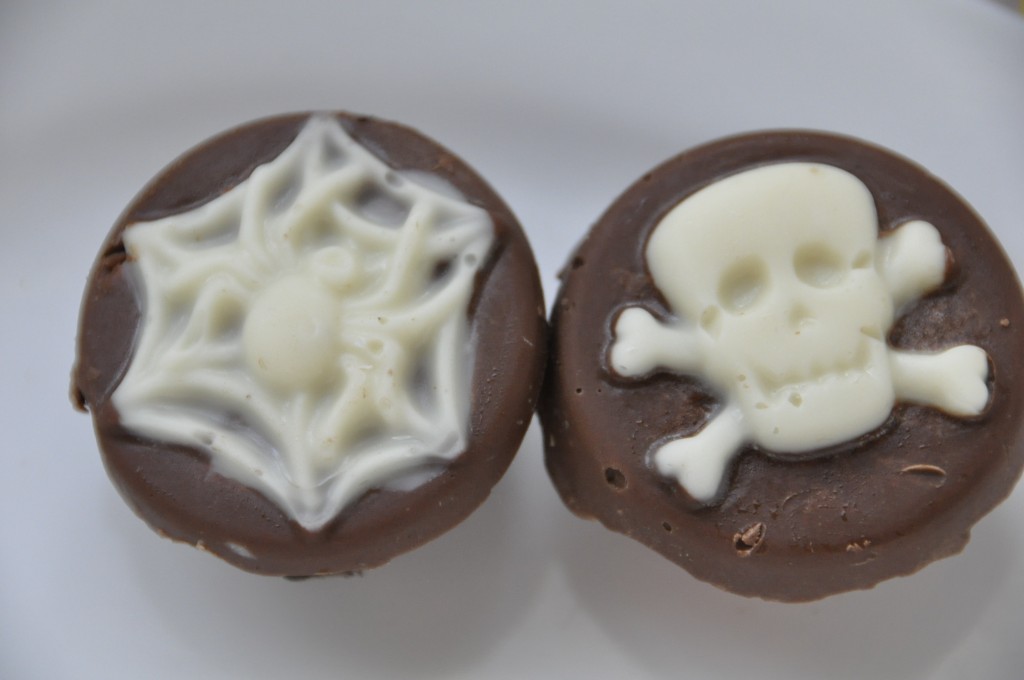
We’re less than one week away from Halloween and it feels like my family has been celebrating for weeks. A couple of weeks ago, I went back to Chicago to glean decorating inspiration from Wilton. Thanks to some tips I received during my visit, I finally perfected the fine art of making candy! I used Wilton’s Smiling Pumpkins Lollipop Mold to make single color/flavored candy pops and their Skulls and Scrolls Cookie Candy Mold to make chocolate-covered Oreos! While it was easier than I originally thought, I didn’t attempt to get detailed with the colors. One tip I did receive during my visit was to use a fine paintbrush when working on details such as the eyes, nose and smile of the pumpkins.
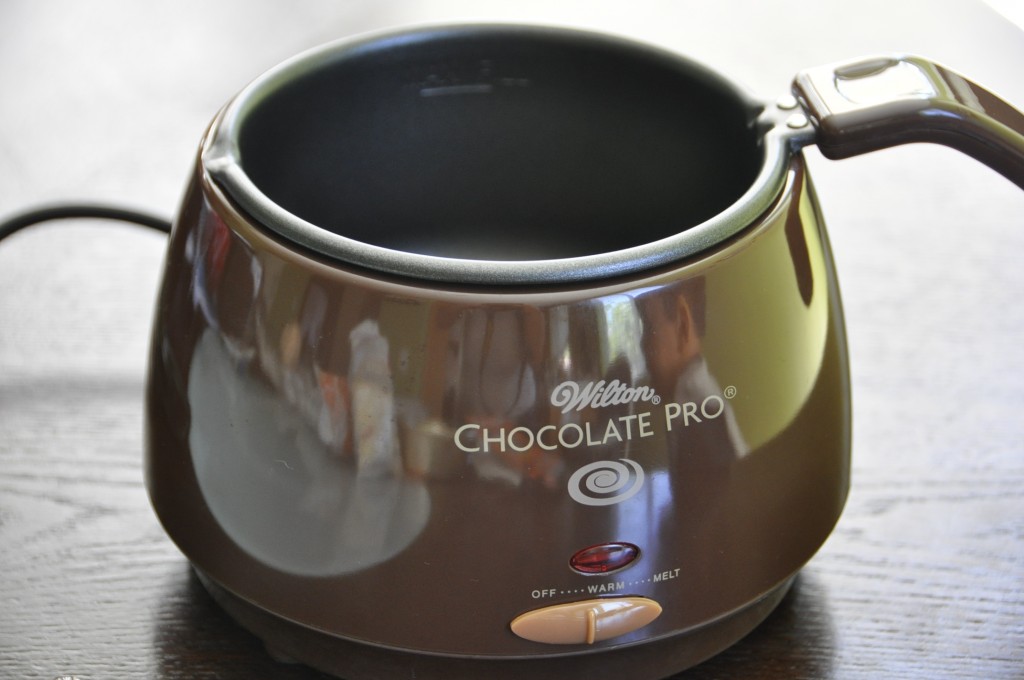
First, I melted the candy with their Chocolate Pro Electric Chocolate Melter. You can definitely melt the candy in the microwave or via the double boiler method, but using the Electric Chocolate Melter was quick and easy (which is what I need as a mom!). If you’re melting multiple candy colors, consider using a warming tray, melting cups, or a candy melting plate.
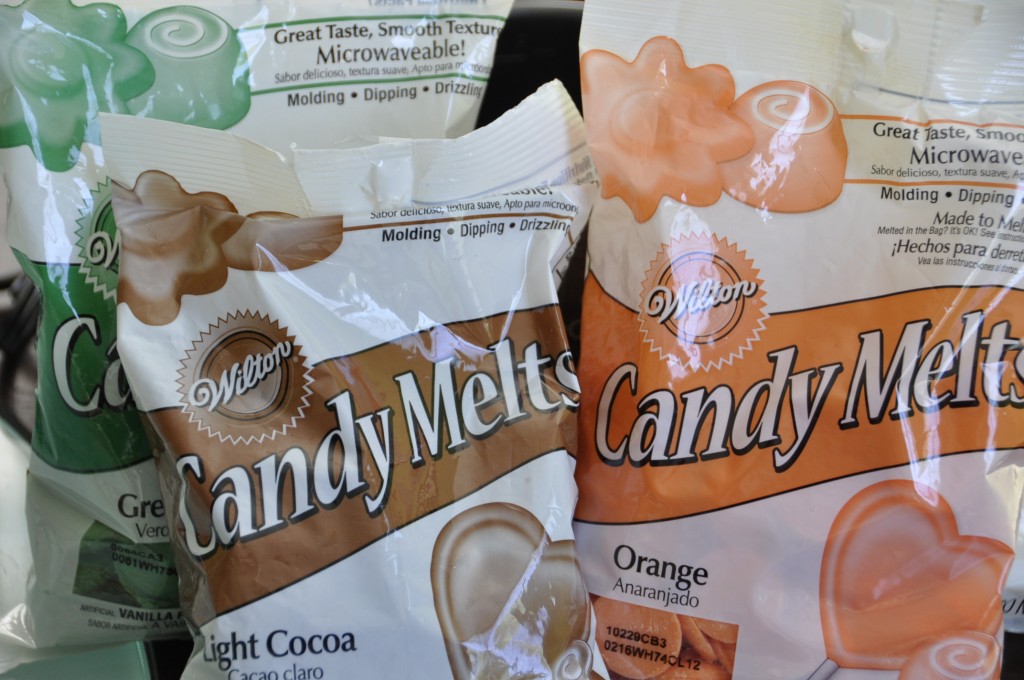
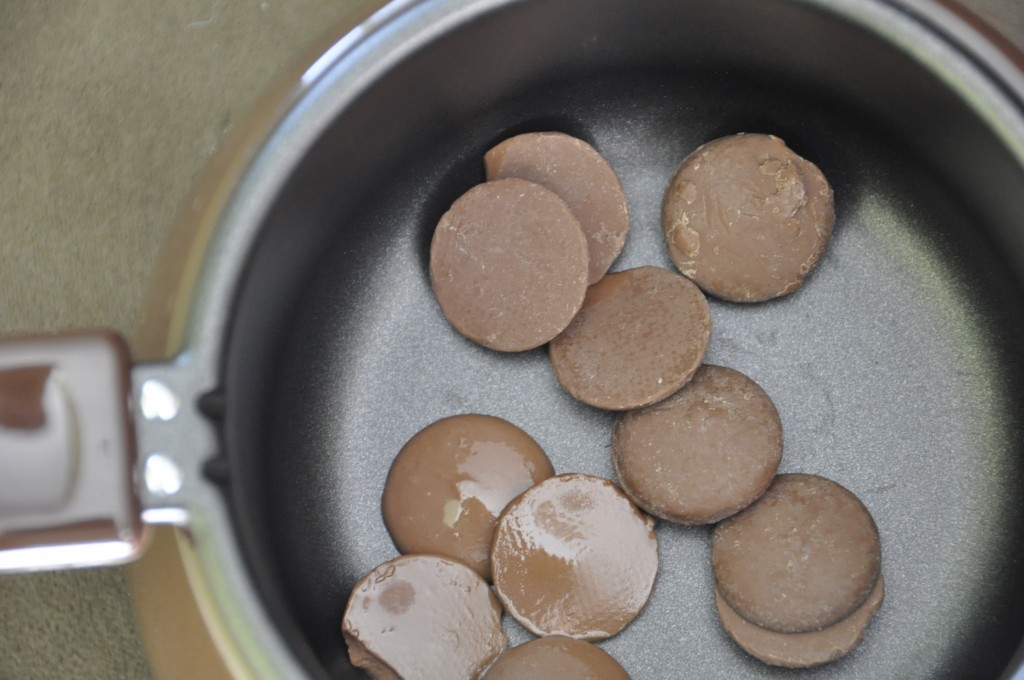
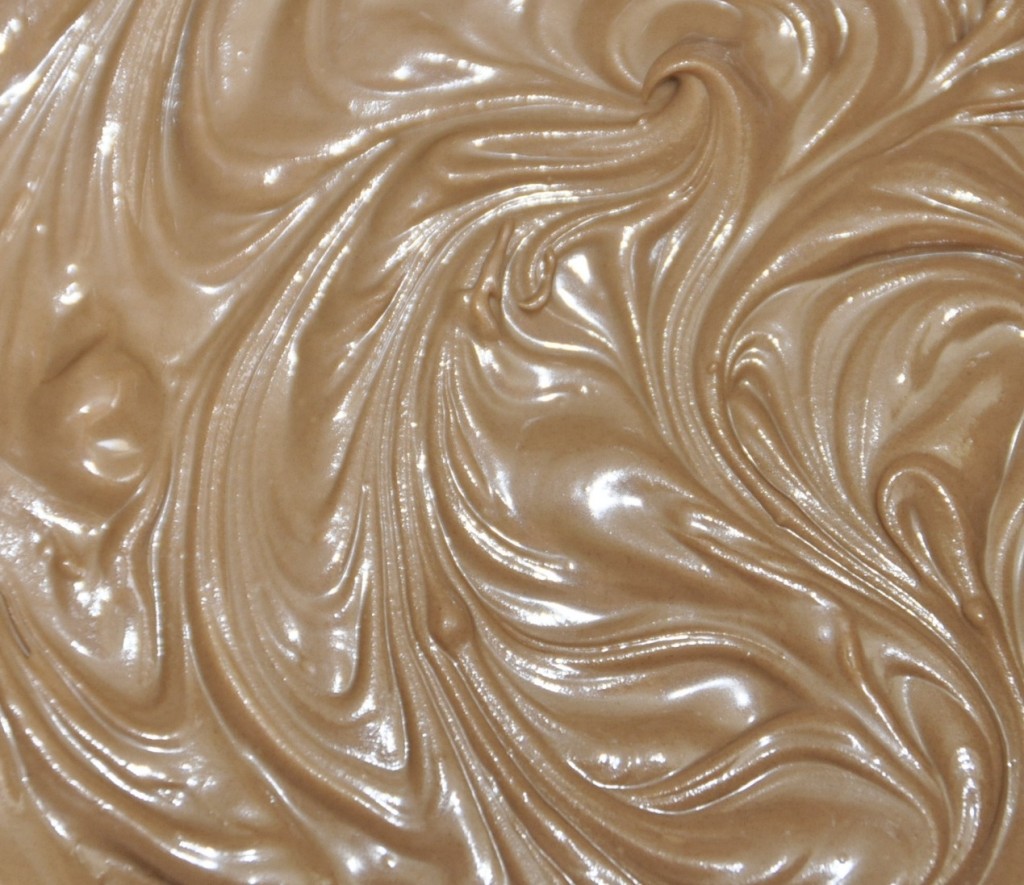
Once I melted the candy, I used their Melting/Decorating Squeeze Bottles to fill the candy molds. You can use a spoon or a paintbrush, but I found that the bottles really made the back of the candy smooth.

If you’re adventurous, you could use these to make cupcakes!

Making the chocolate covered cookies involved one extra step. I melted the white candy and let that set. I then added some chocolate, positioned my Oreos, then added some more. Be sure the cookie you select is 2 inches in diameter or less so that it fits appropriately.
For more ideas on Halloween sweets and treats, just visit Wilton!
No compensation was received for this post. Product samples were provided by Wilton.
- Discover Luxury at Sonesta Irvine: Your Ideal Staycation - August 8, 2024
- CHOC Walk Returns to the Disneyland Resort – Special Events and Ways to Support - June 28, 2023
- Beastly Ball Returns to the Los Angeles Zoo - May 8, 2023

YUM! Those are adorable!D